This is the process of buying cheap cross stitch wall hangings second hand in thrift stores, and recycling/upcycling them by replacing parts of it with your own content. Preferably pop art subjects like old school video game characters 🙂
These are my creations so far. Maximum effect for minimal work! 😀
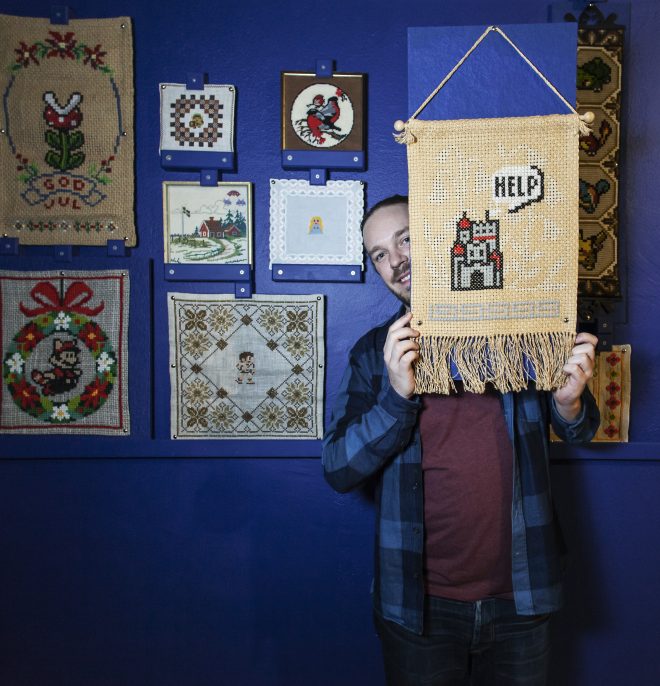
 My pieces have been part of a number of exhibitions, such as the “Gaming Art” exhibition at the National Museum of Science and Technology in Stockholm!
Photo: Anna Gerdén
I used to add new things to this page, but now my presence is on instagram @restitch
https://www.instagram.com/p/BXn8TvflcNH/
Scroll down for details of each one.
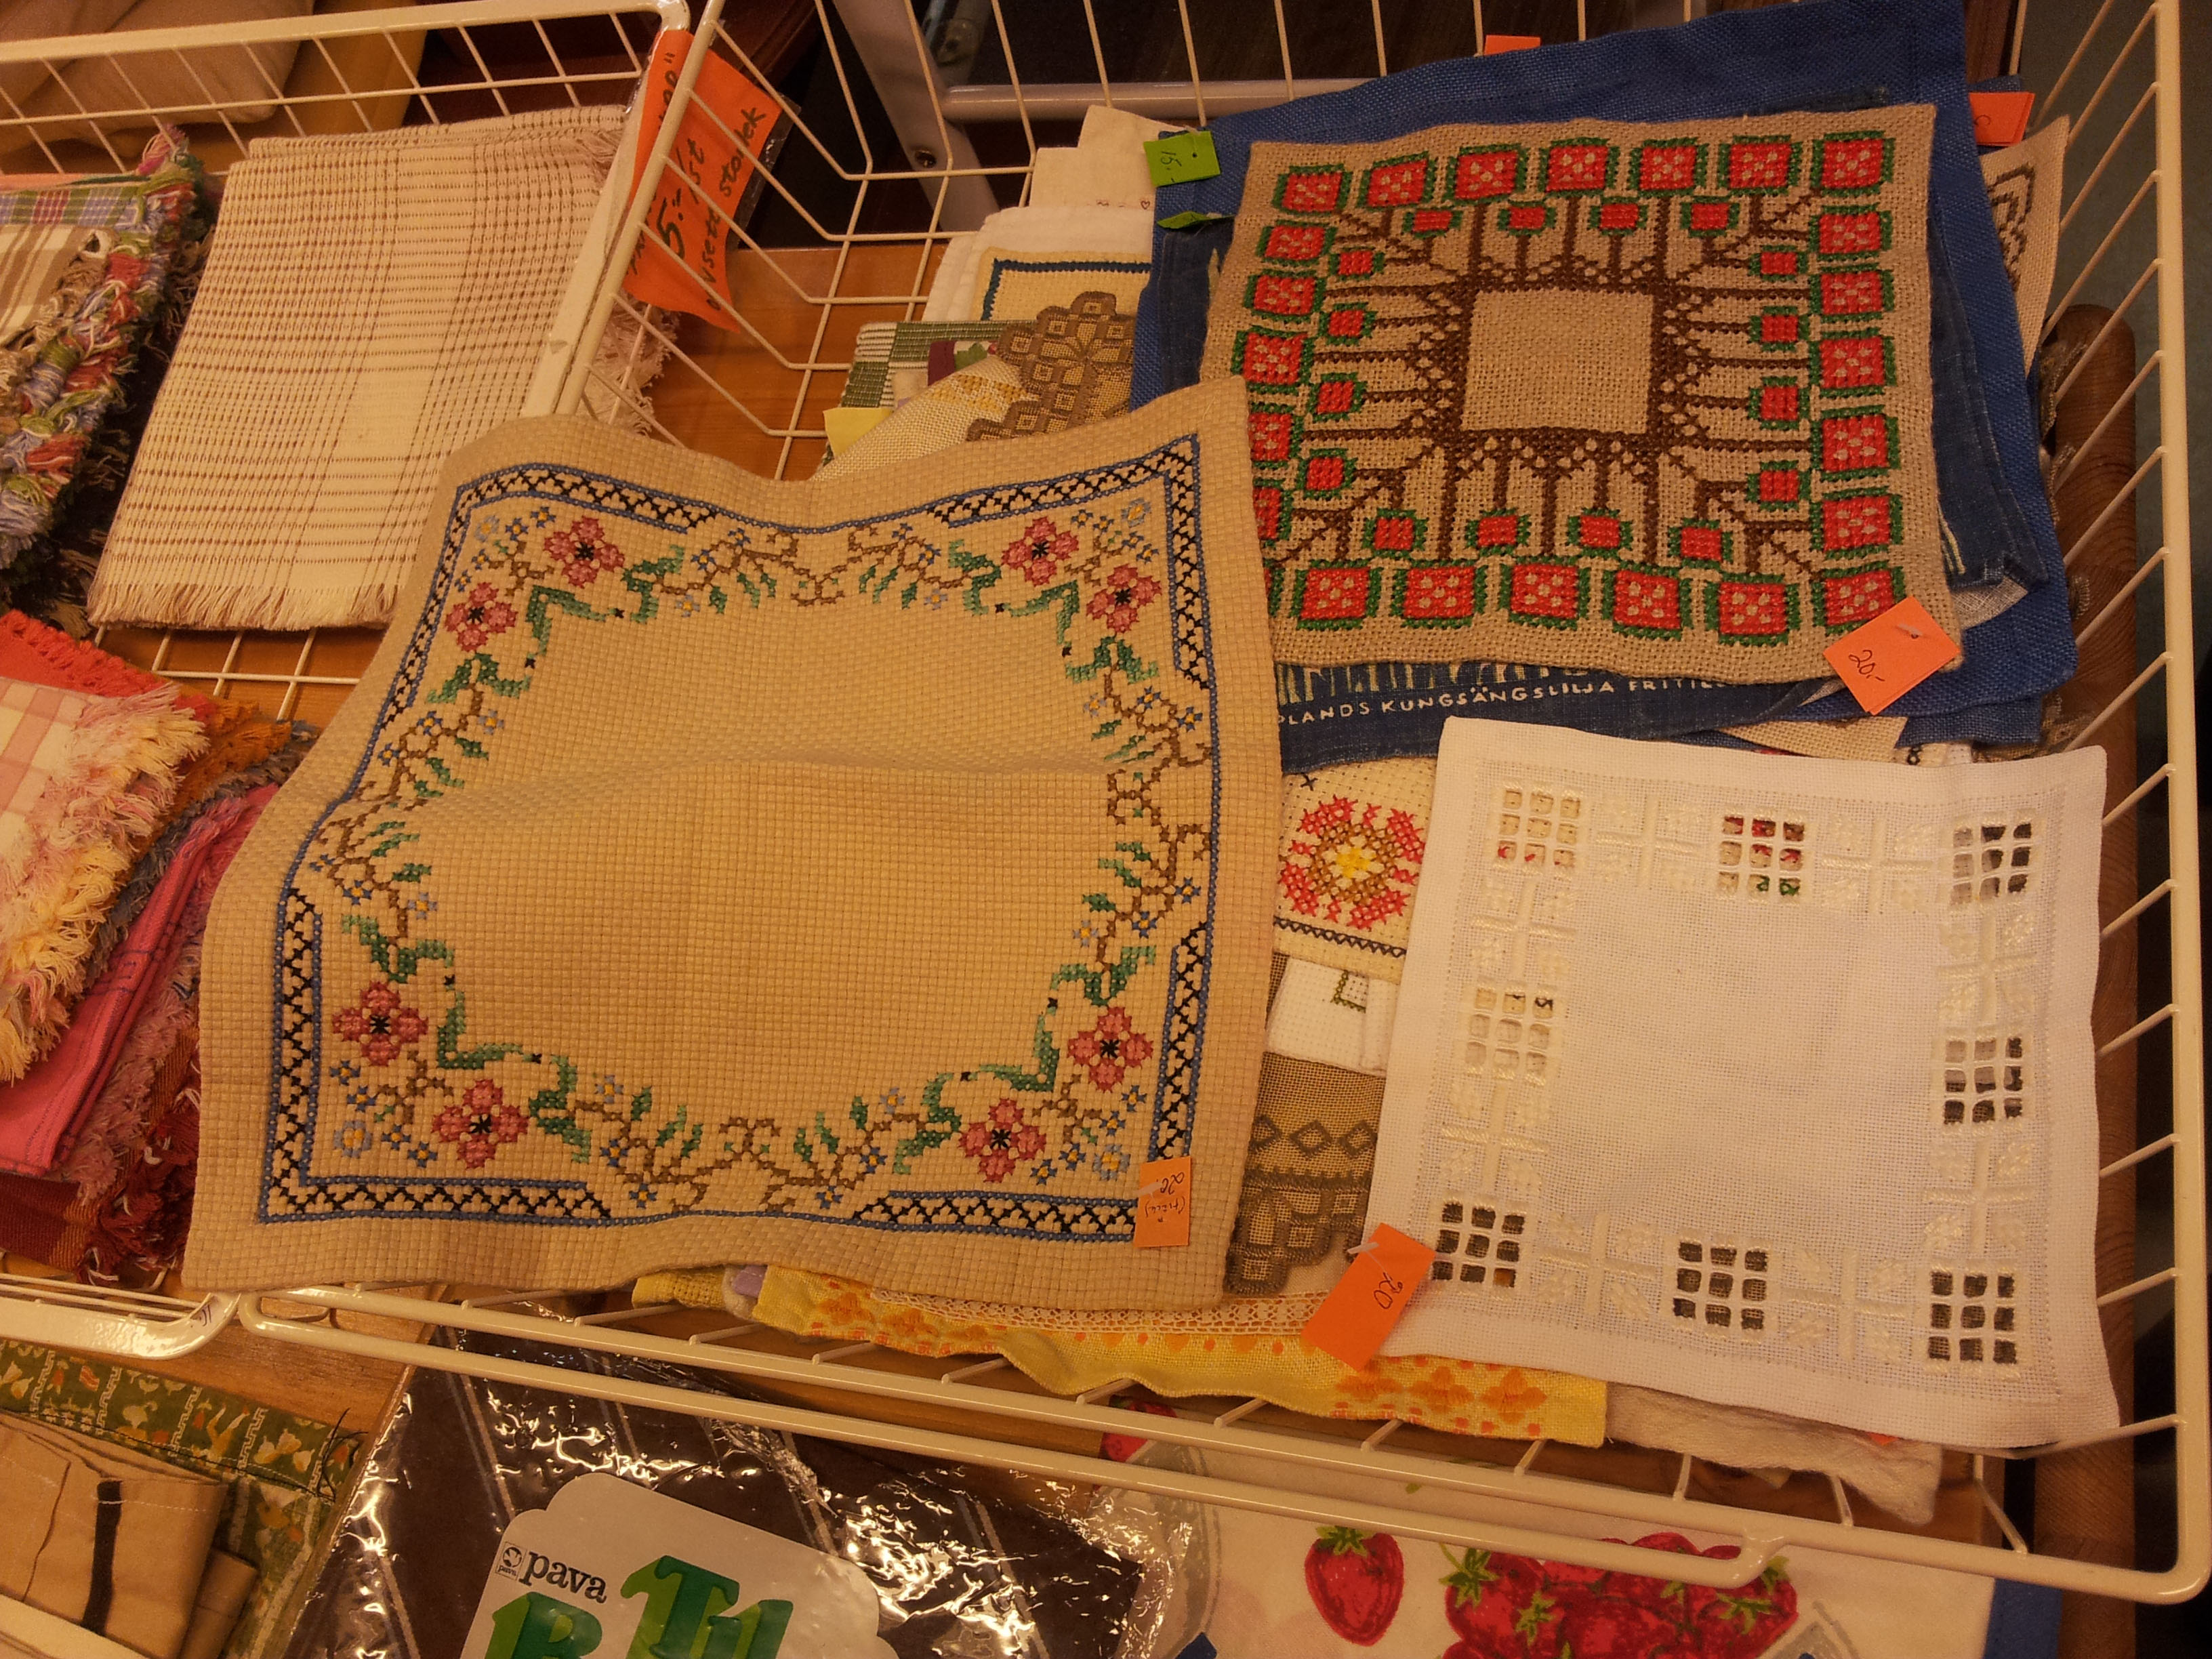
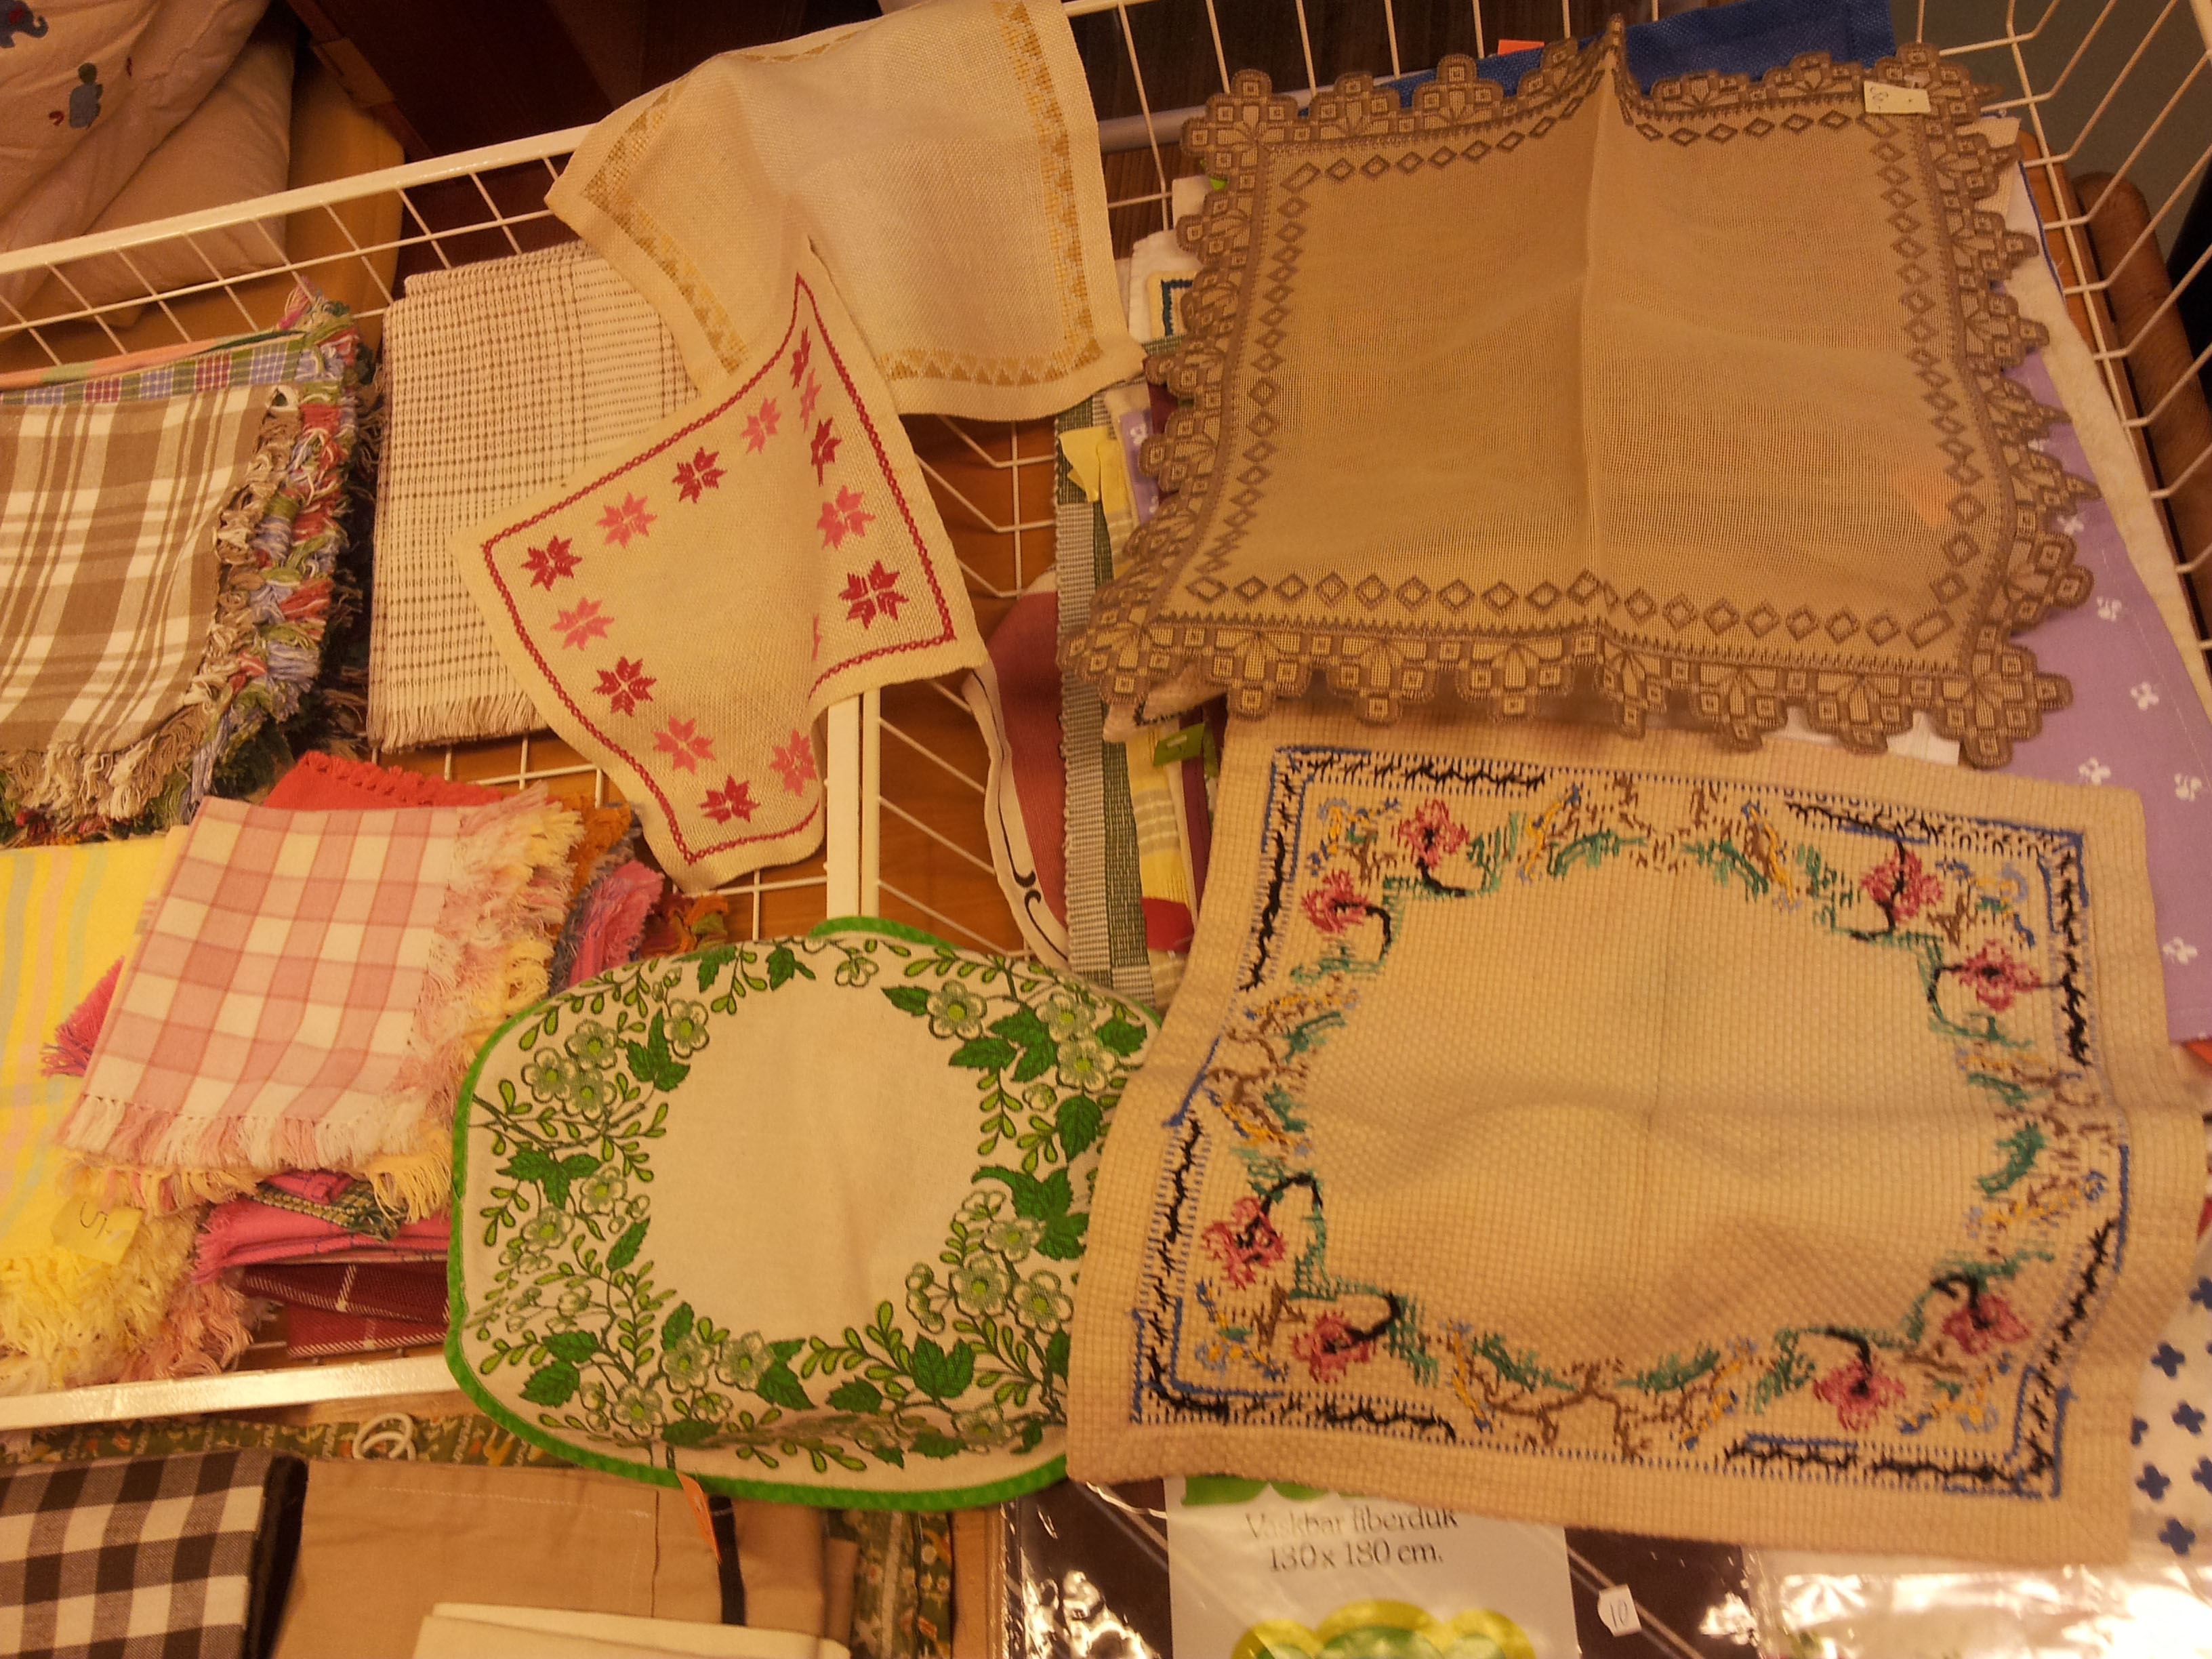
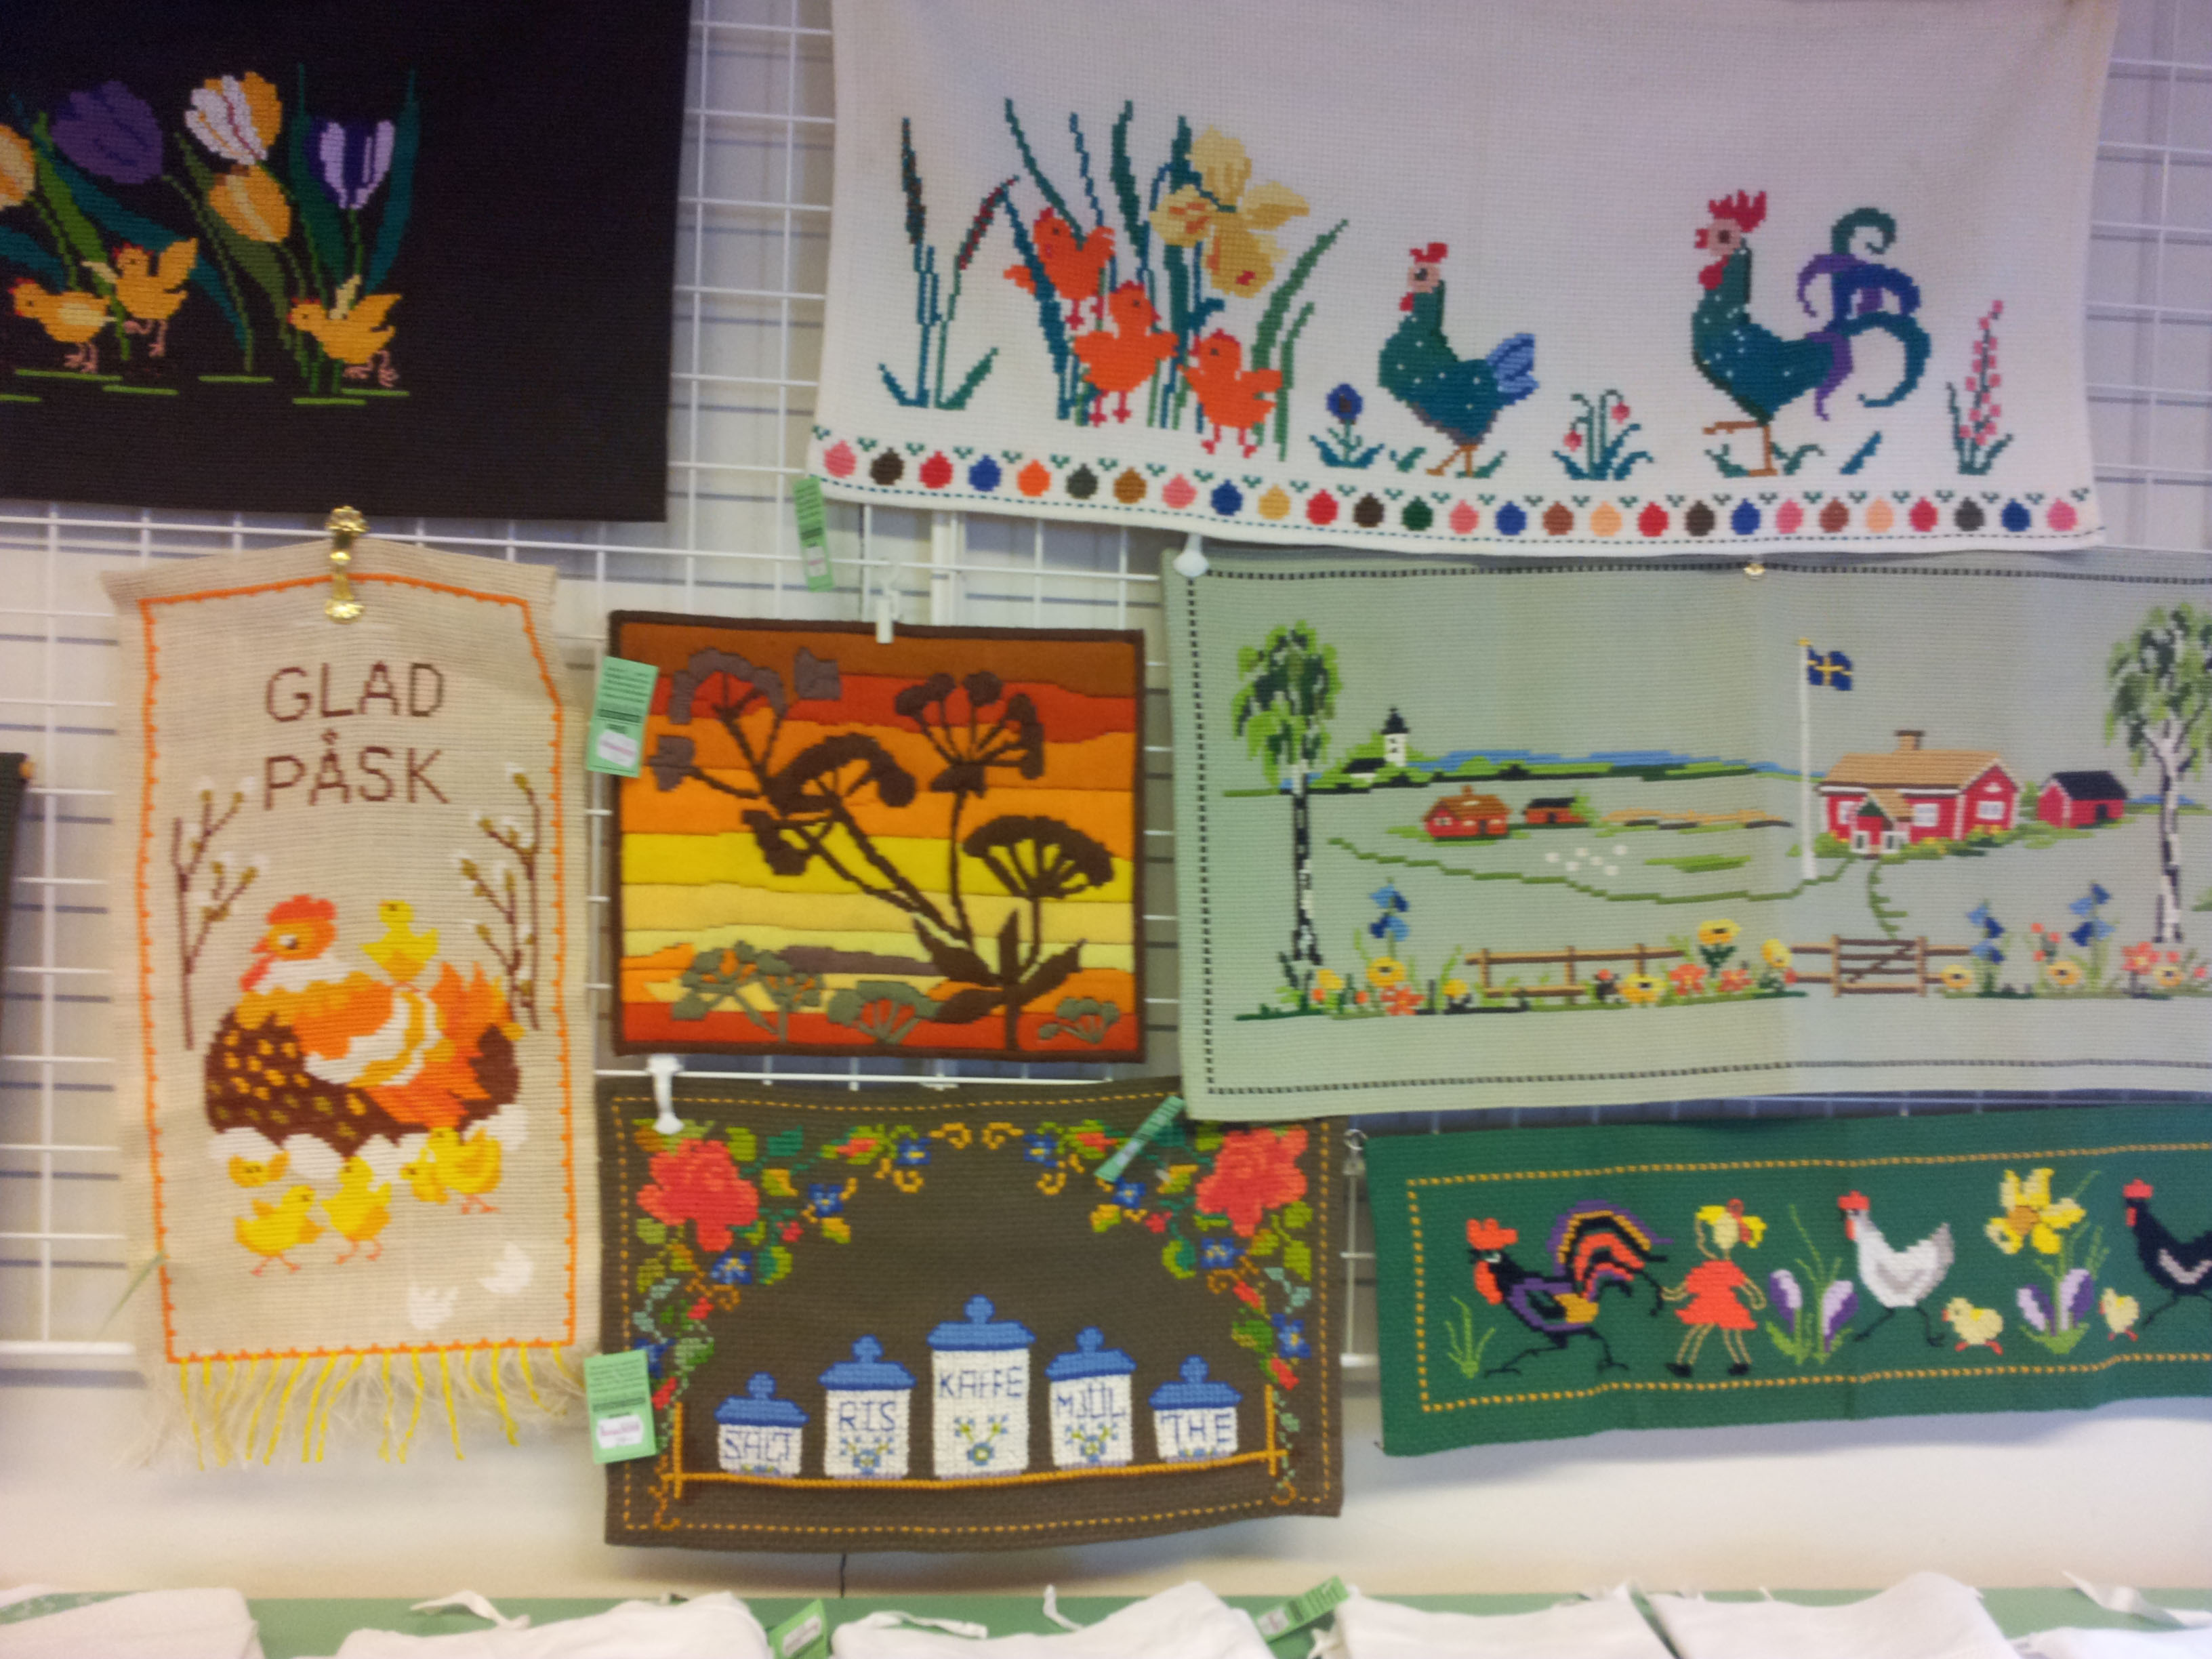
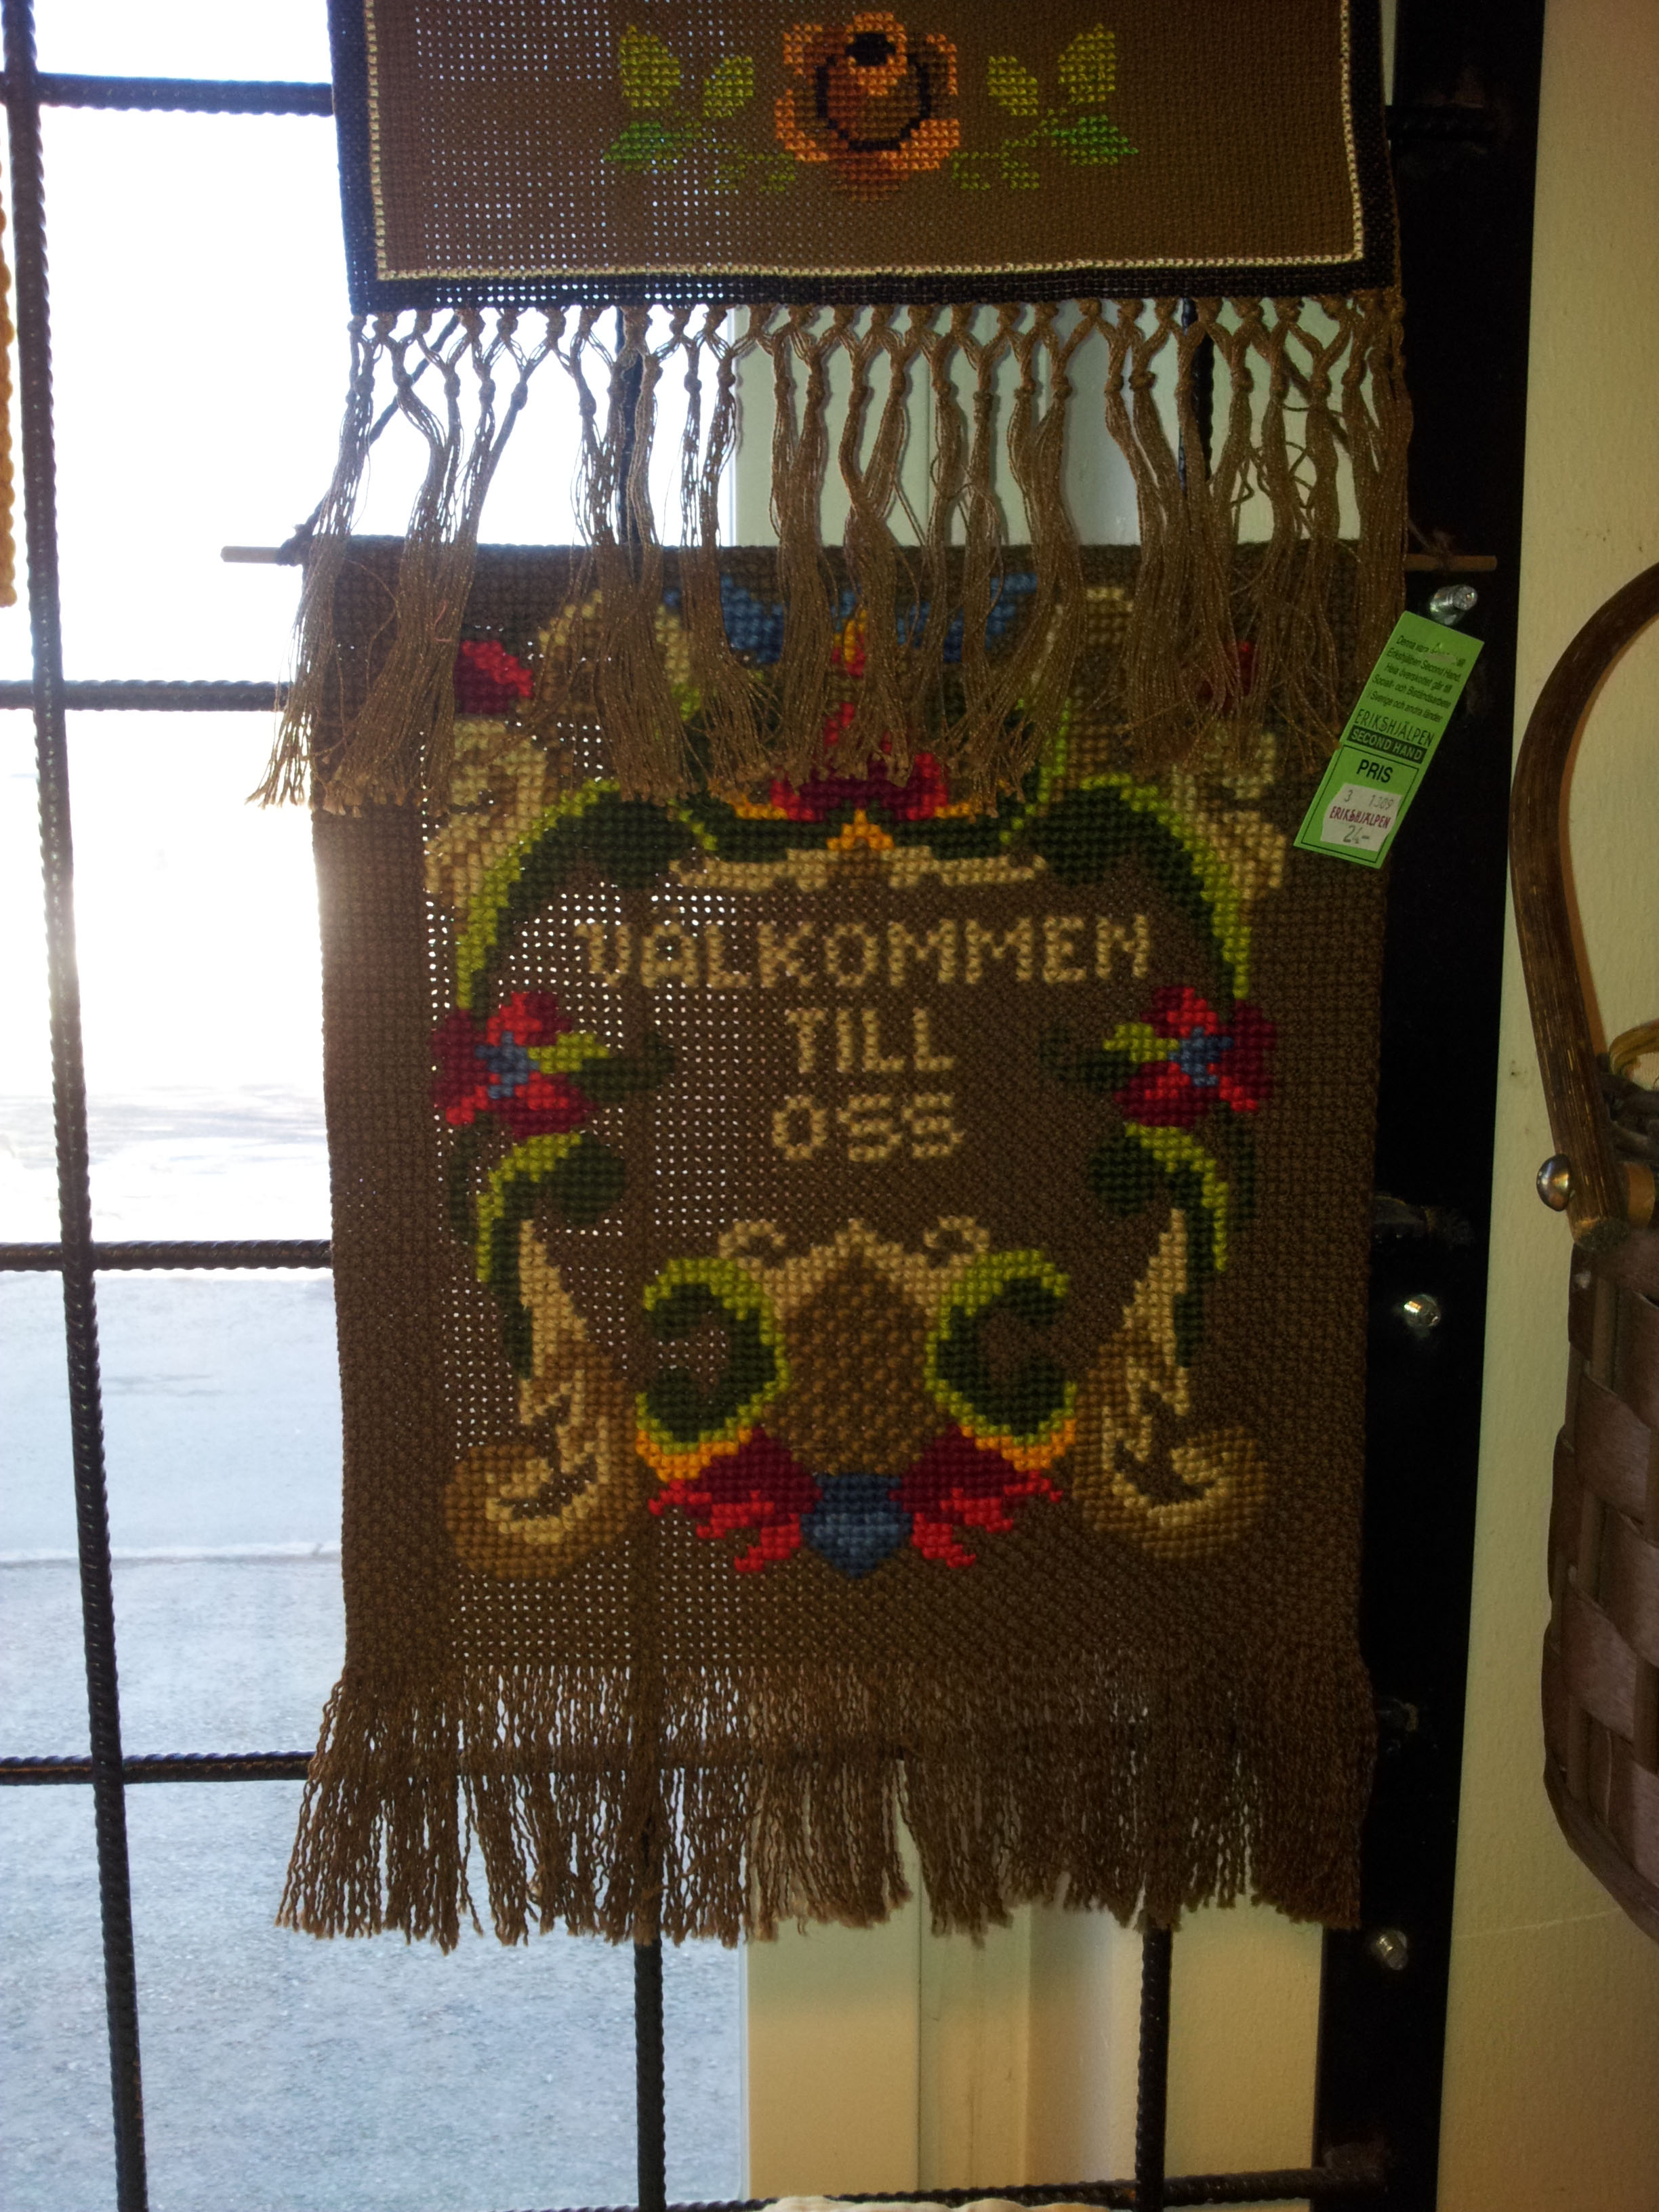
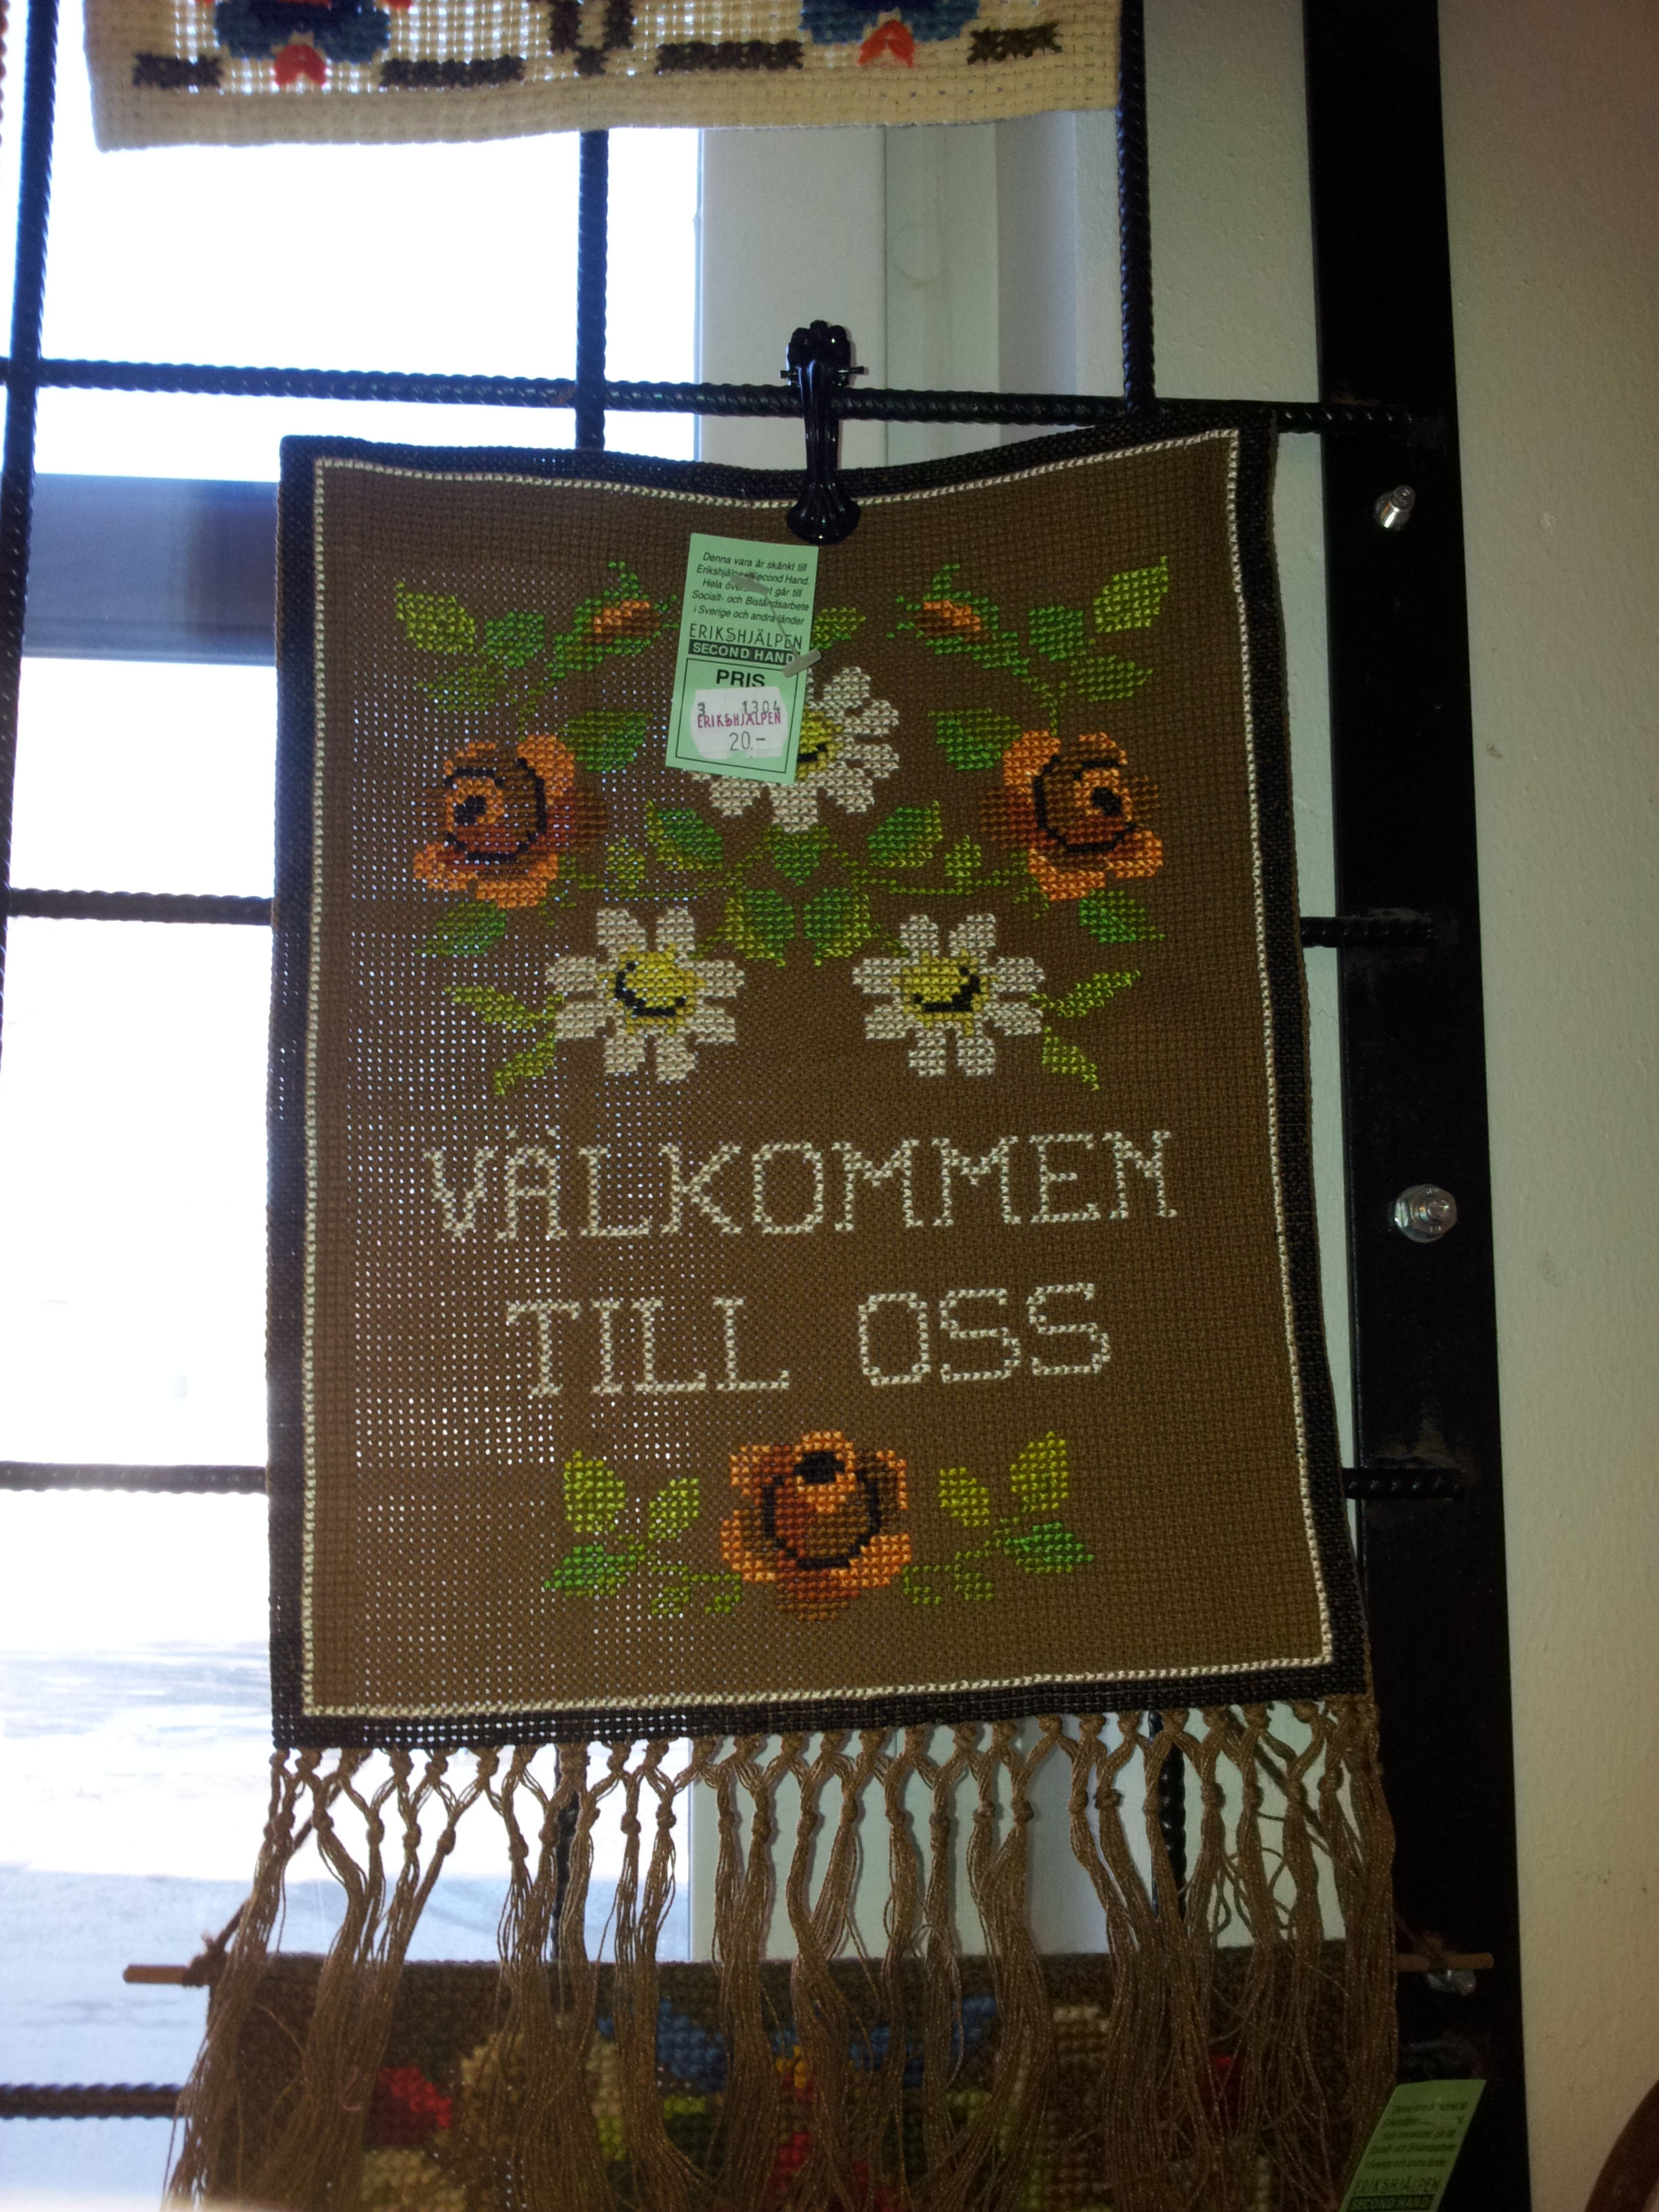
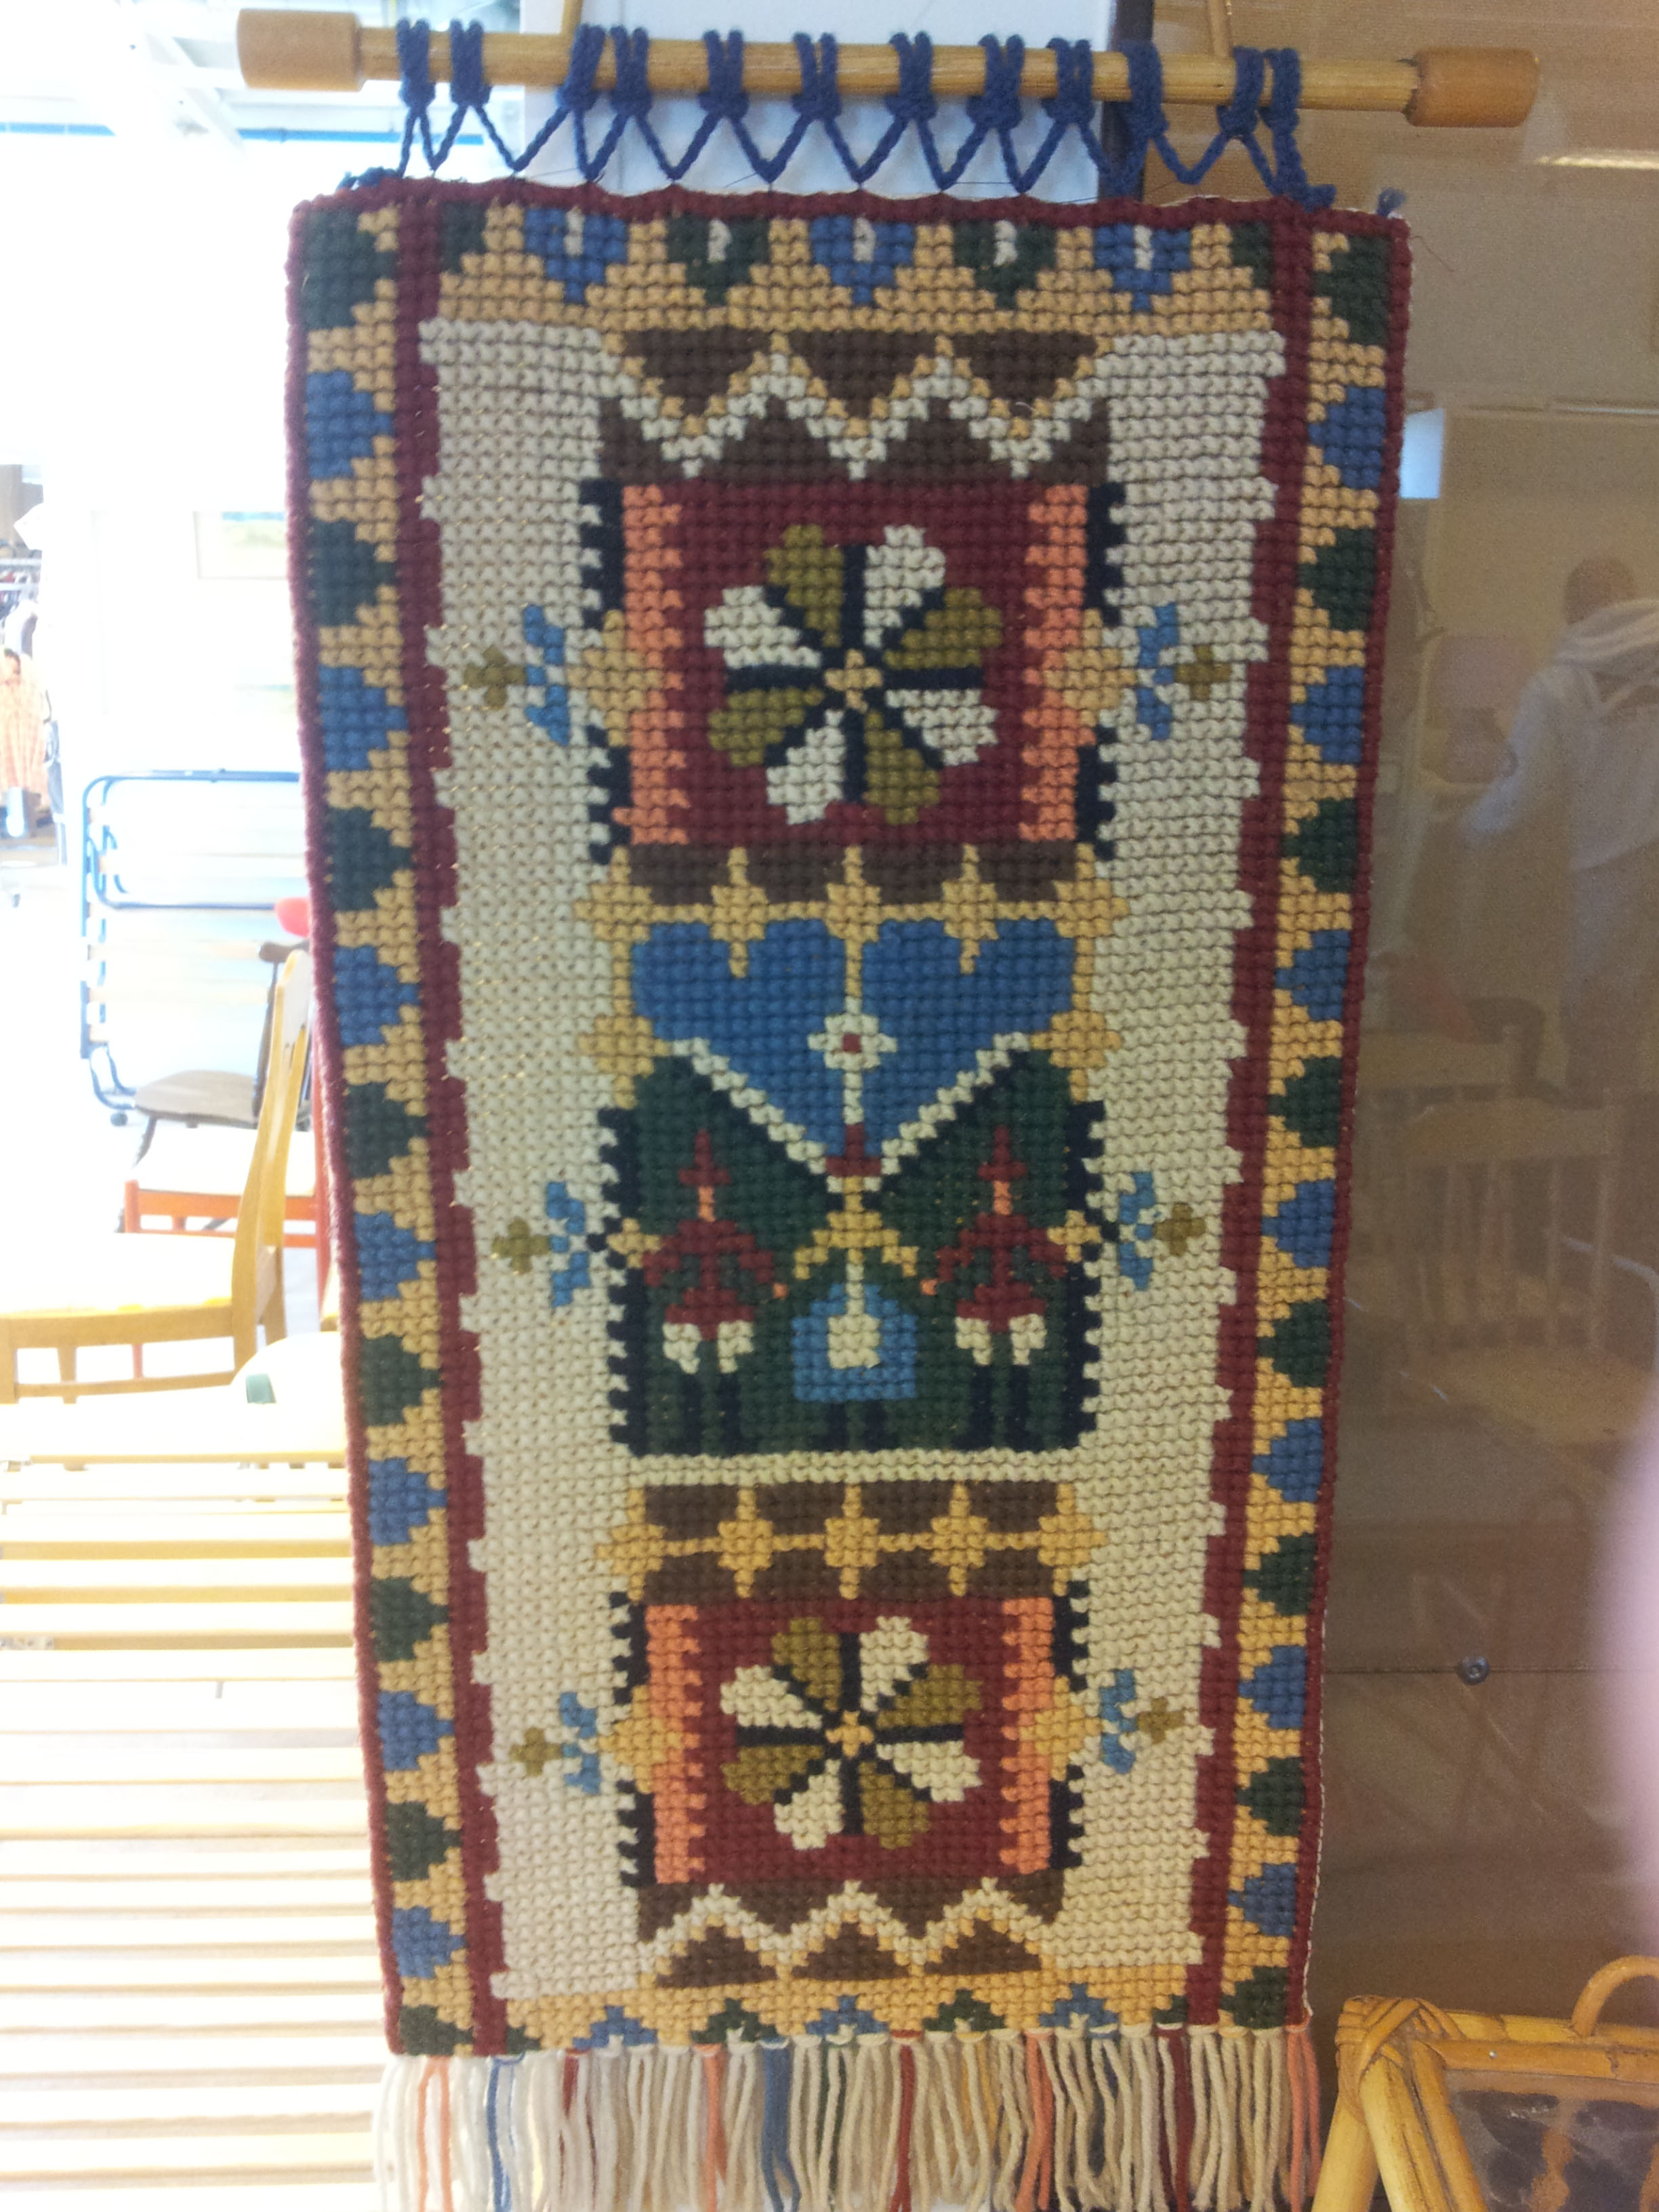
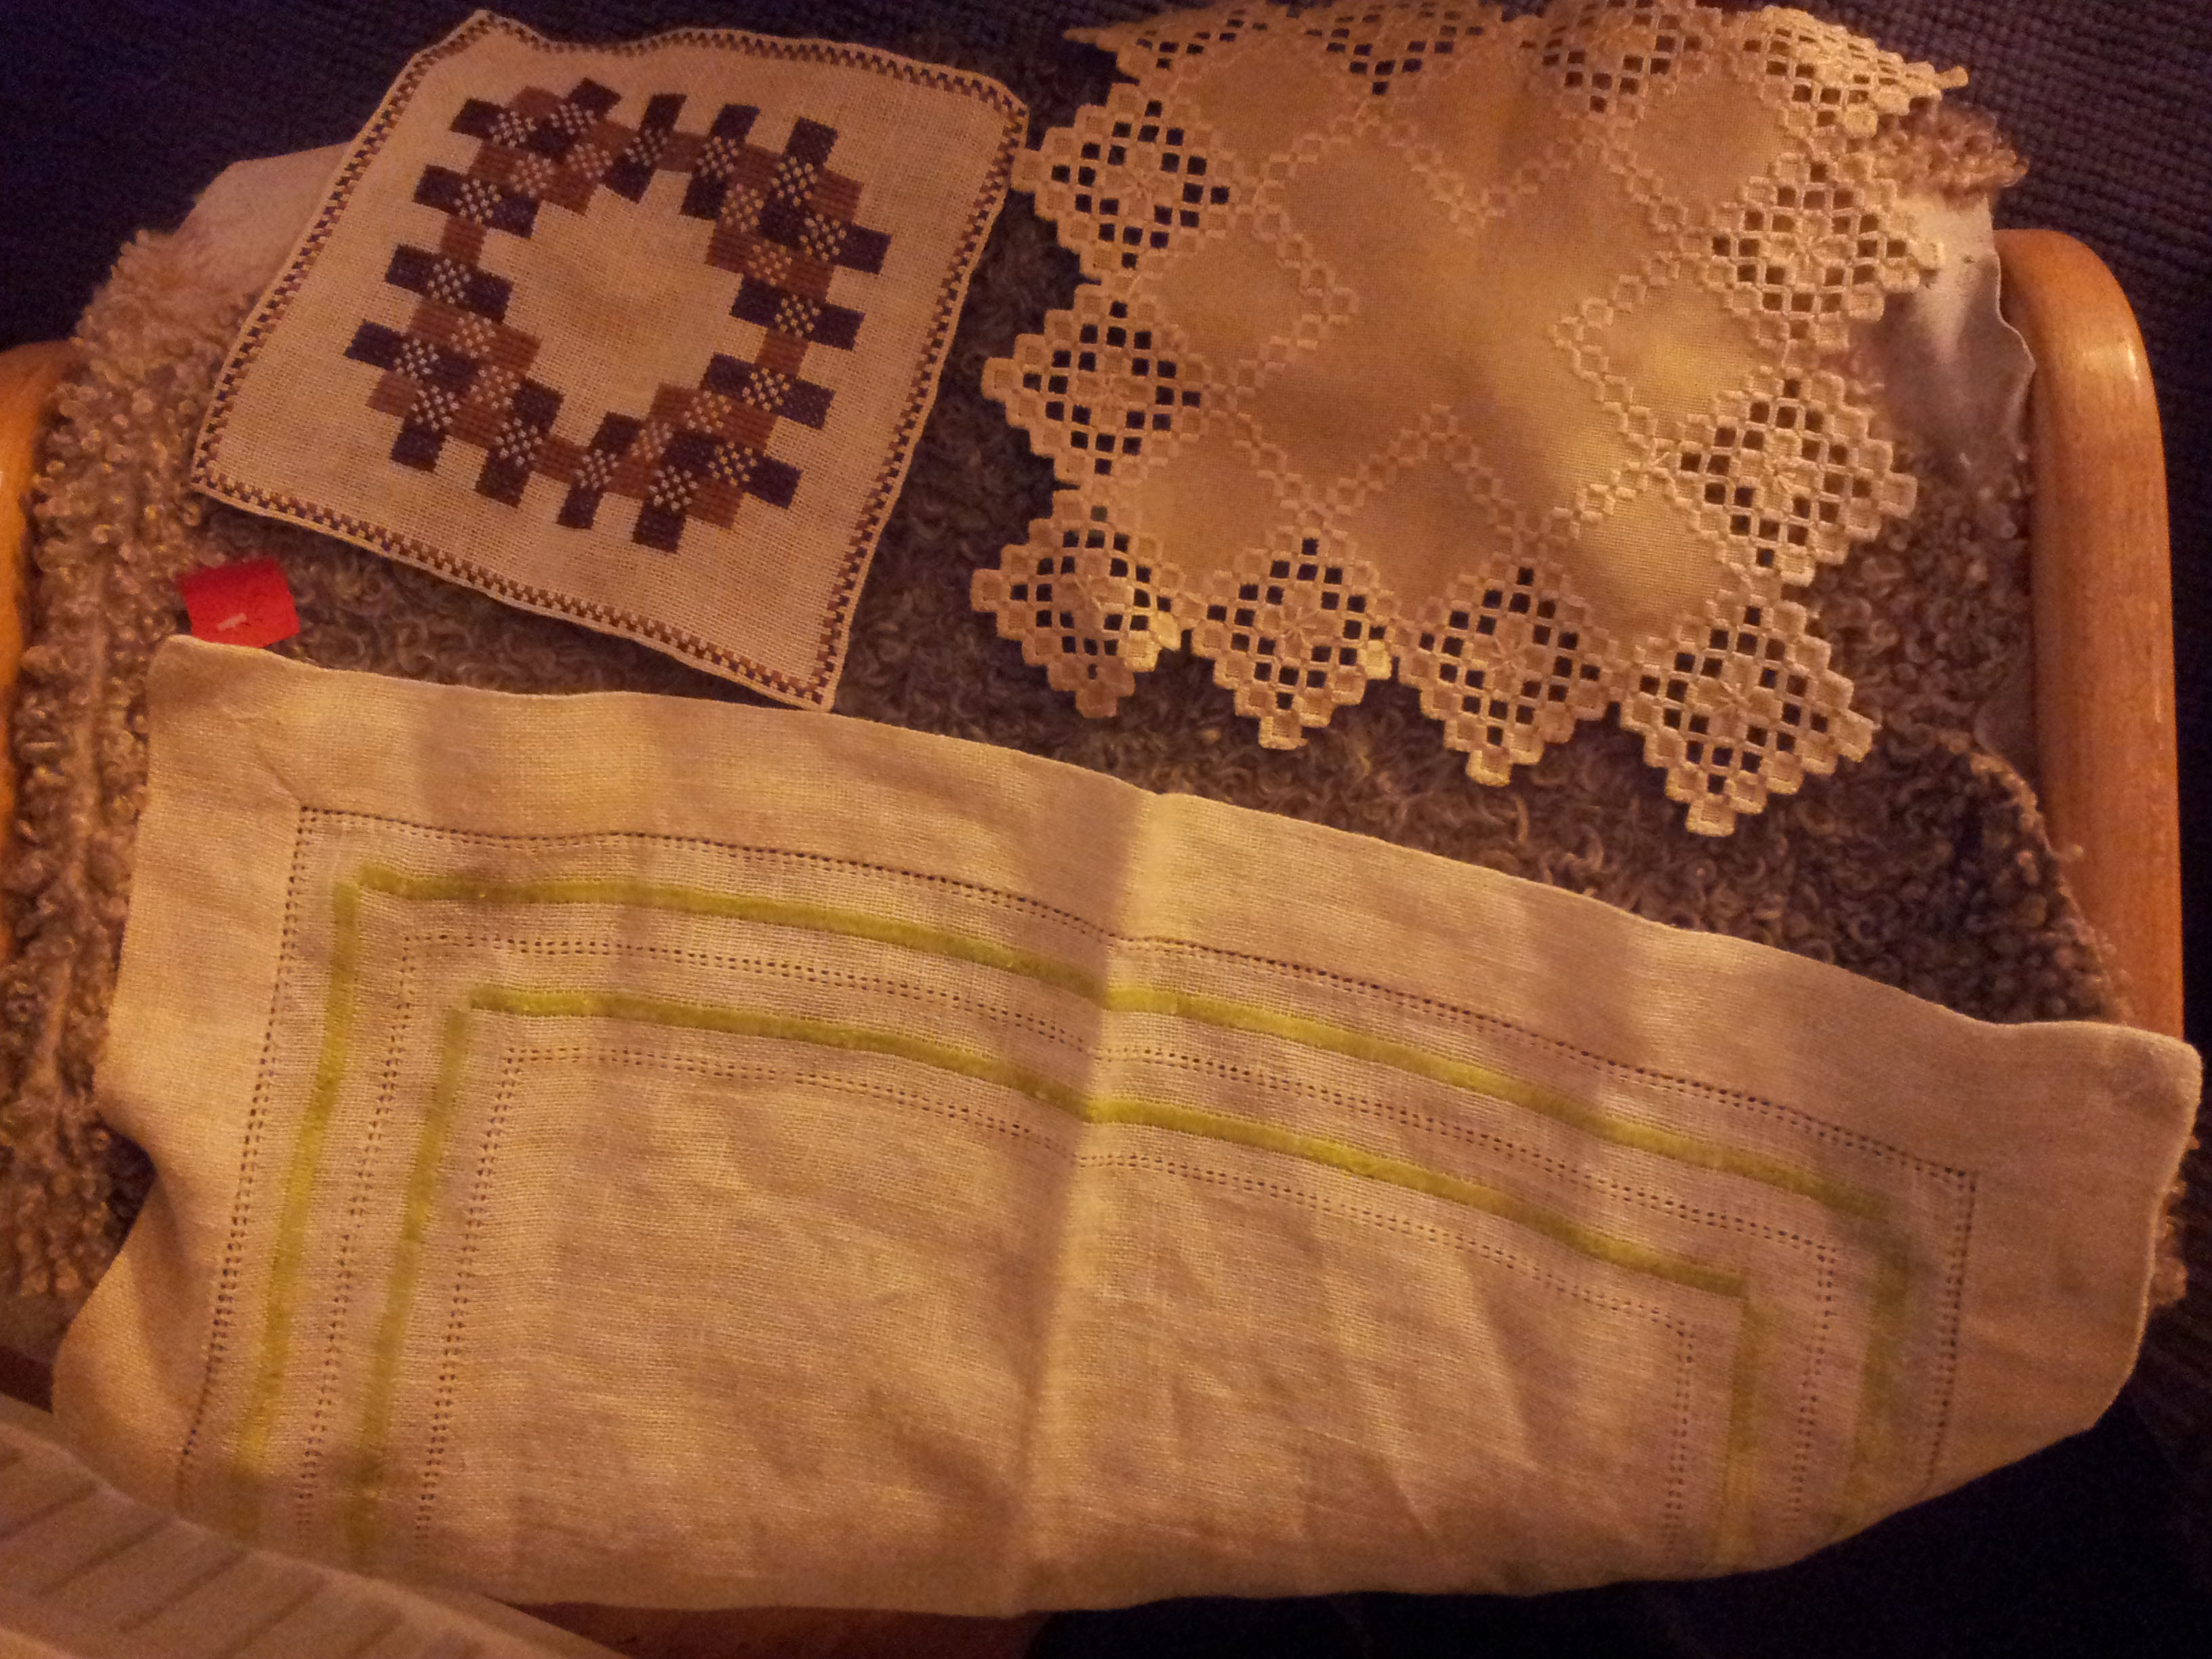
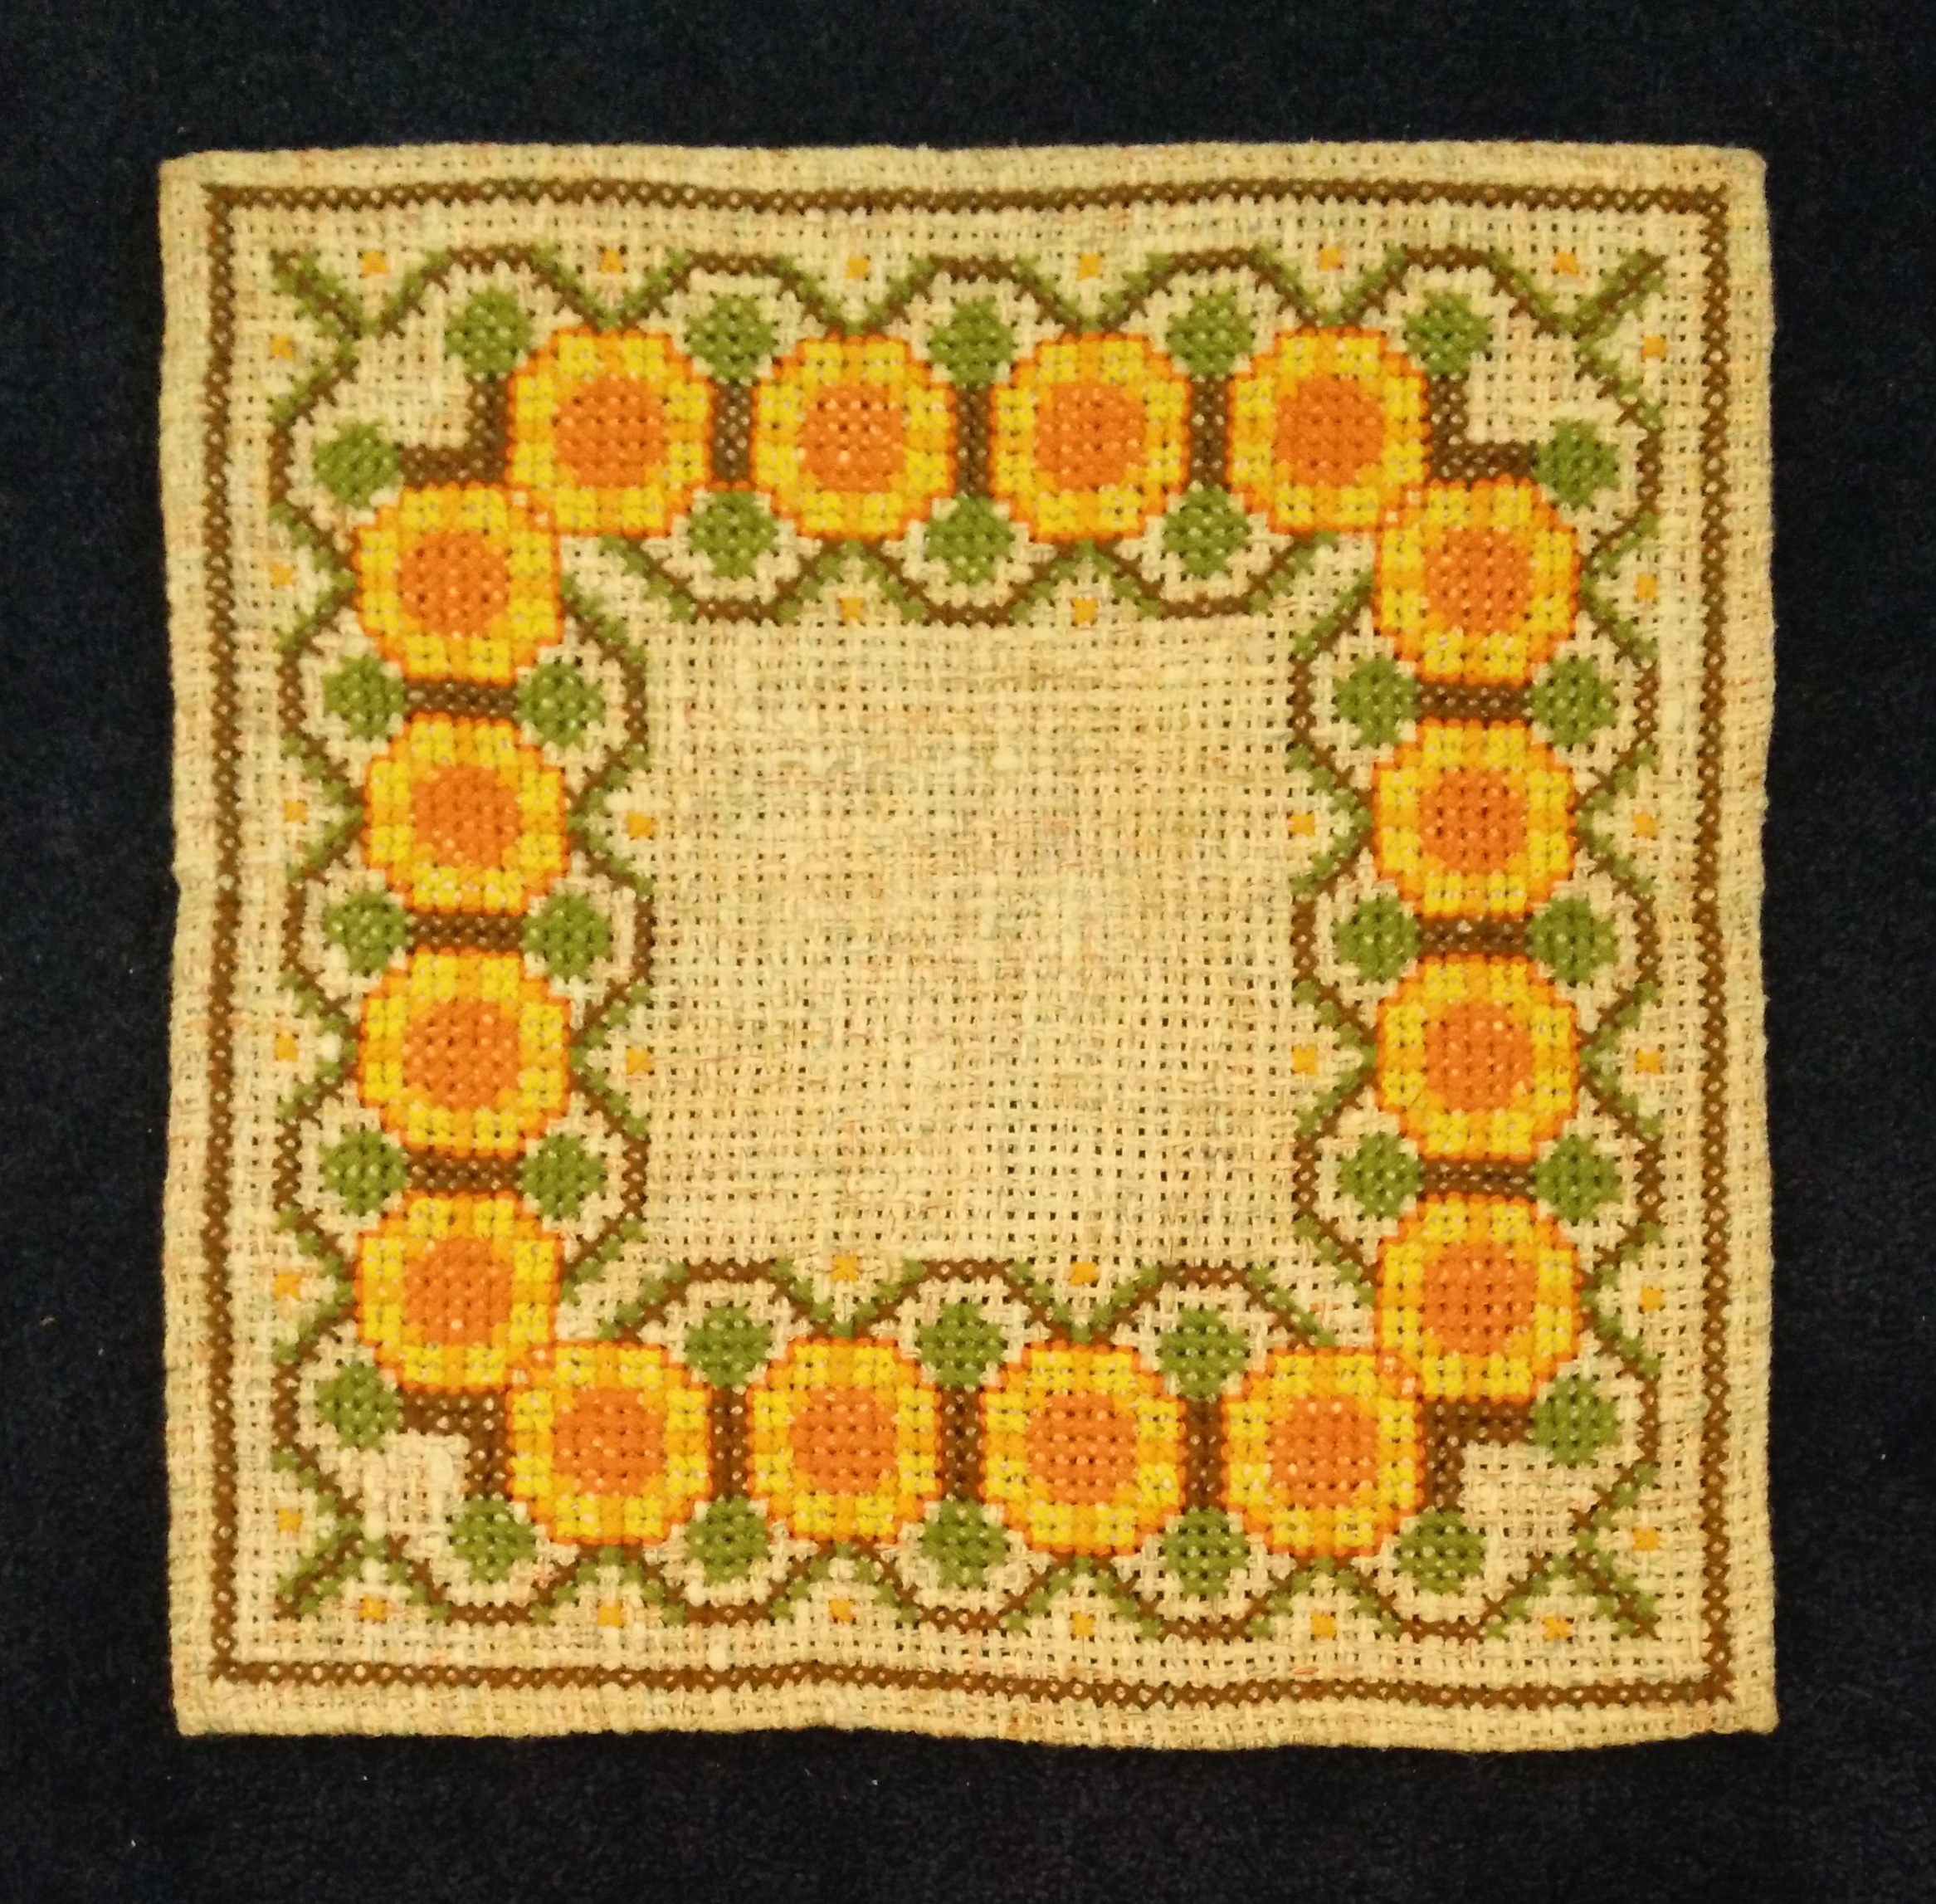
You can usually find lots of canvases for this in thrift shops, at least in Sweden:
How to upcycle:
1. Go out and buy these unwanted and sad decorations, that someone has spent a lot of time on. What you’re looking for are those that have distinct borders, but with content that can be removed and replaced by something else.
2. Now to the hard part. You need to find something to replace it with. Take a look at my post Pixel art and text for cross stitch and mosaic for some tips!
The key here is to choose subects and colors that match the original content of your canvas, so that it blends in with the general style and doesn’t stand out too much.
3. Make a pattern! My method is to make them in photoshop. Check out my Instructable on how to do this with game sprites or photographs. Also google for others that have made cross stitch or perler beads on your subject and copy their pattern.
4. Buy your threads and start embroidering! I usually look through my yarn supplies for colors that could fit, and then bring a image of the pattern in my phone to the fabric/craft store to buy the missing yarns. Also bring the original and ask the store to check the size of the thread. The goal is to match the style as closely as possible. Also look around for bags of yarn at the second hand stores, my Kirby is done with $1 knitting yarn.
If you need a lot of one color, be sure to write down the number of the thread color, so that you can buy more of the exact same if you run out.
Megaman Old School Cross Stitch
The first one I did. Don’t have picture of the original, but it was rather ugly and looked unfinished. Much better now!
The hardest thing here was to center the text and sprites, a lot of counting..
Kirby Wall Hanging Straight Stitch
I can’t find a picture of the original here either but it was three flowers of some kind. If you look closely, you can see a difference between the lighter white around the kirbies, and the darker white along the edges and around the ‘X’es in between 🙂
The original here was not cross stitch, but straight stitches (3 vertical stitches = 1 pixel), so I of course had to continue with that style.
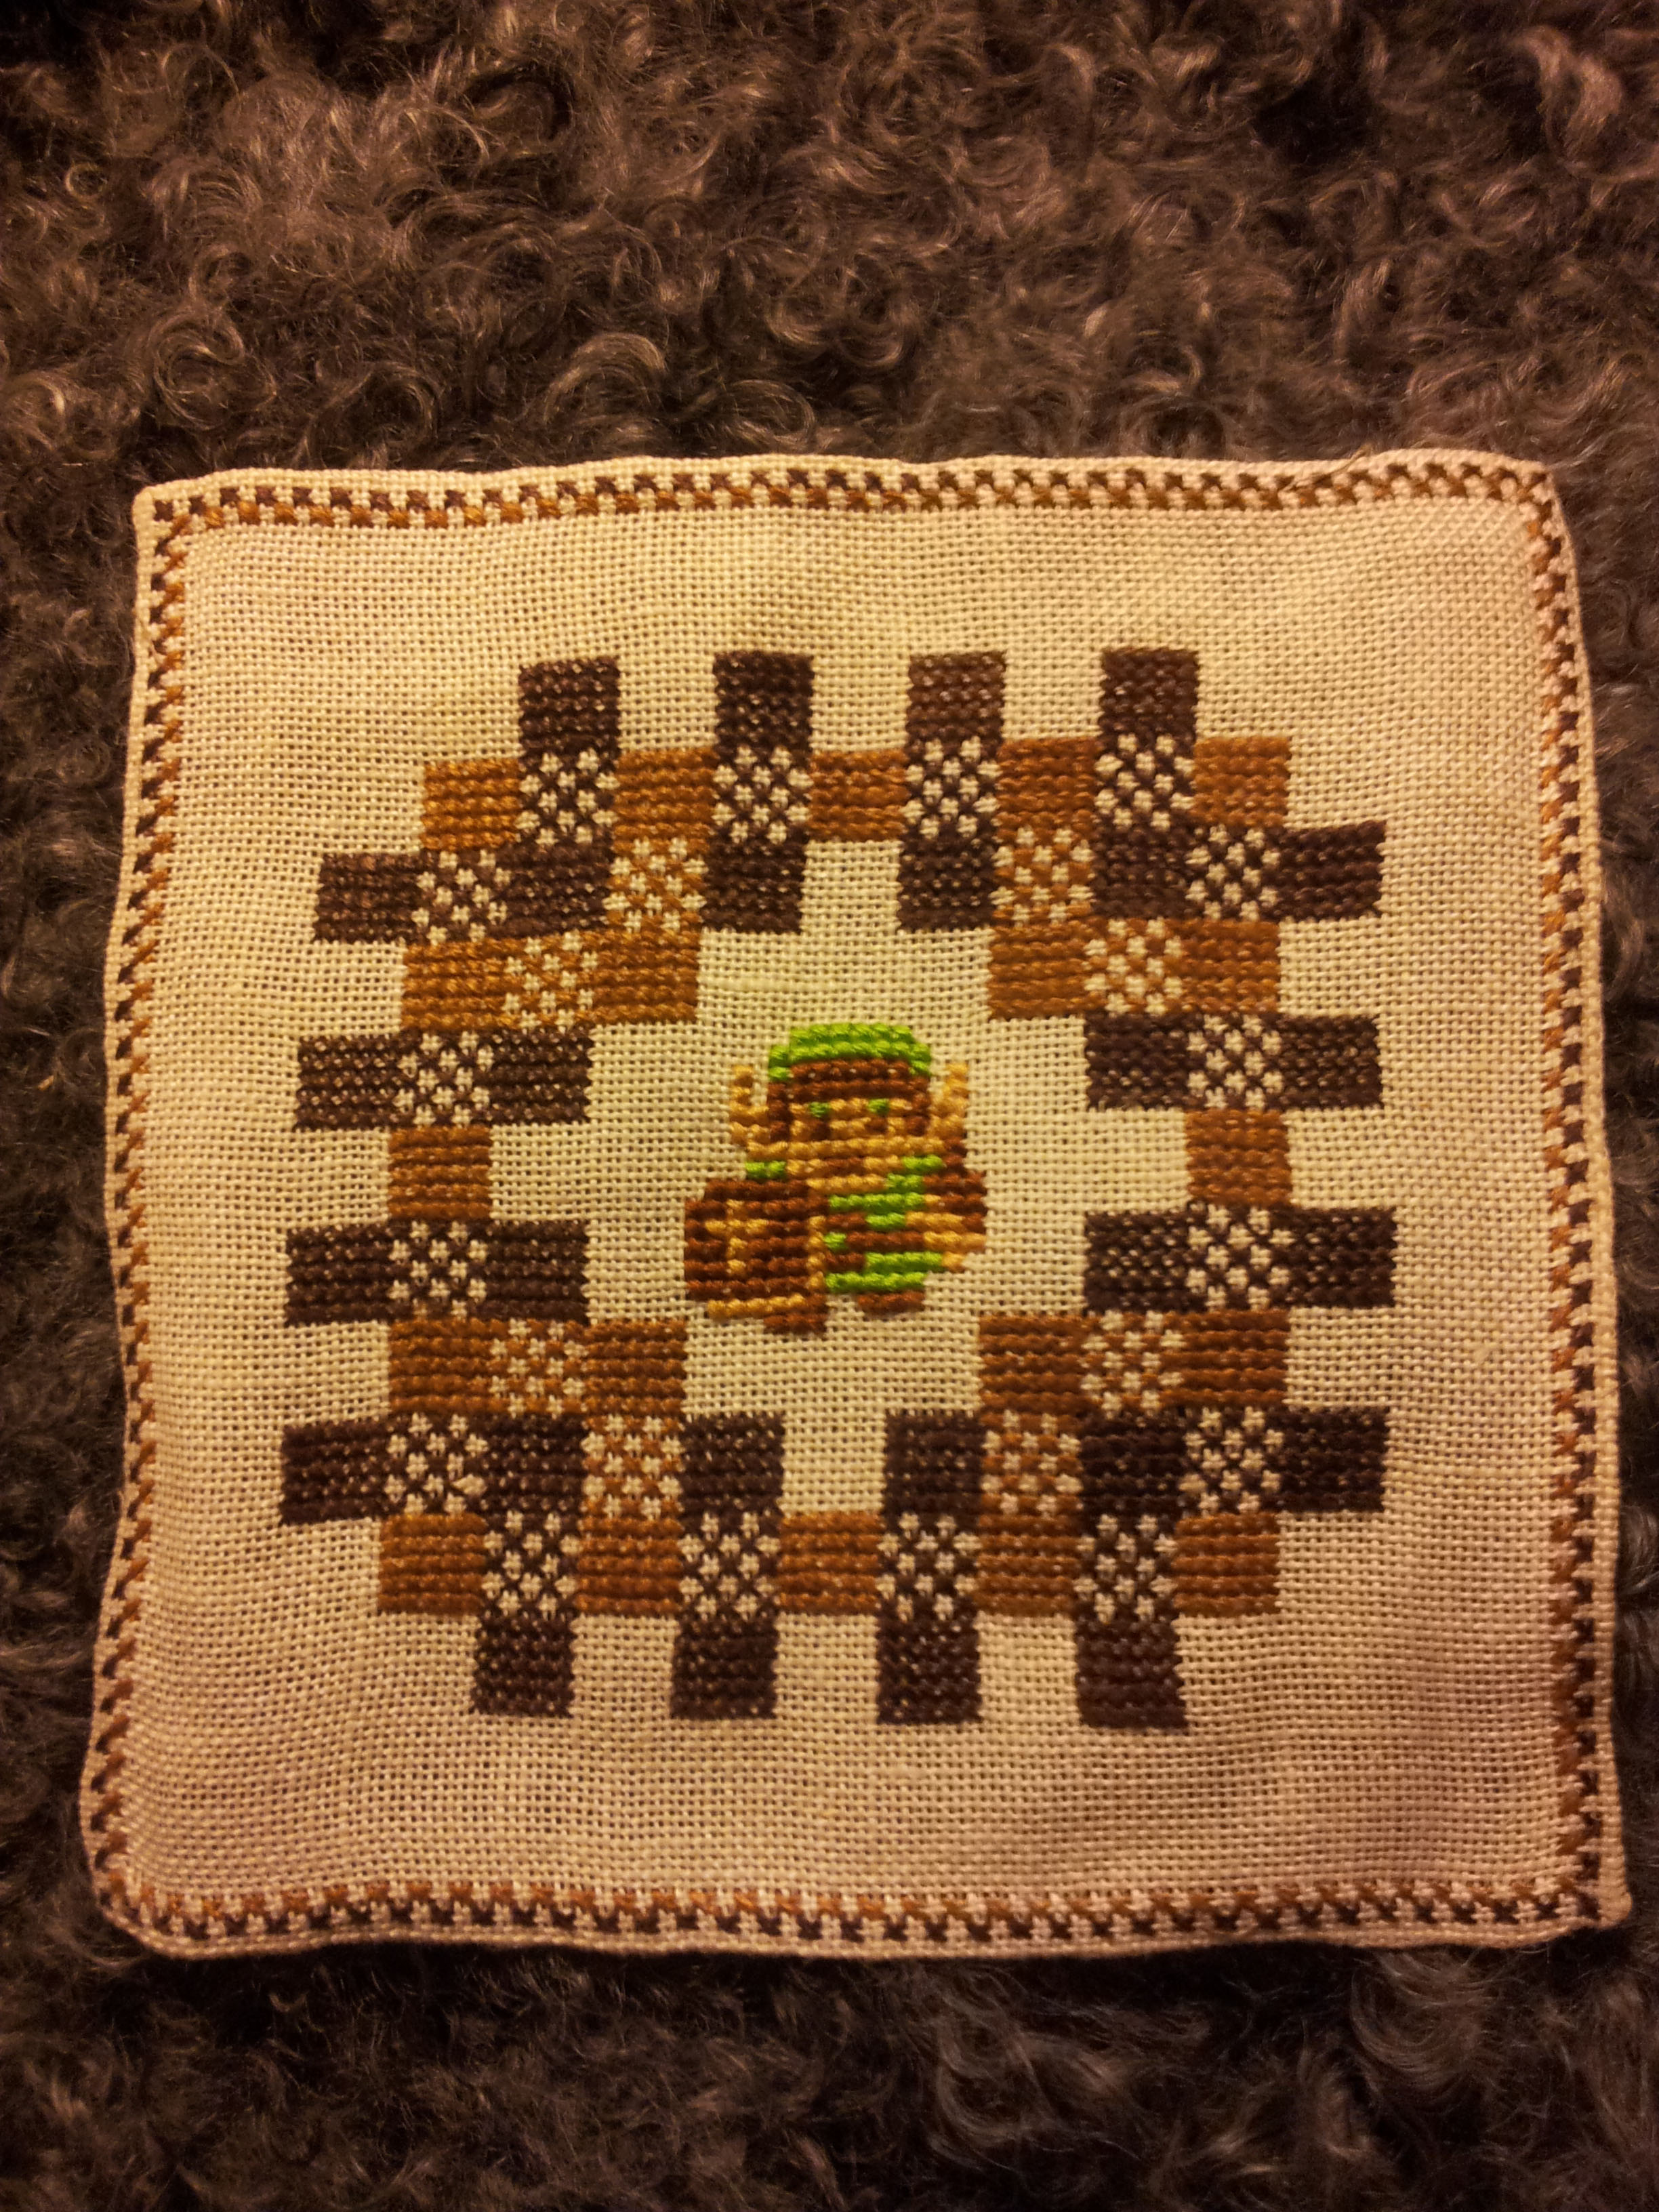
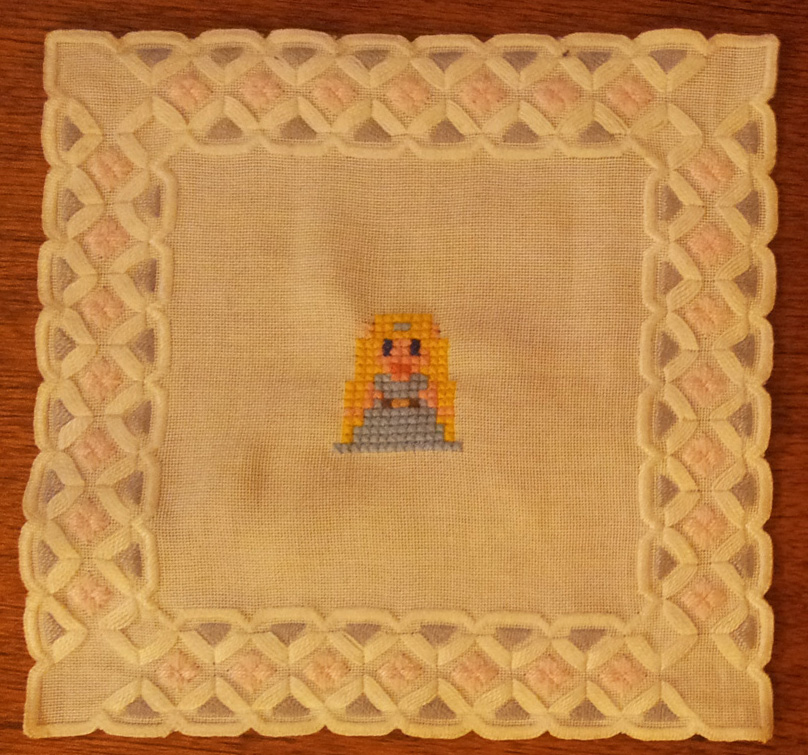
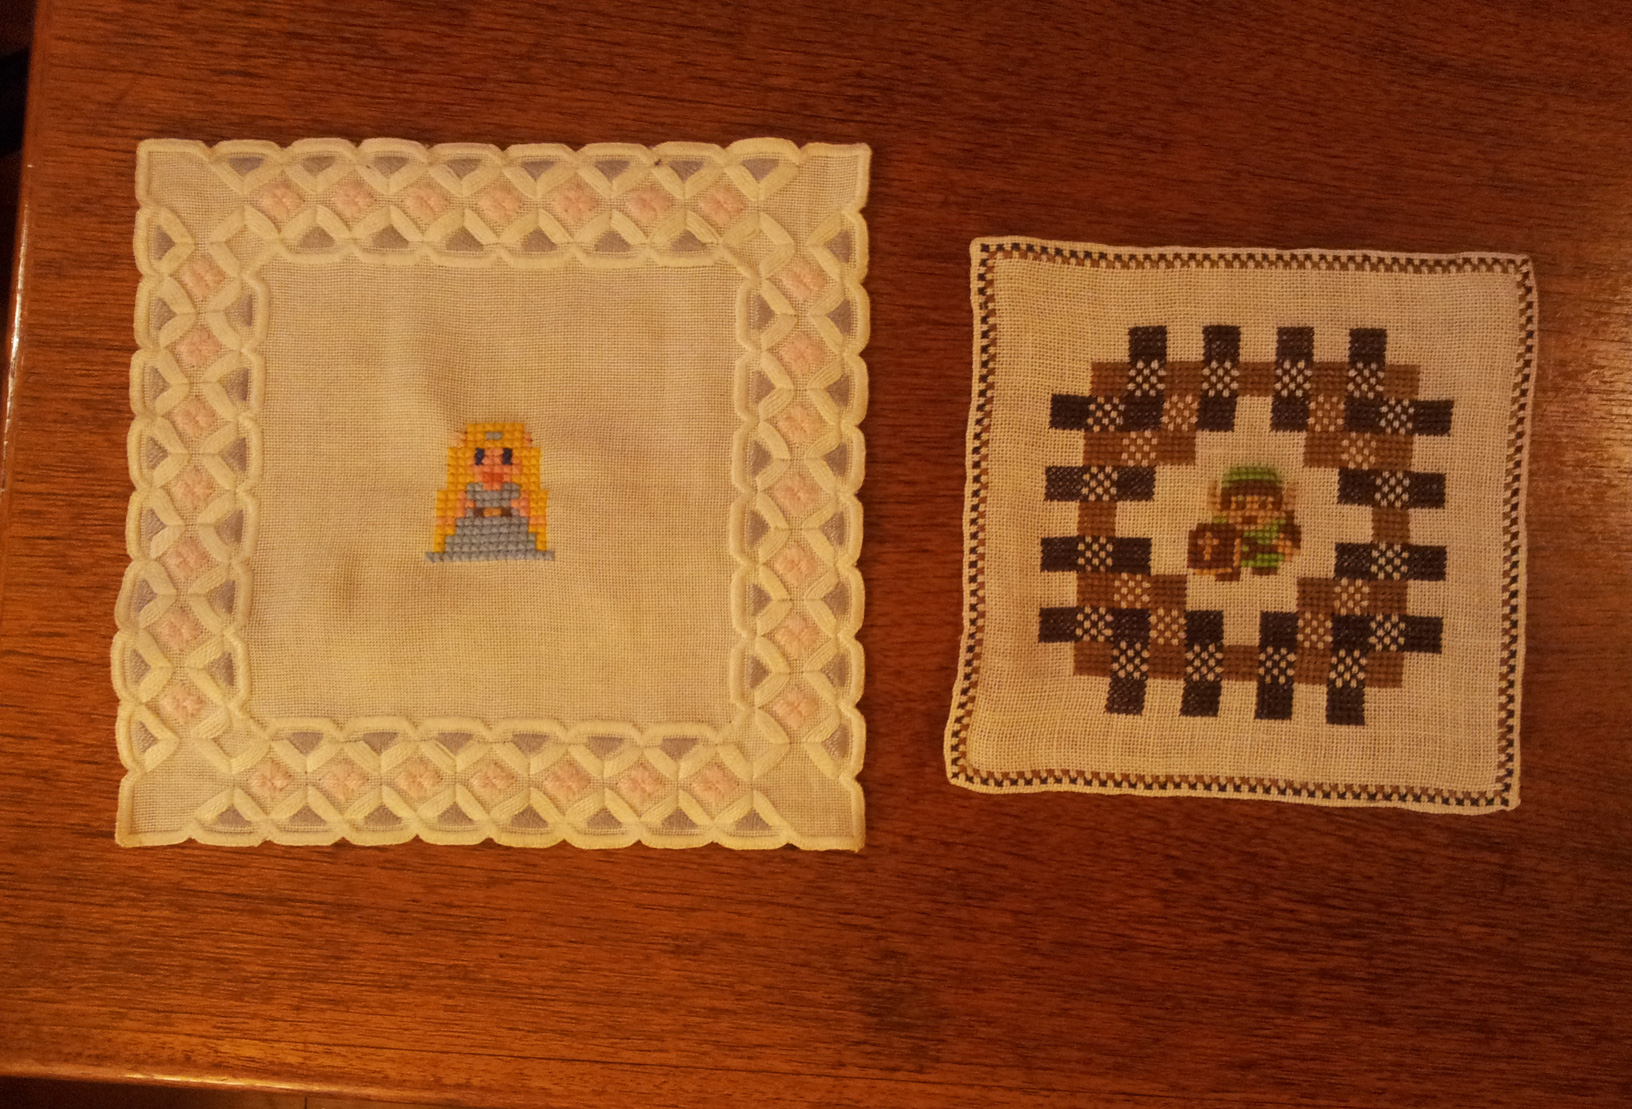
Link and Zelda Tablet Cross Stitch
I had been thinking of making something Zelda and Link. When I found these tablets, the earthier one was perfect for Link and a fancier one for Zelda. The Zelda sprite is from the final scene of the original 8-bit zelda, but blonde and with blue dress (those were the threads I had at hand, and my GF is blonde 😉 )
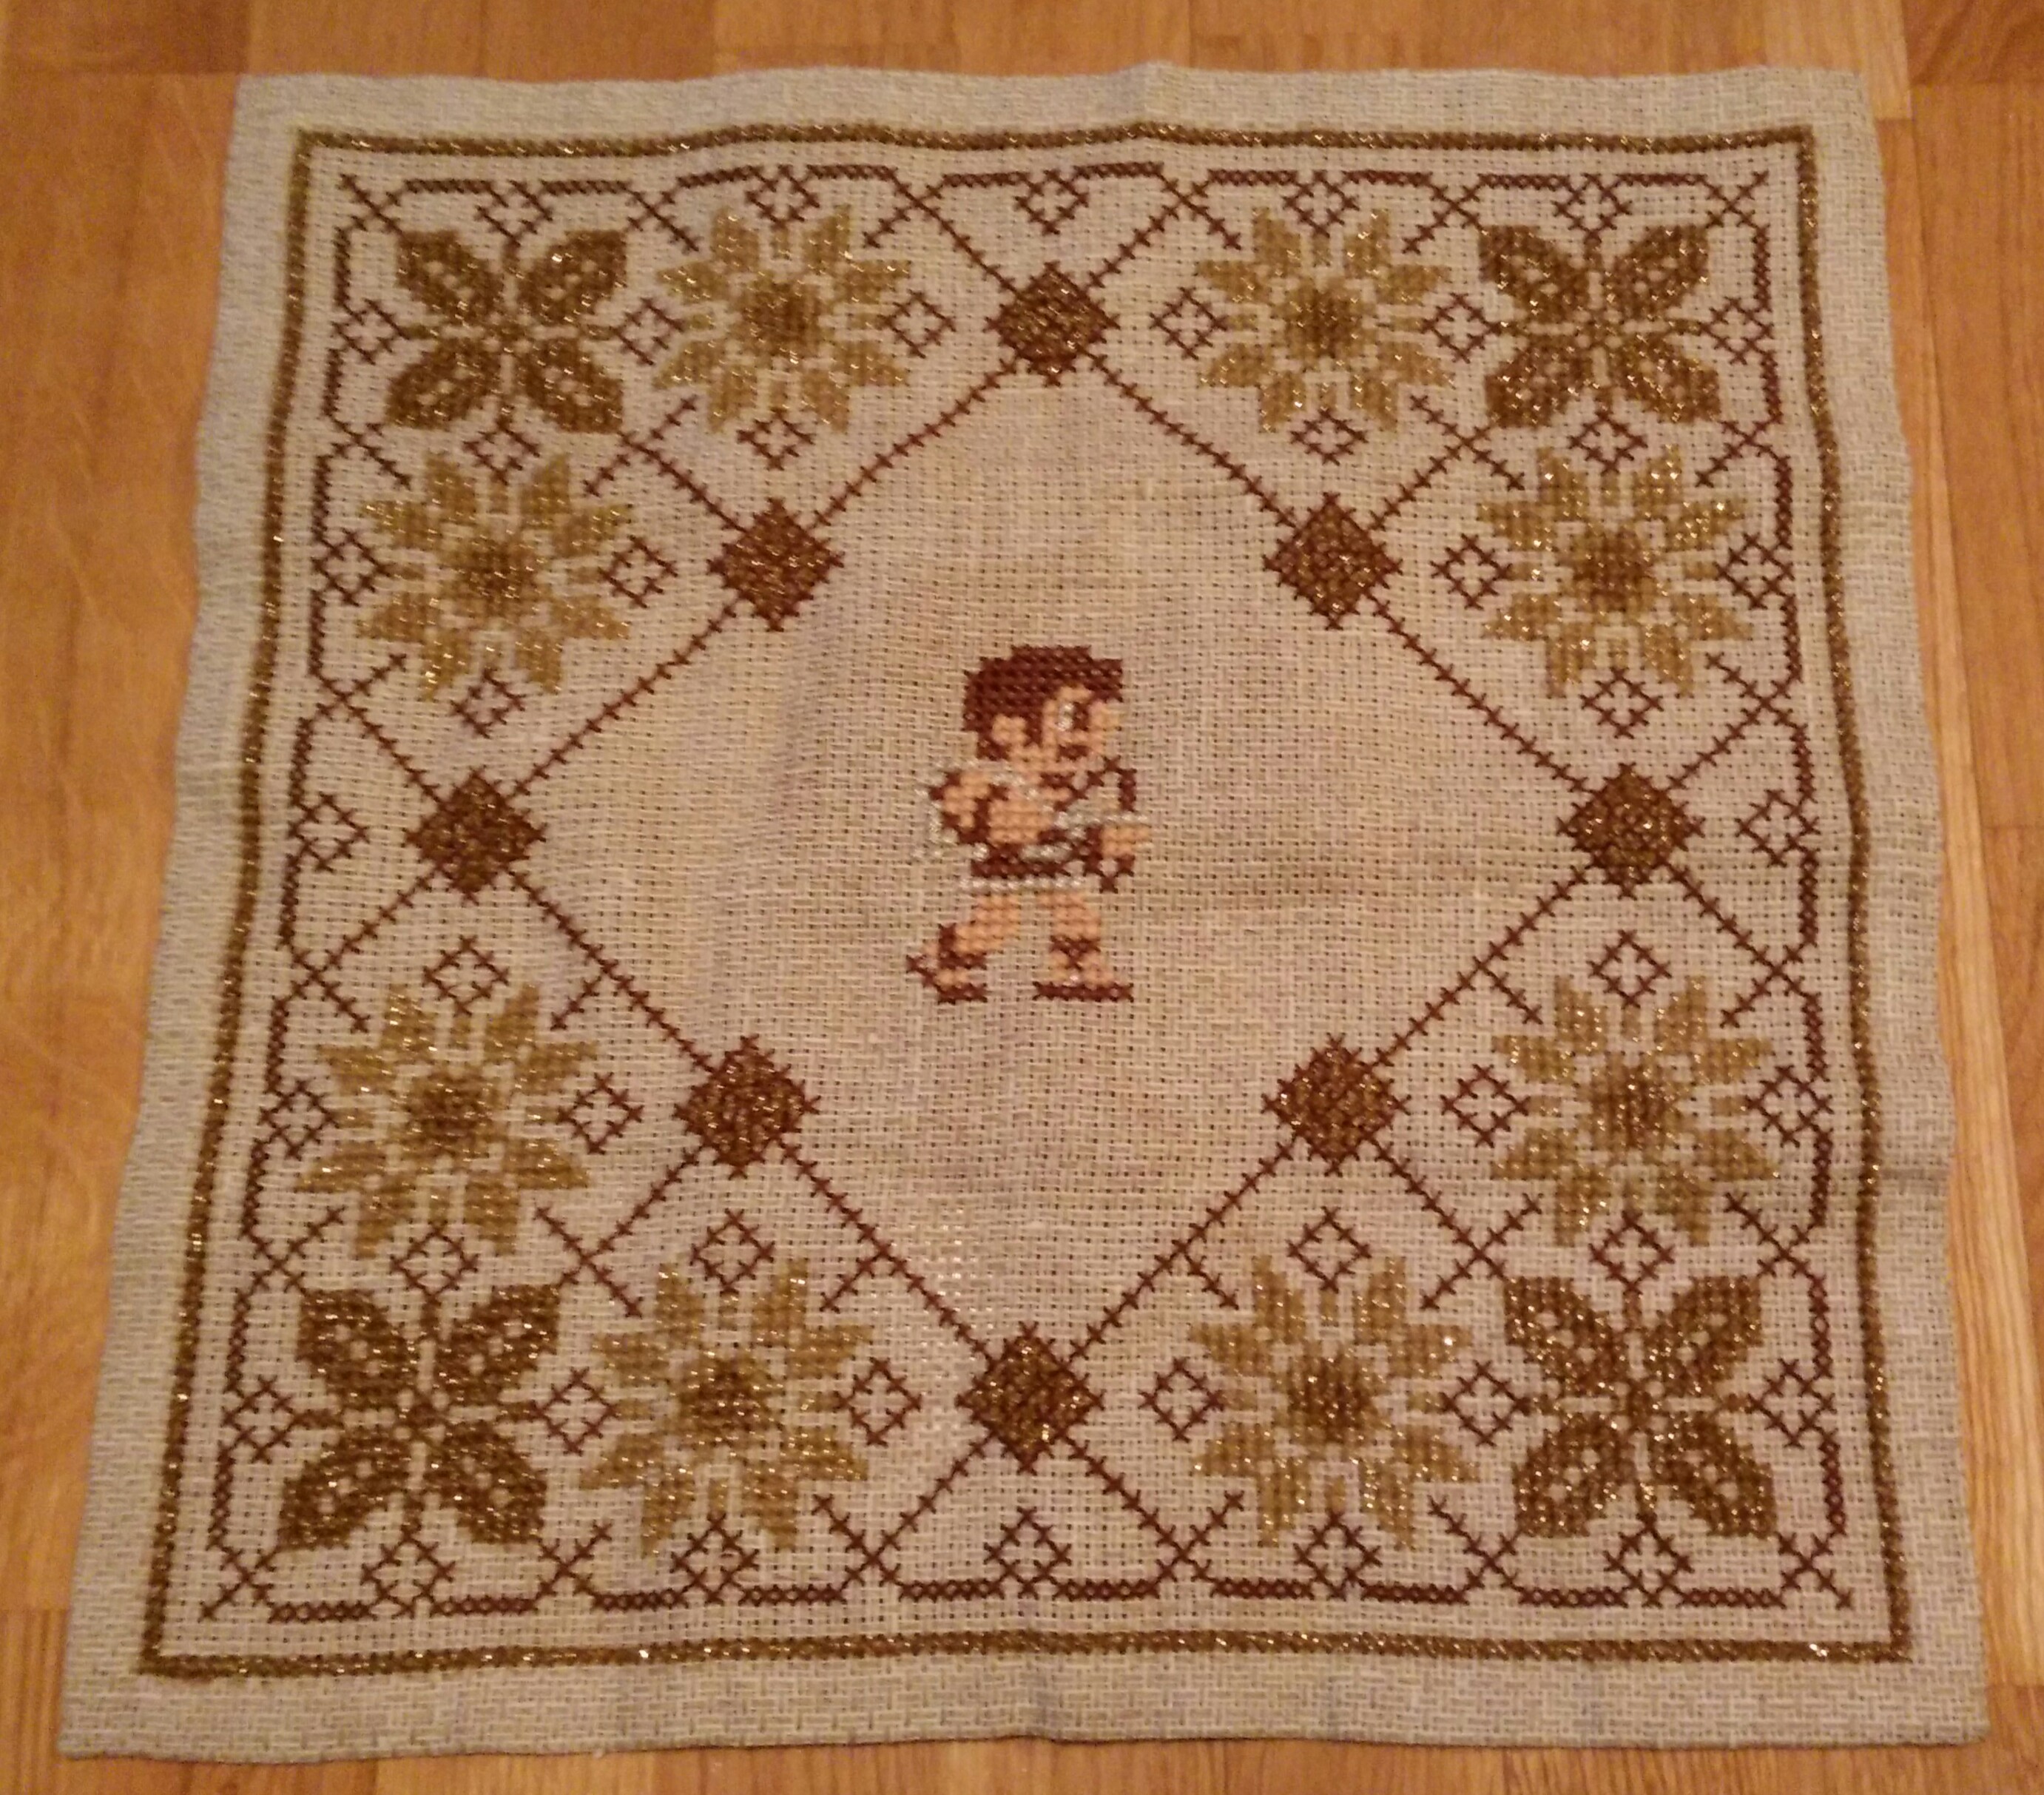
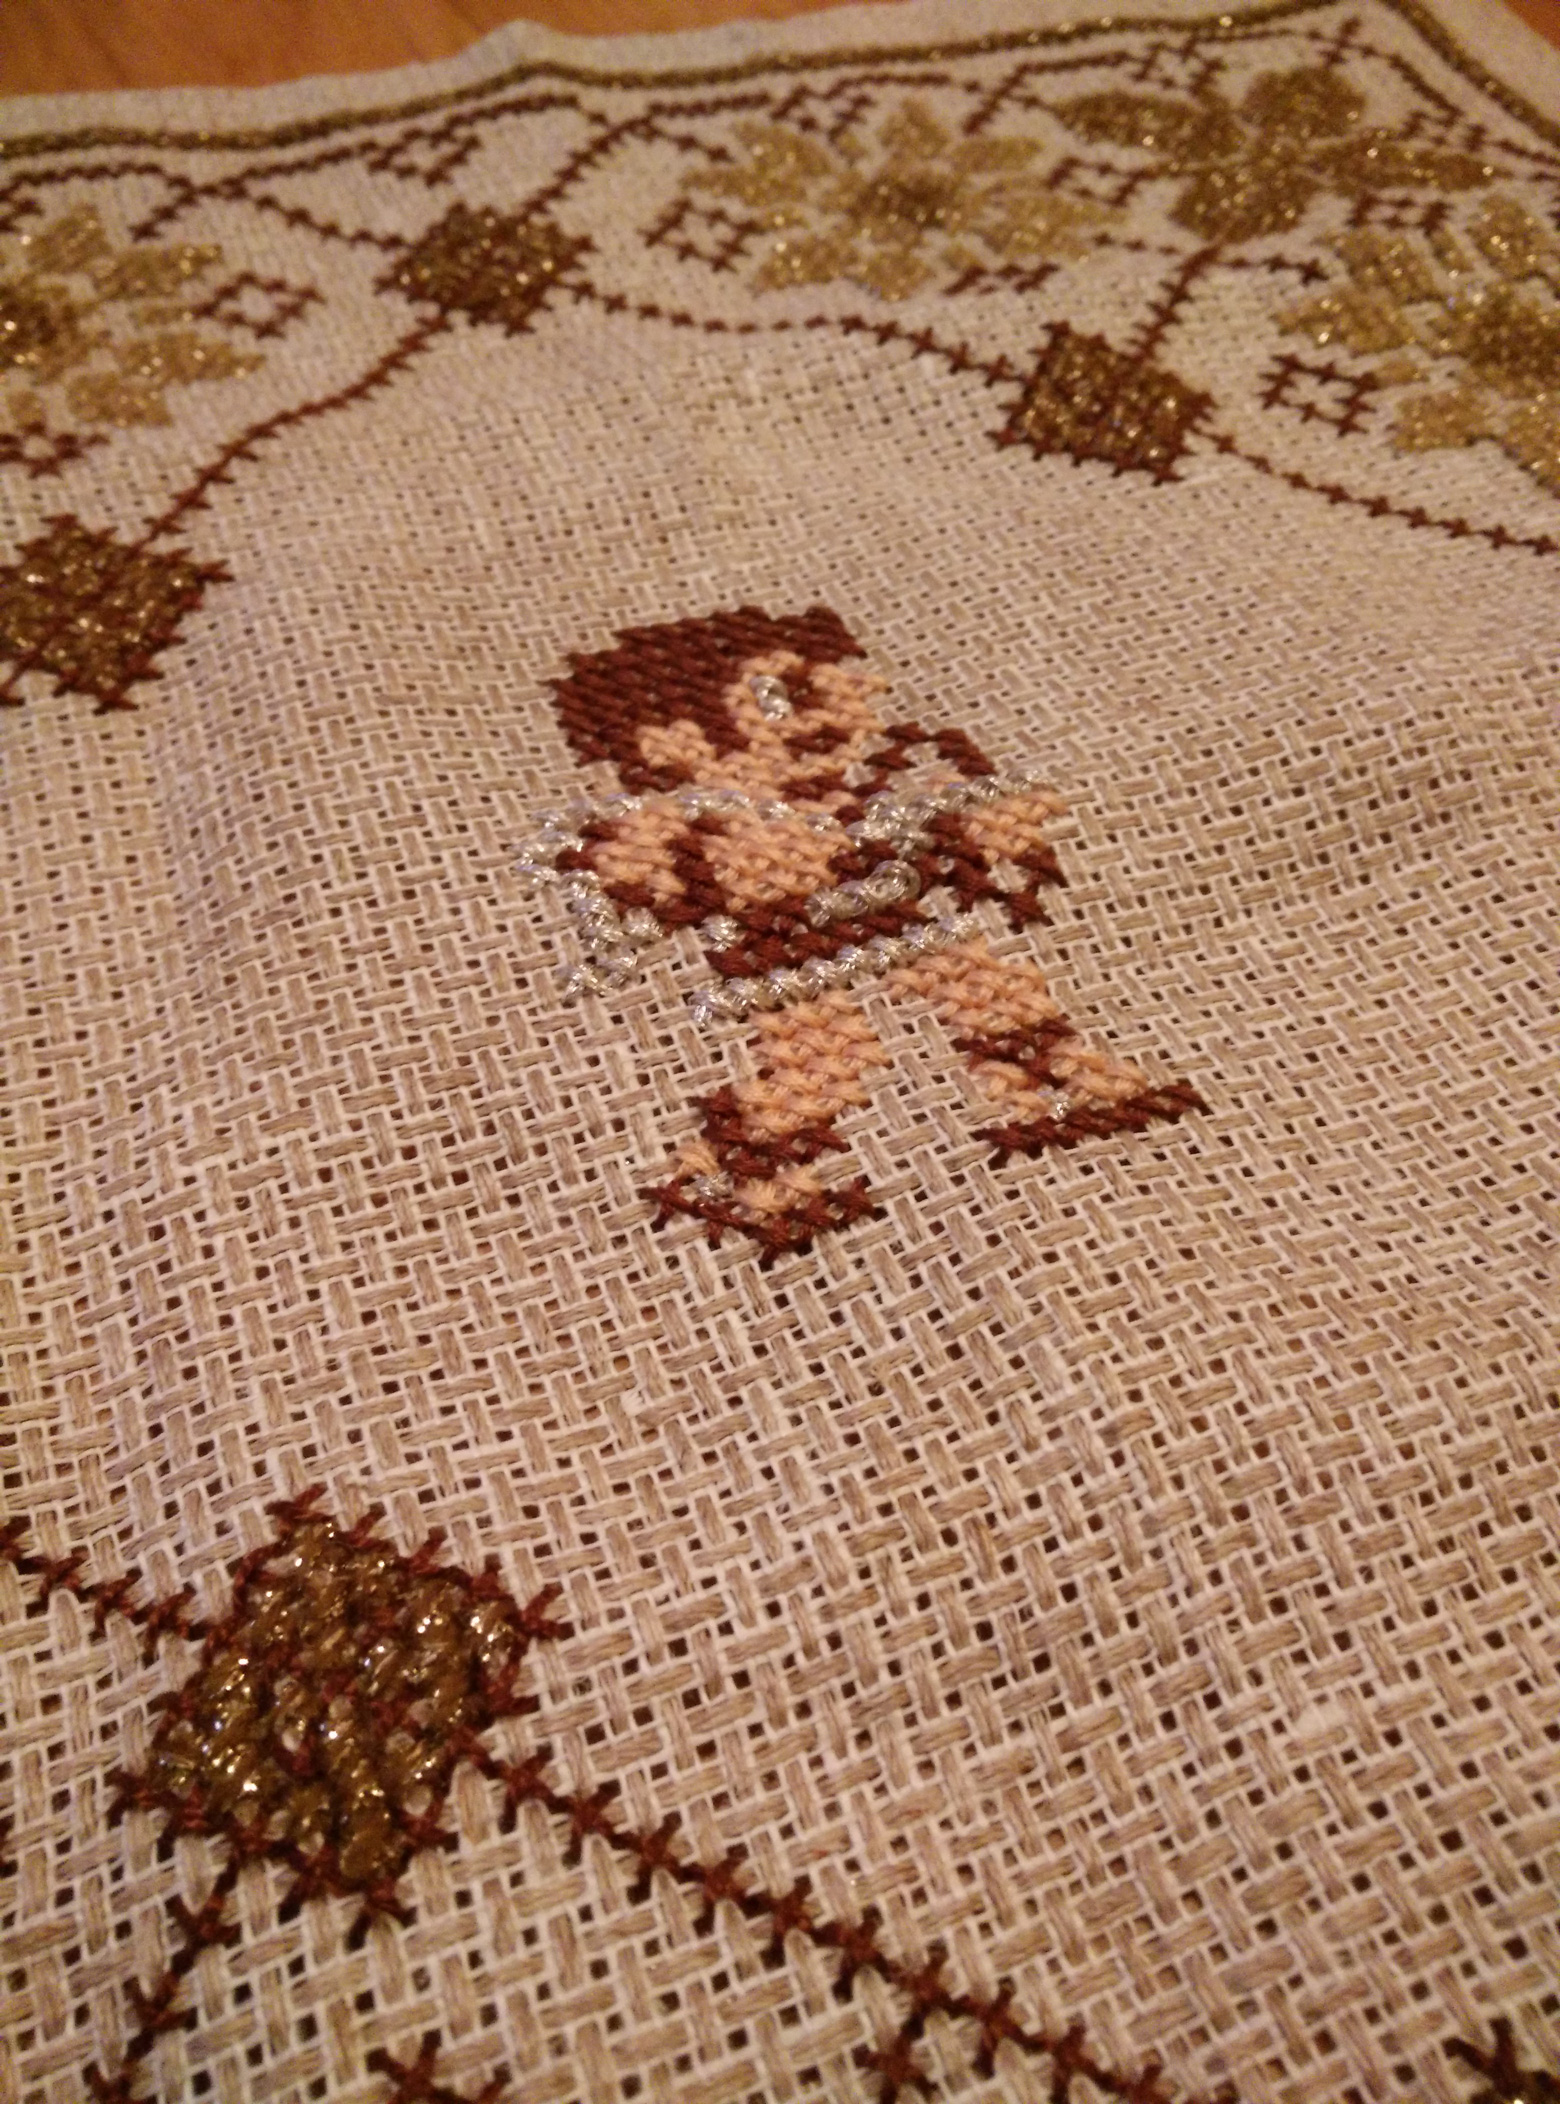
Kid Icarus Tablet Cross Stitch
I found a tablet with colors that I thought would go really well with the Kid Icarus color palette. I thought I could use silver to match the gold on the original, it was my first time using metallic thread and it was a pain to work with.. Also the silver is a little bit too similar to the fabric color… I might rip it out and replace it with white. Not sure yet…
Dig Dug Dragon Tablet Cross Stitch
Another tablet. Was a little bit of a struggle to find a subject for this. Could’ve gone with the Mario fire flower or something Metroid, but I already have a Metroid, and I’m a little bit tired of Mario right now. I noticed the border looked a little like one of the guys from Dig Dug, so I thought I’d do that one, but it was a little bit much of the same, so I choose his companion, the derpy fire breathing dragon 🙂
I found a dig dug sprite sheet that I opened in the IsoPix app, where I zoomed in to get the grid and took a screenshot that I could follow (I then added center markings for easier placement).
When I had done all the cross stitches I found that the white color whas kind of hard to distinguish from the fabric, so the eye was hard to see. Since the original had precedence of making straight stitches to outline shapes, I tried that, and I think it worked great!
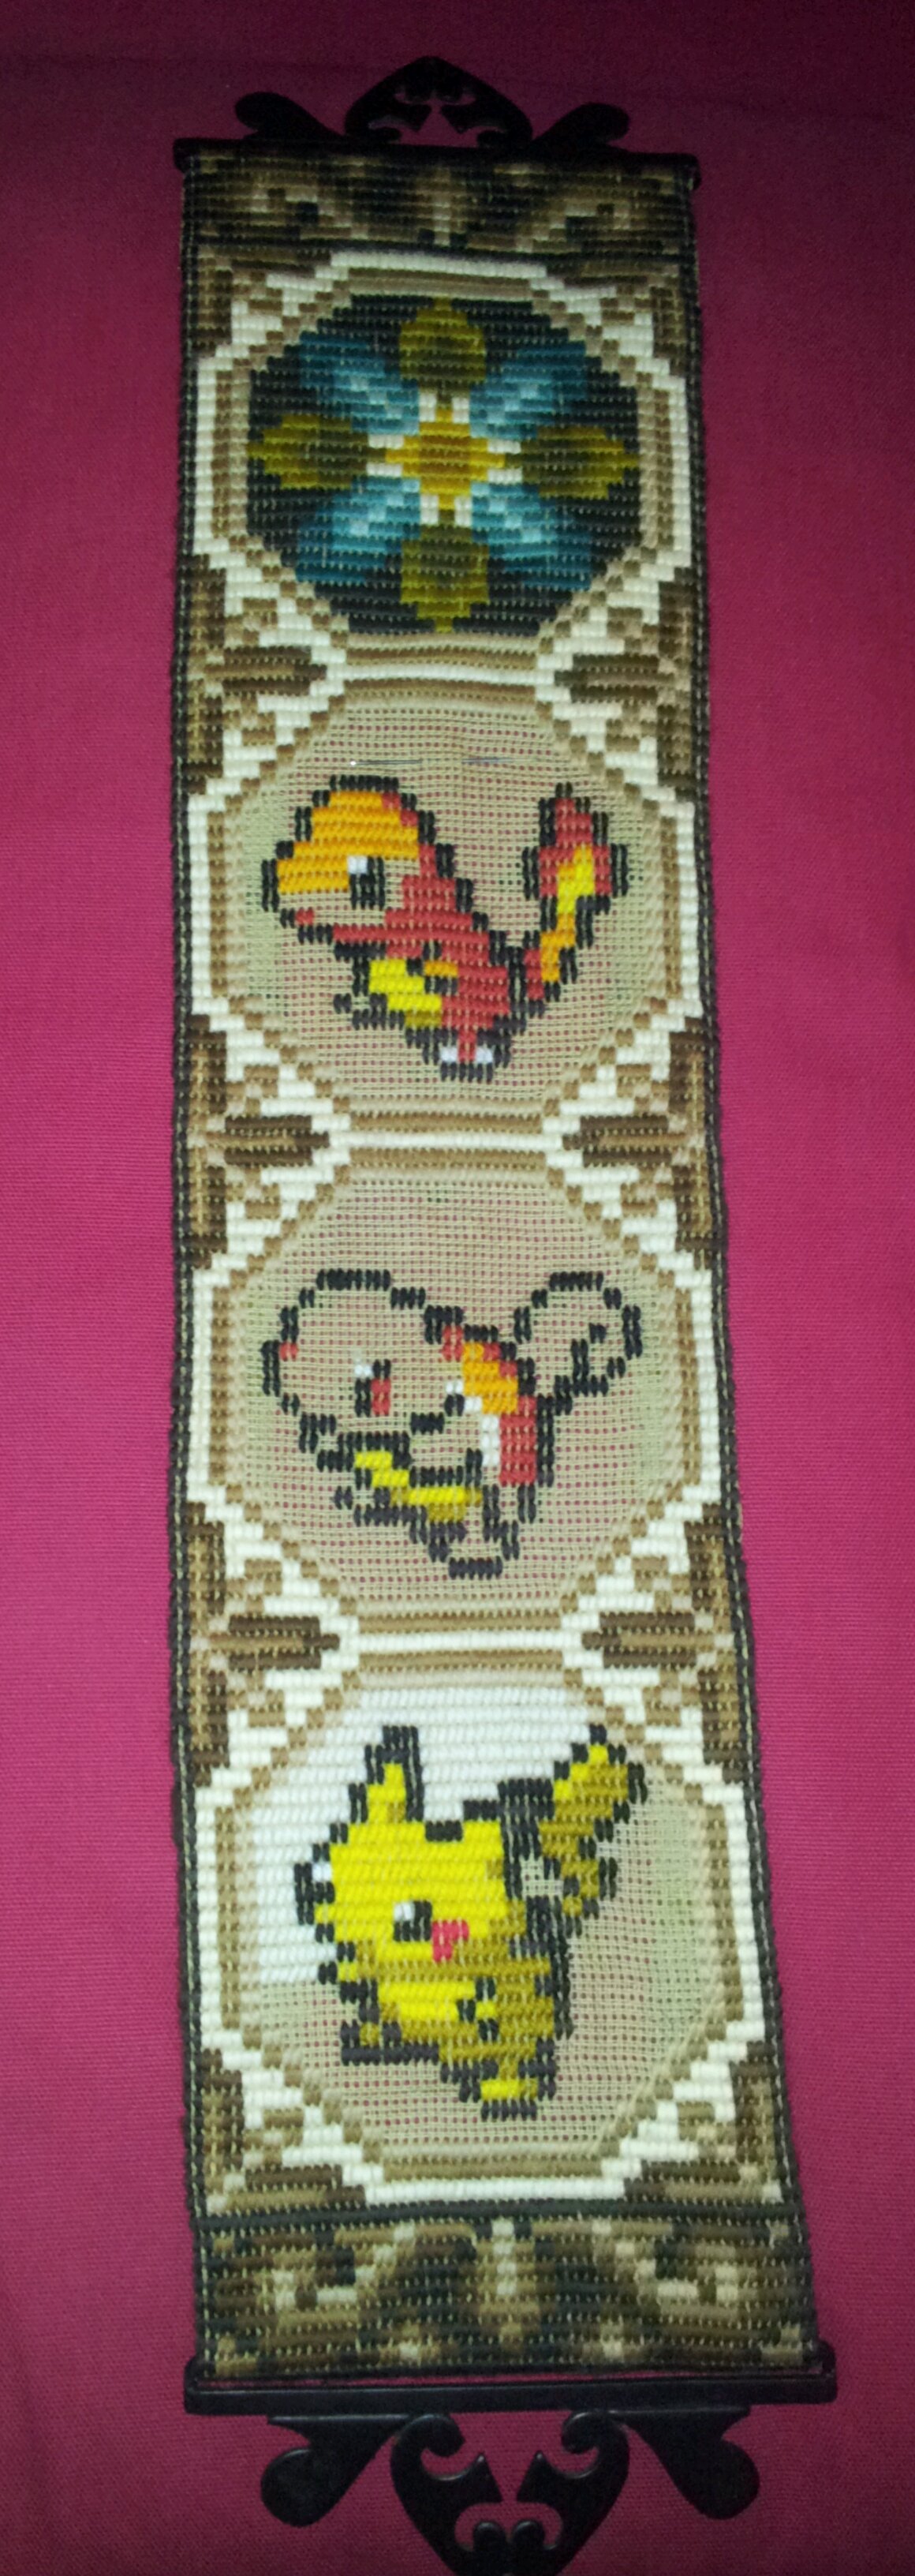
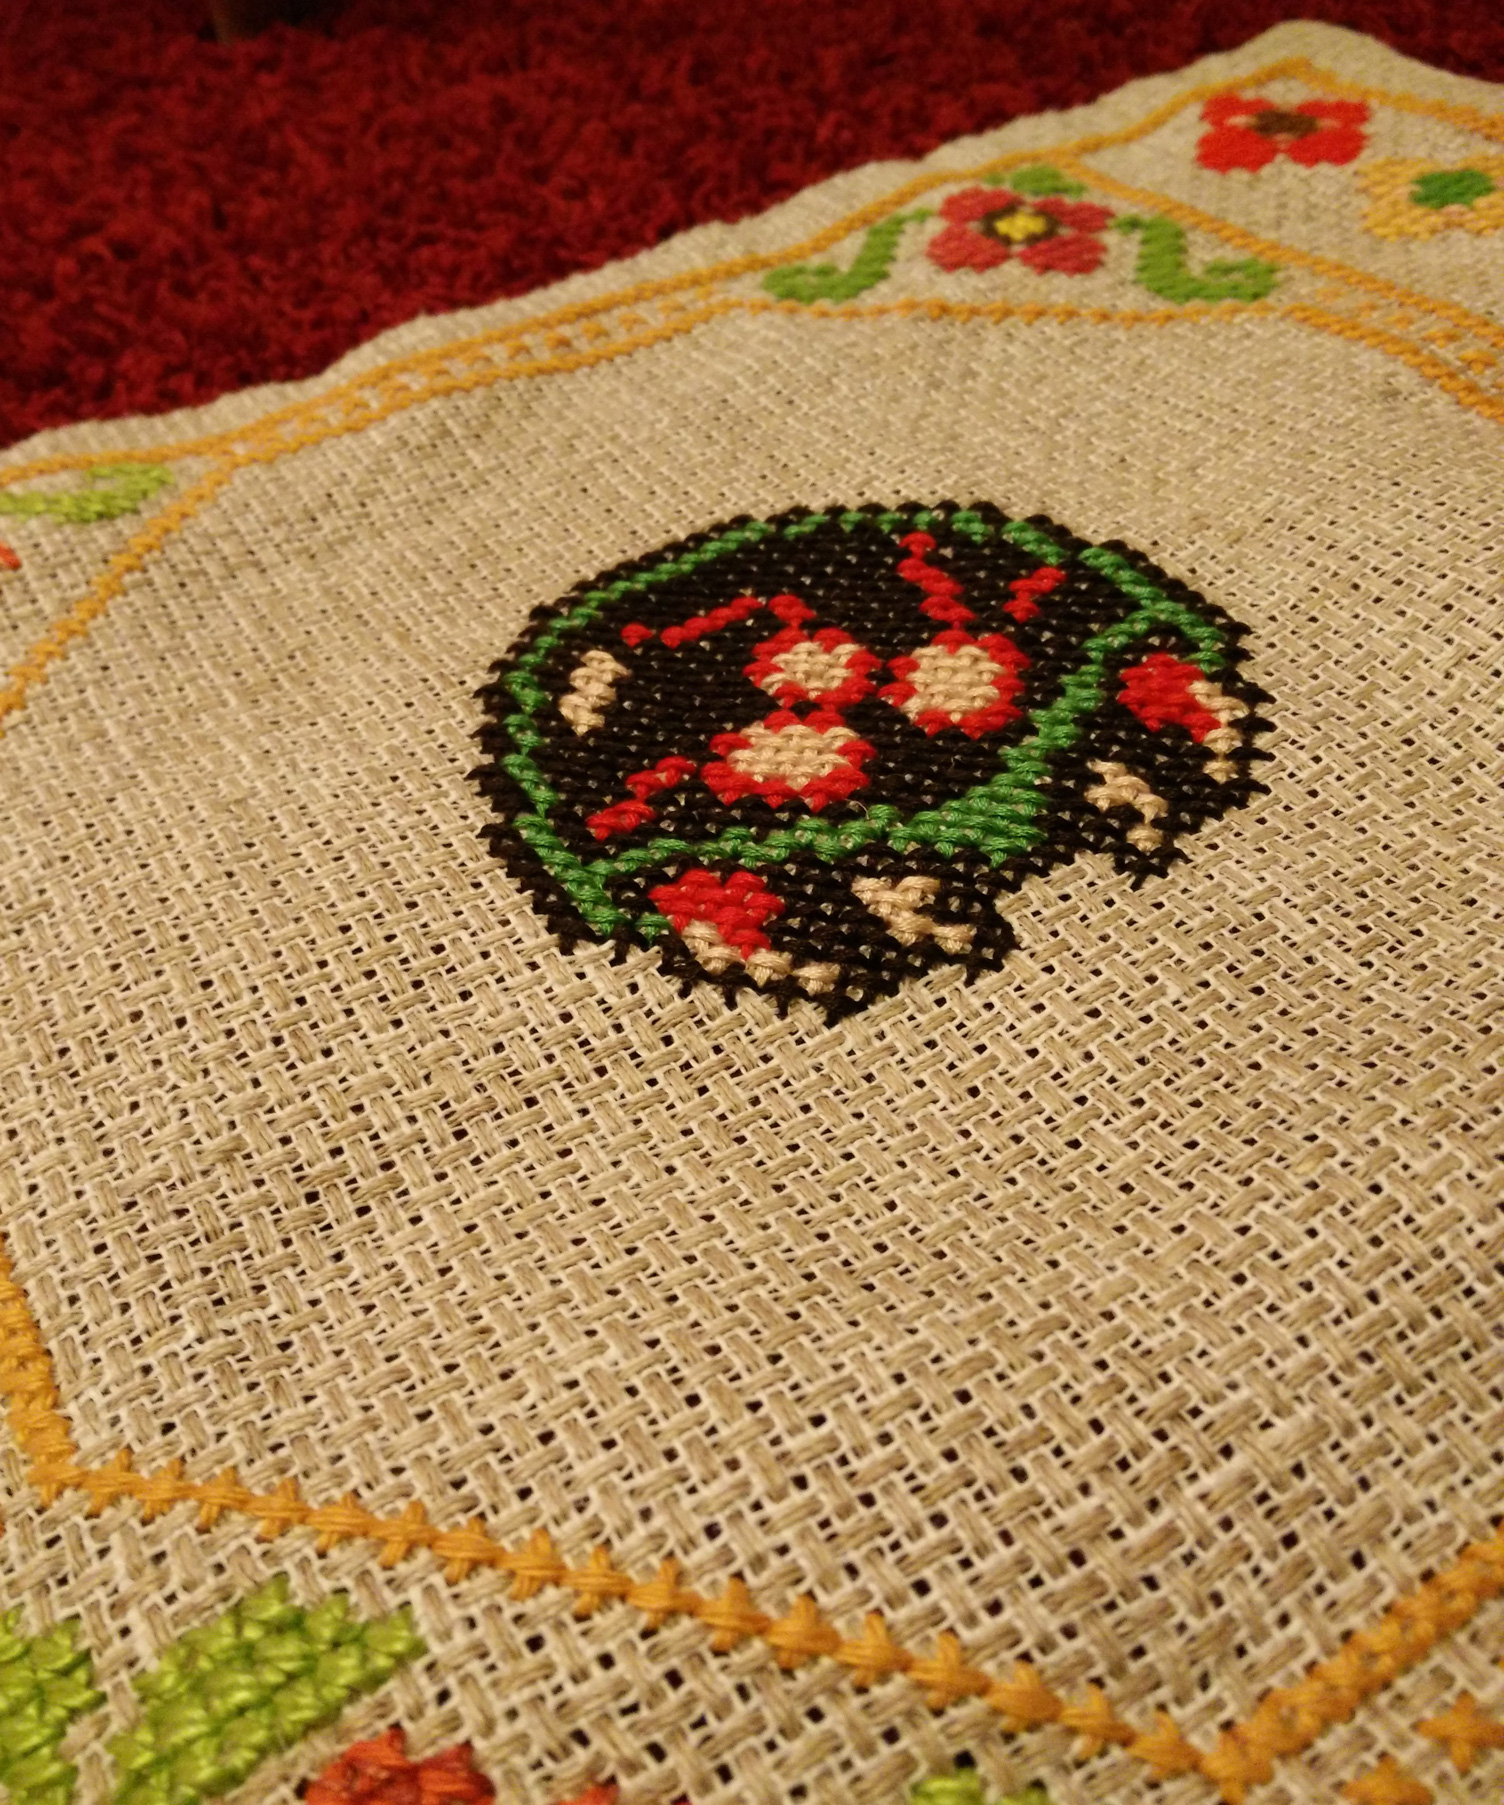
Pokémon Wall Hanging Straight Stitch
When I found this wall hanging with four distinct areas, kind of like the Kirby one, I thought that four different Pokémon was perfect! I removed the flowers and counted the empty area. Then I googled and found, though this post, the Diamond/Pearl: Pokemon Icons that was the perfect size icons with few enough colors. I first wanted to make my favourite pokemon (Ponyta, Jigglypuff, Vulpix), but i found it more effective with the best known ones. Again, placement and color matching is key! (and plain backgrounds are boring!)

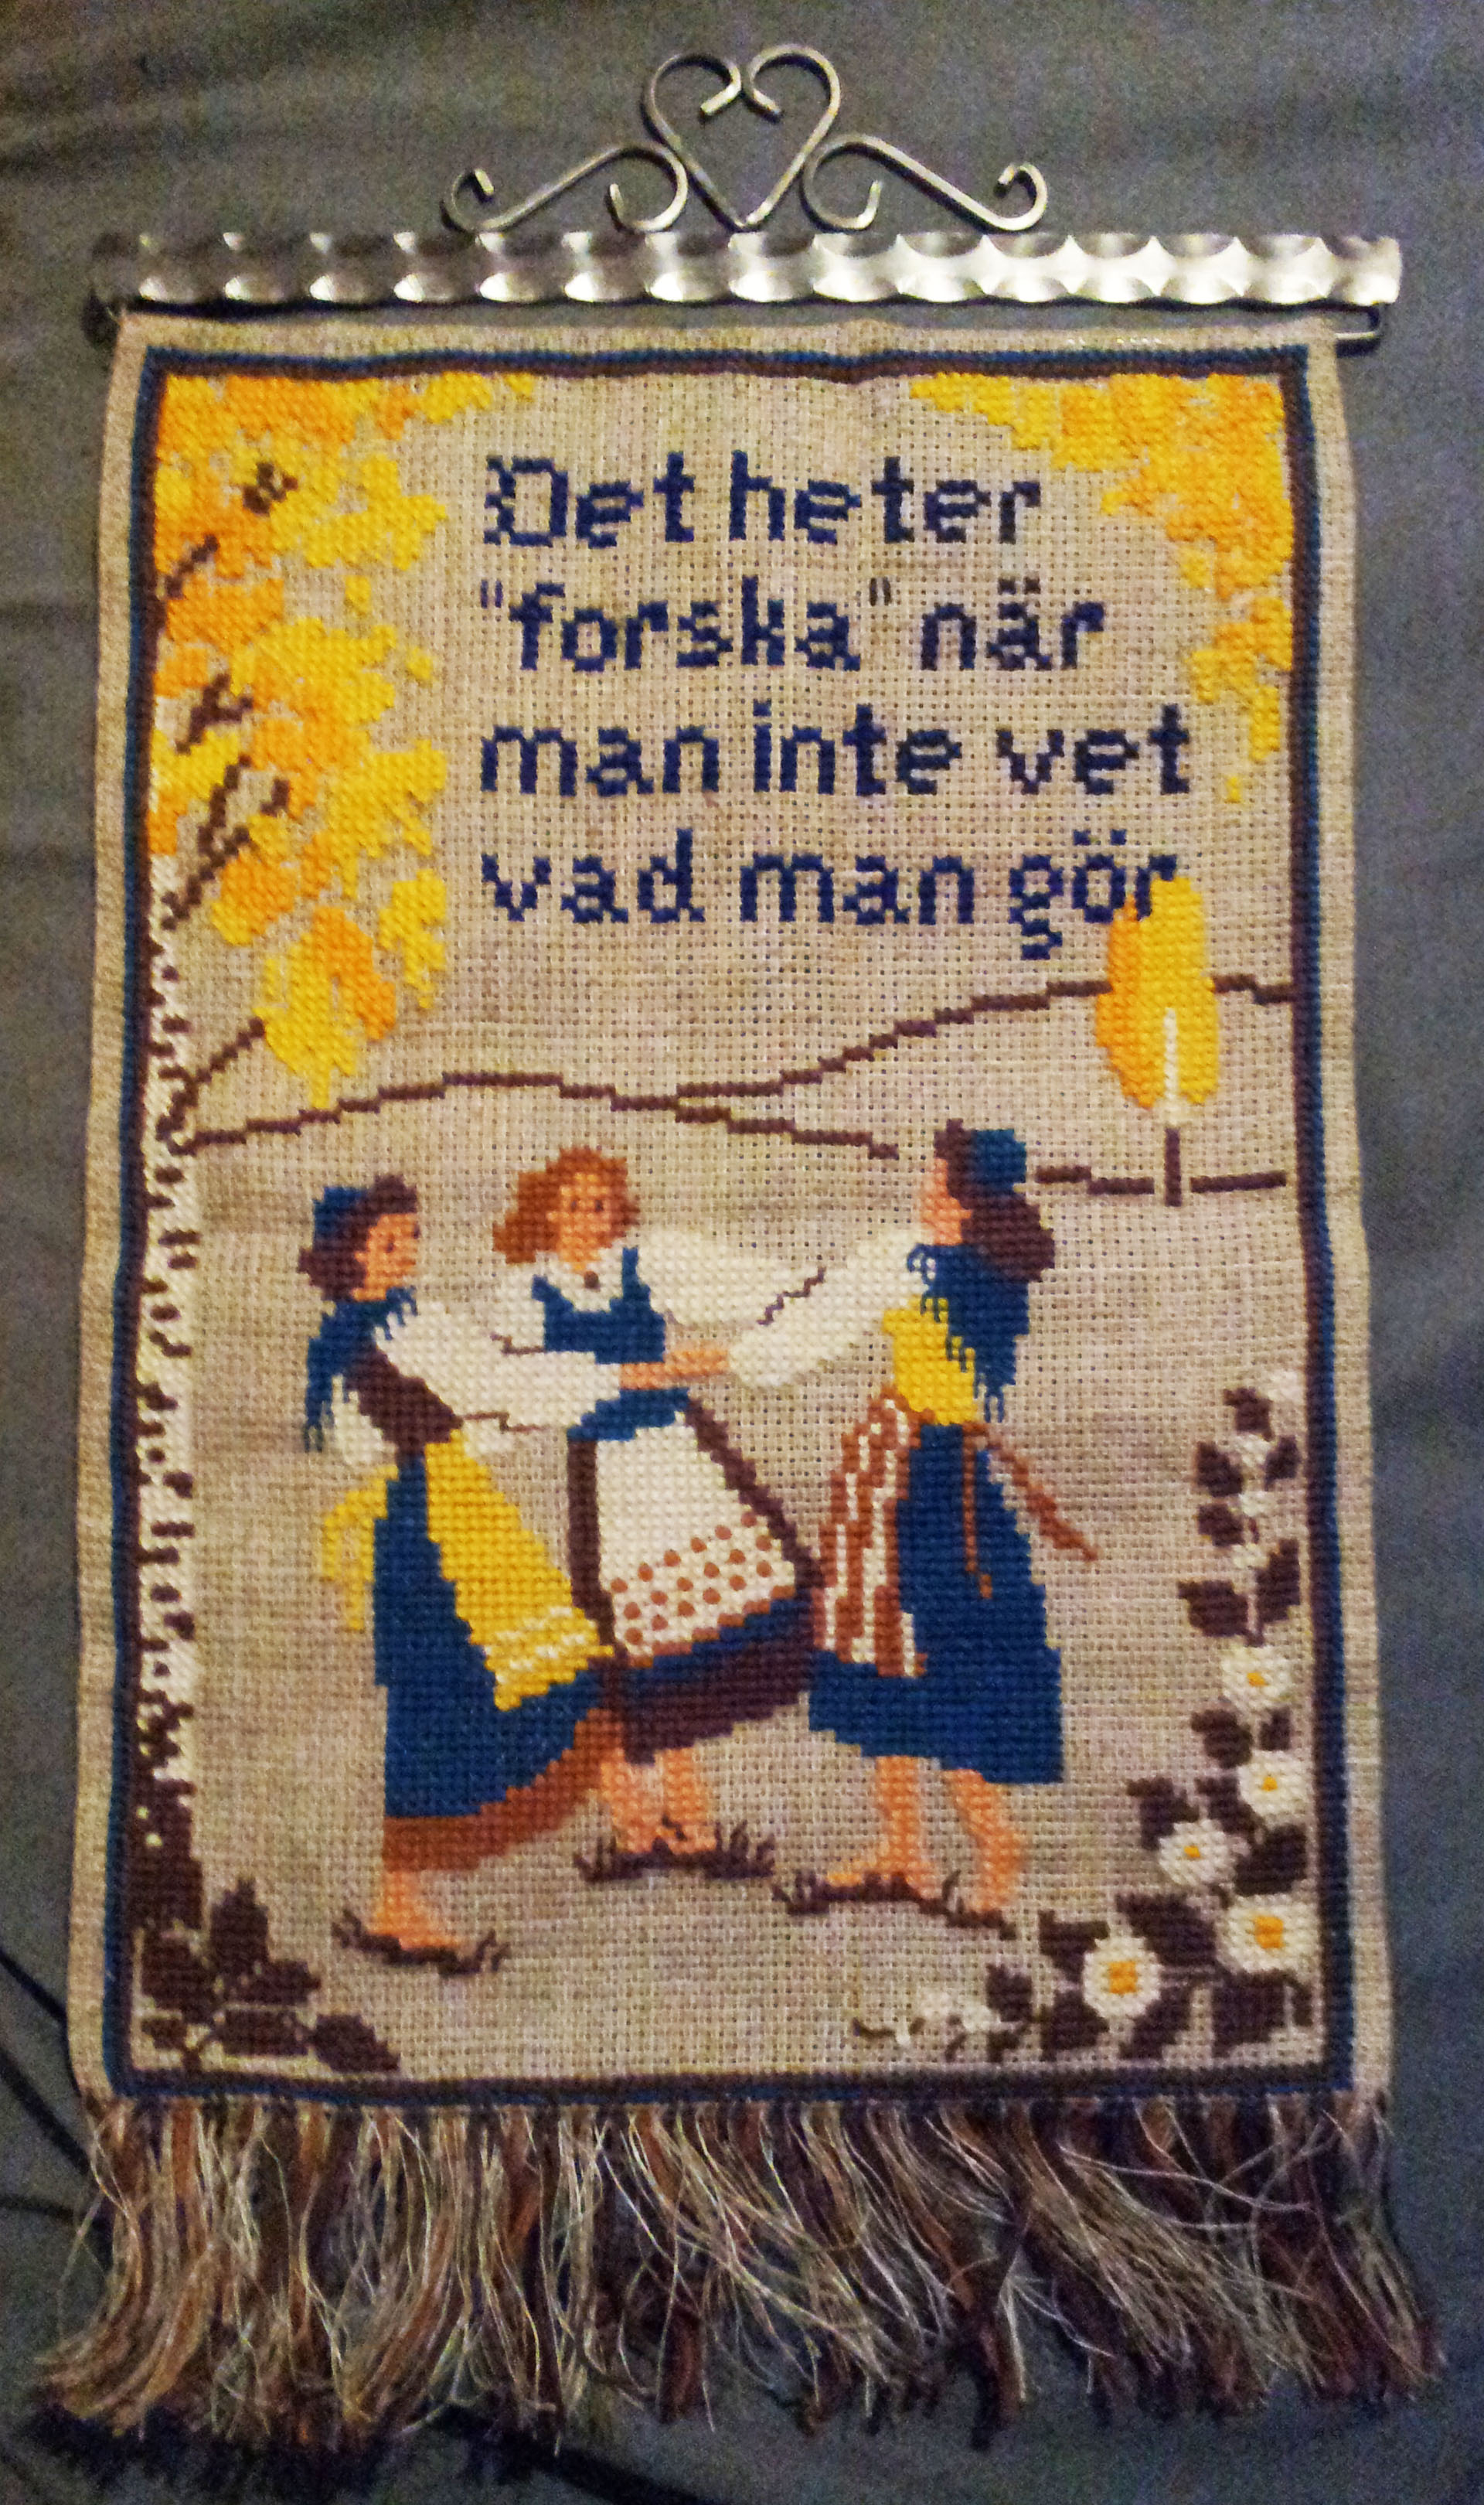
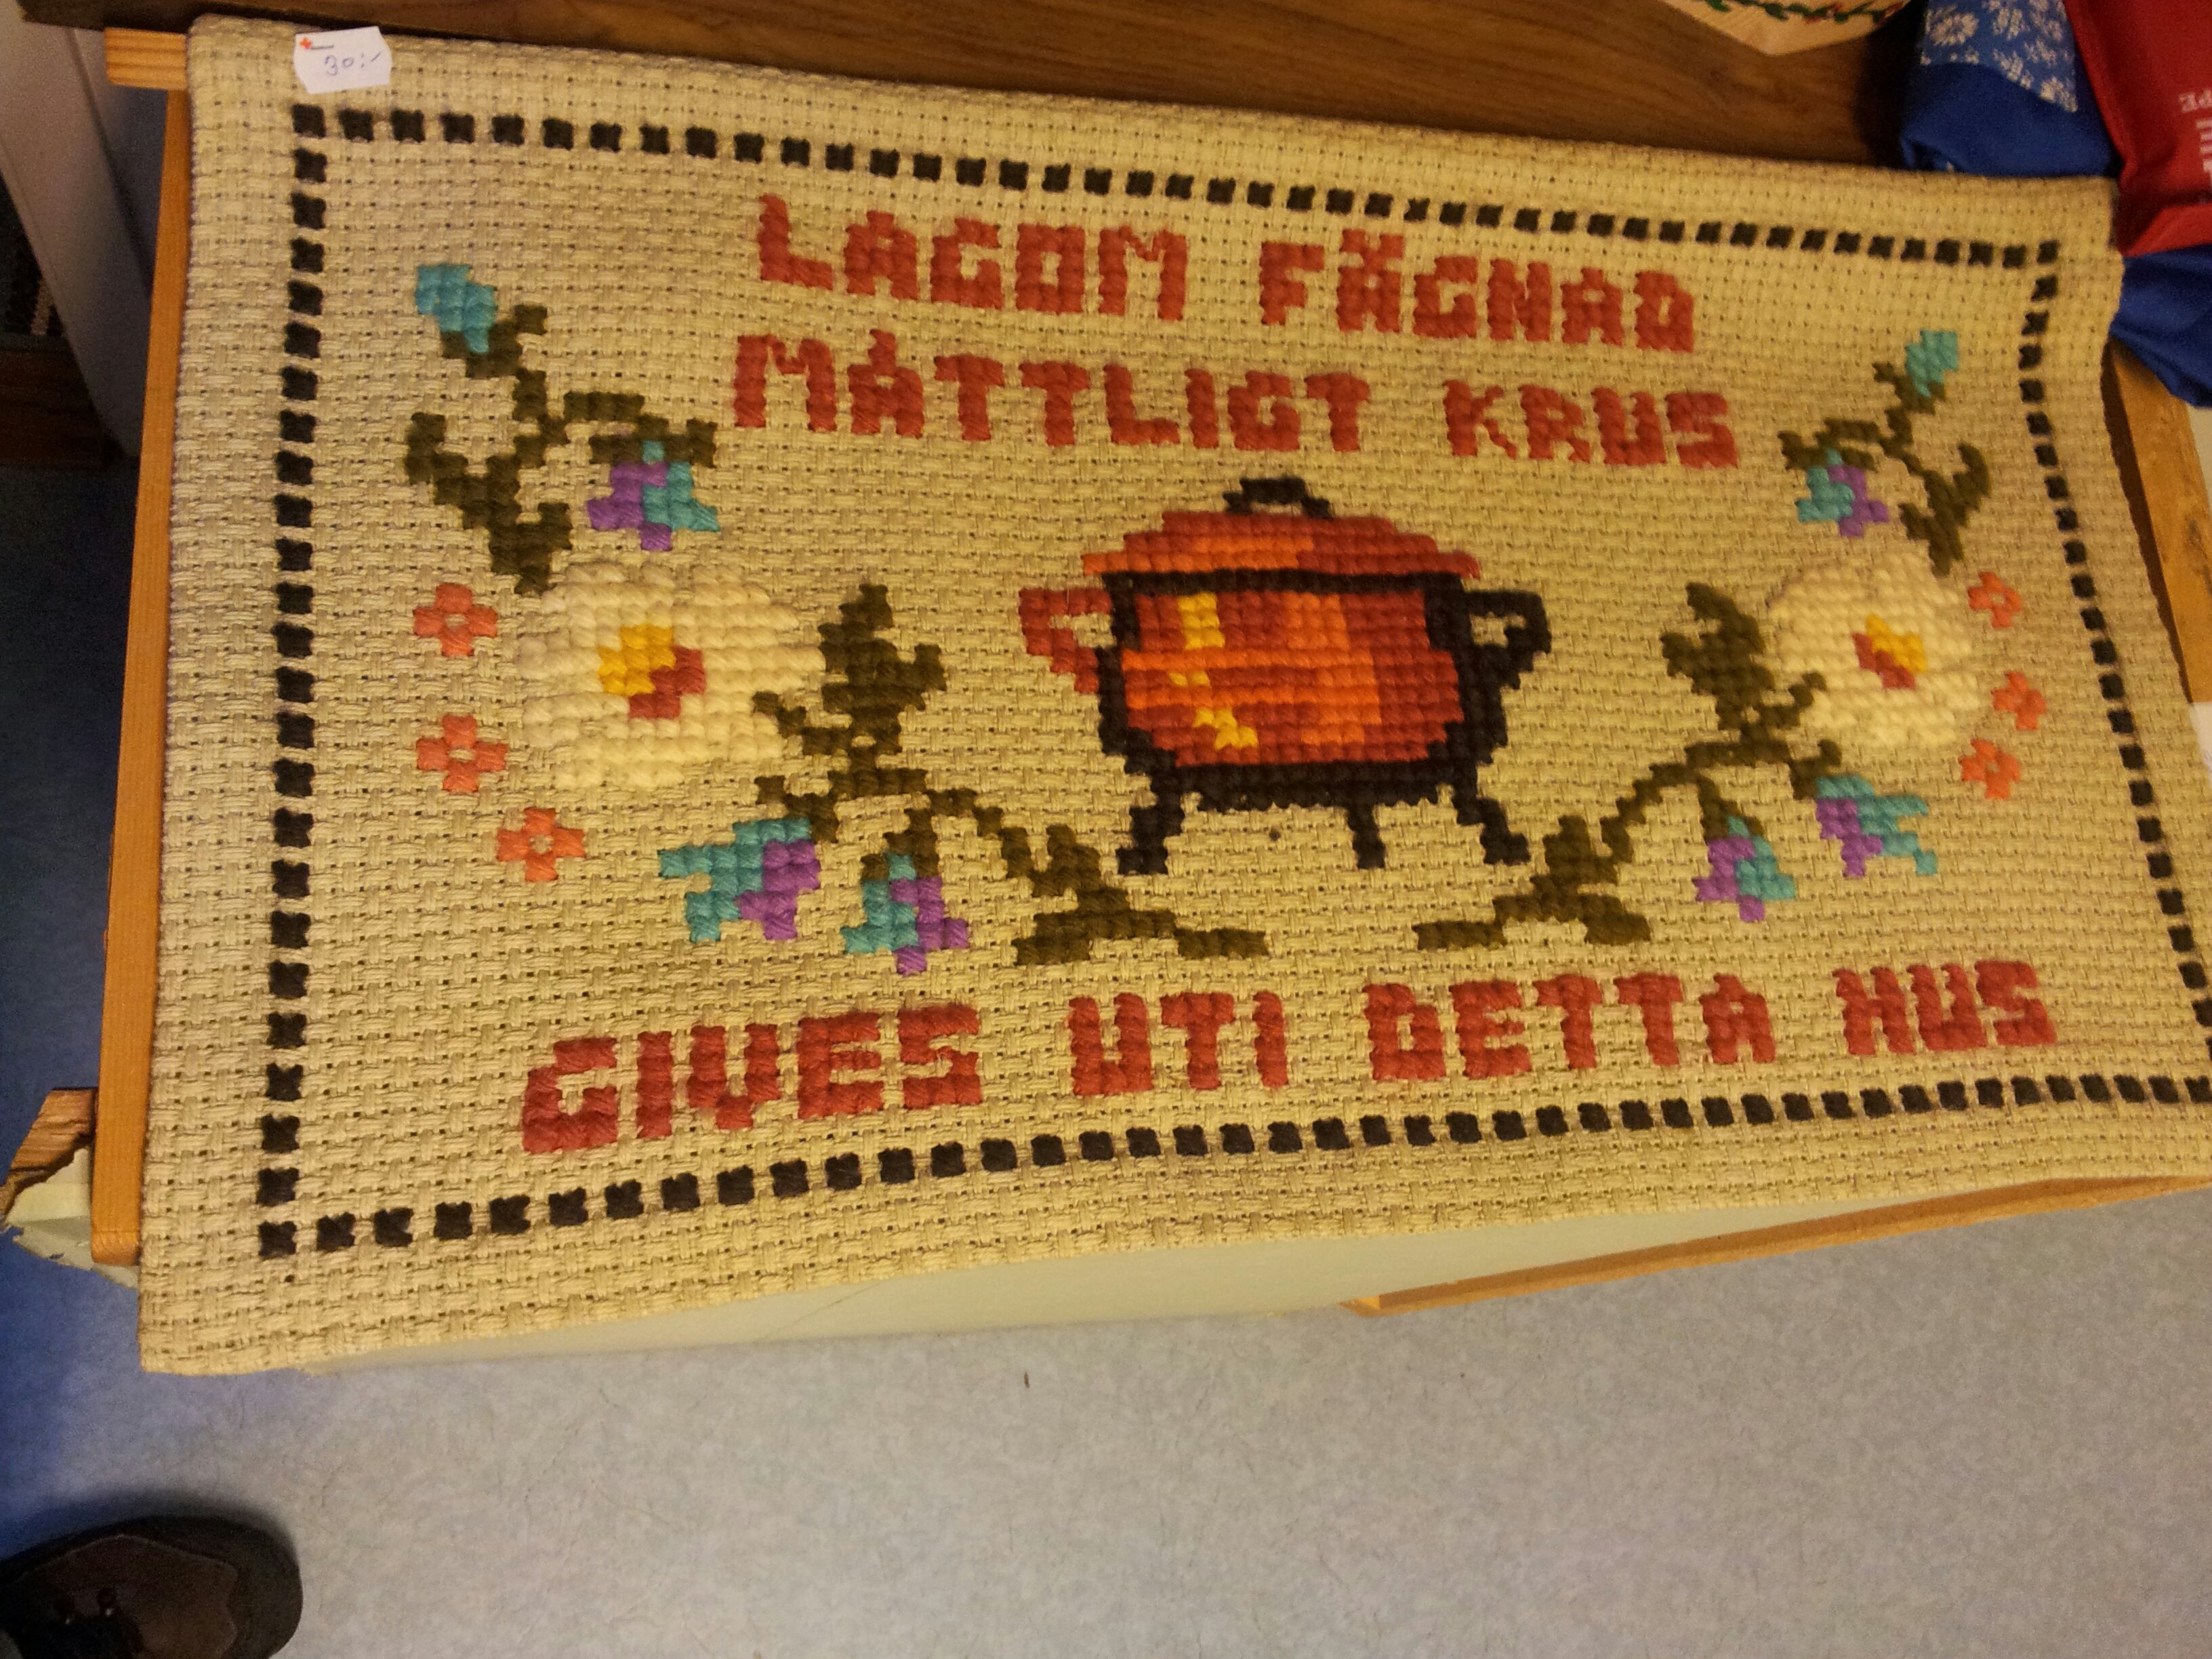
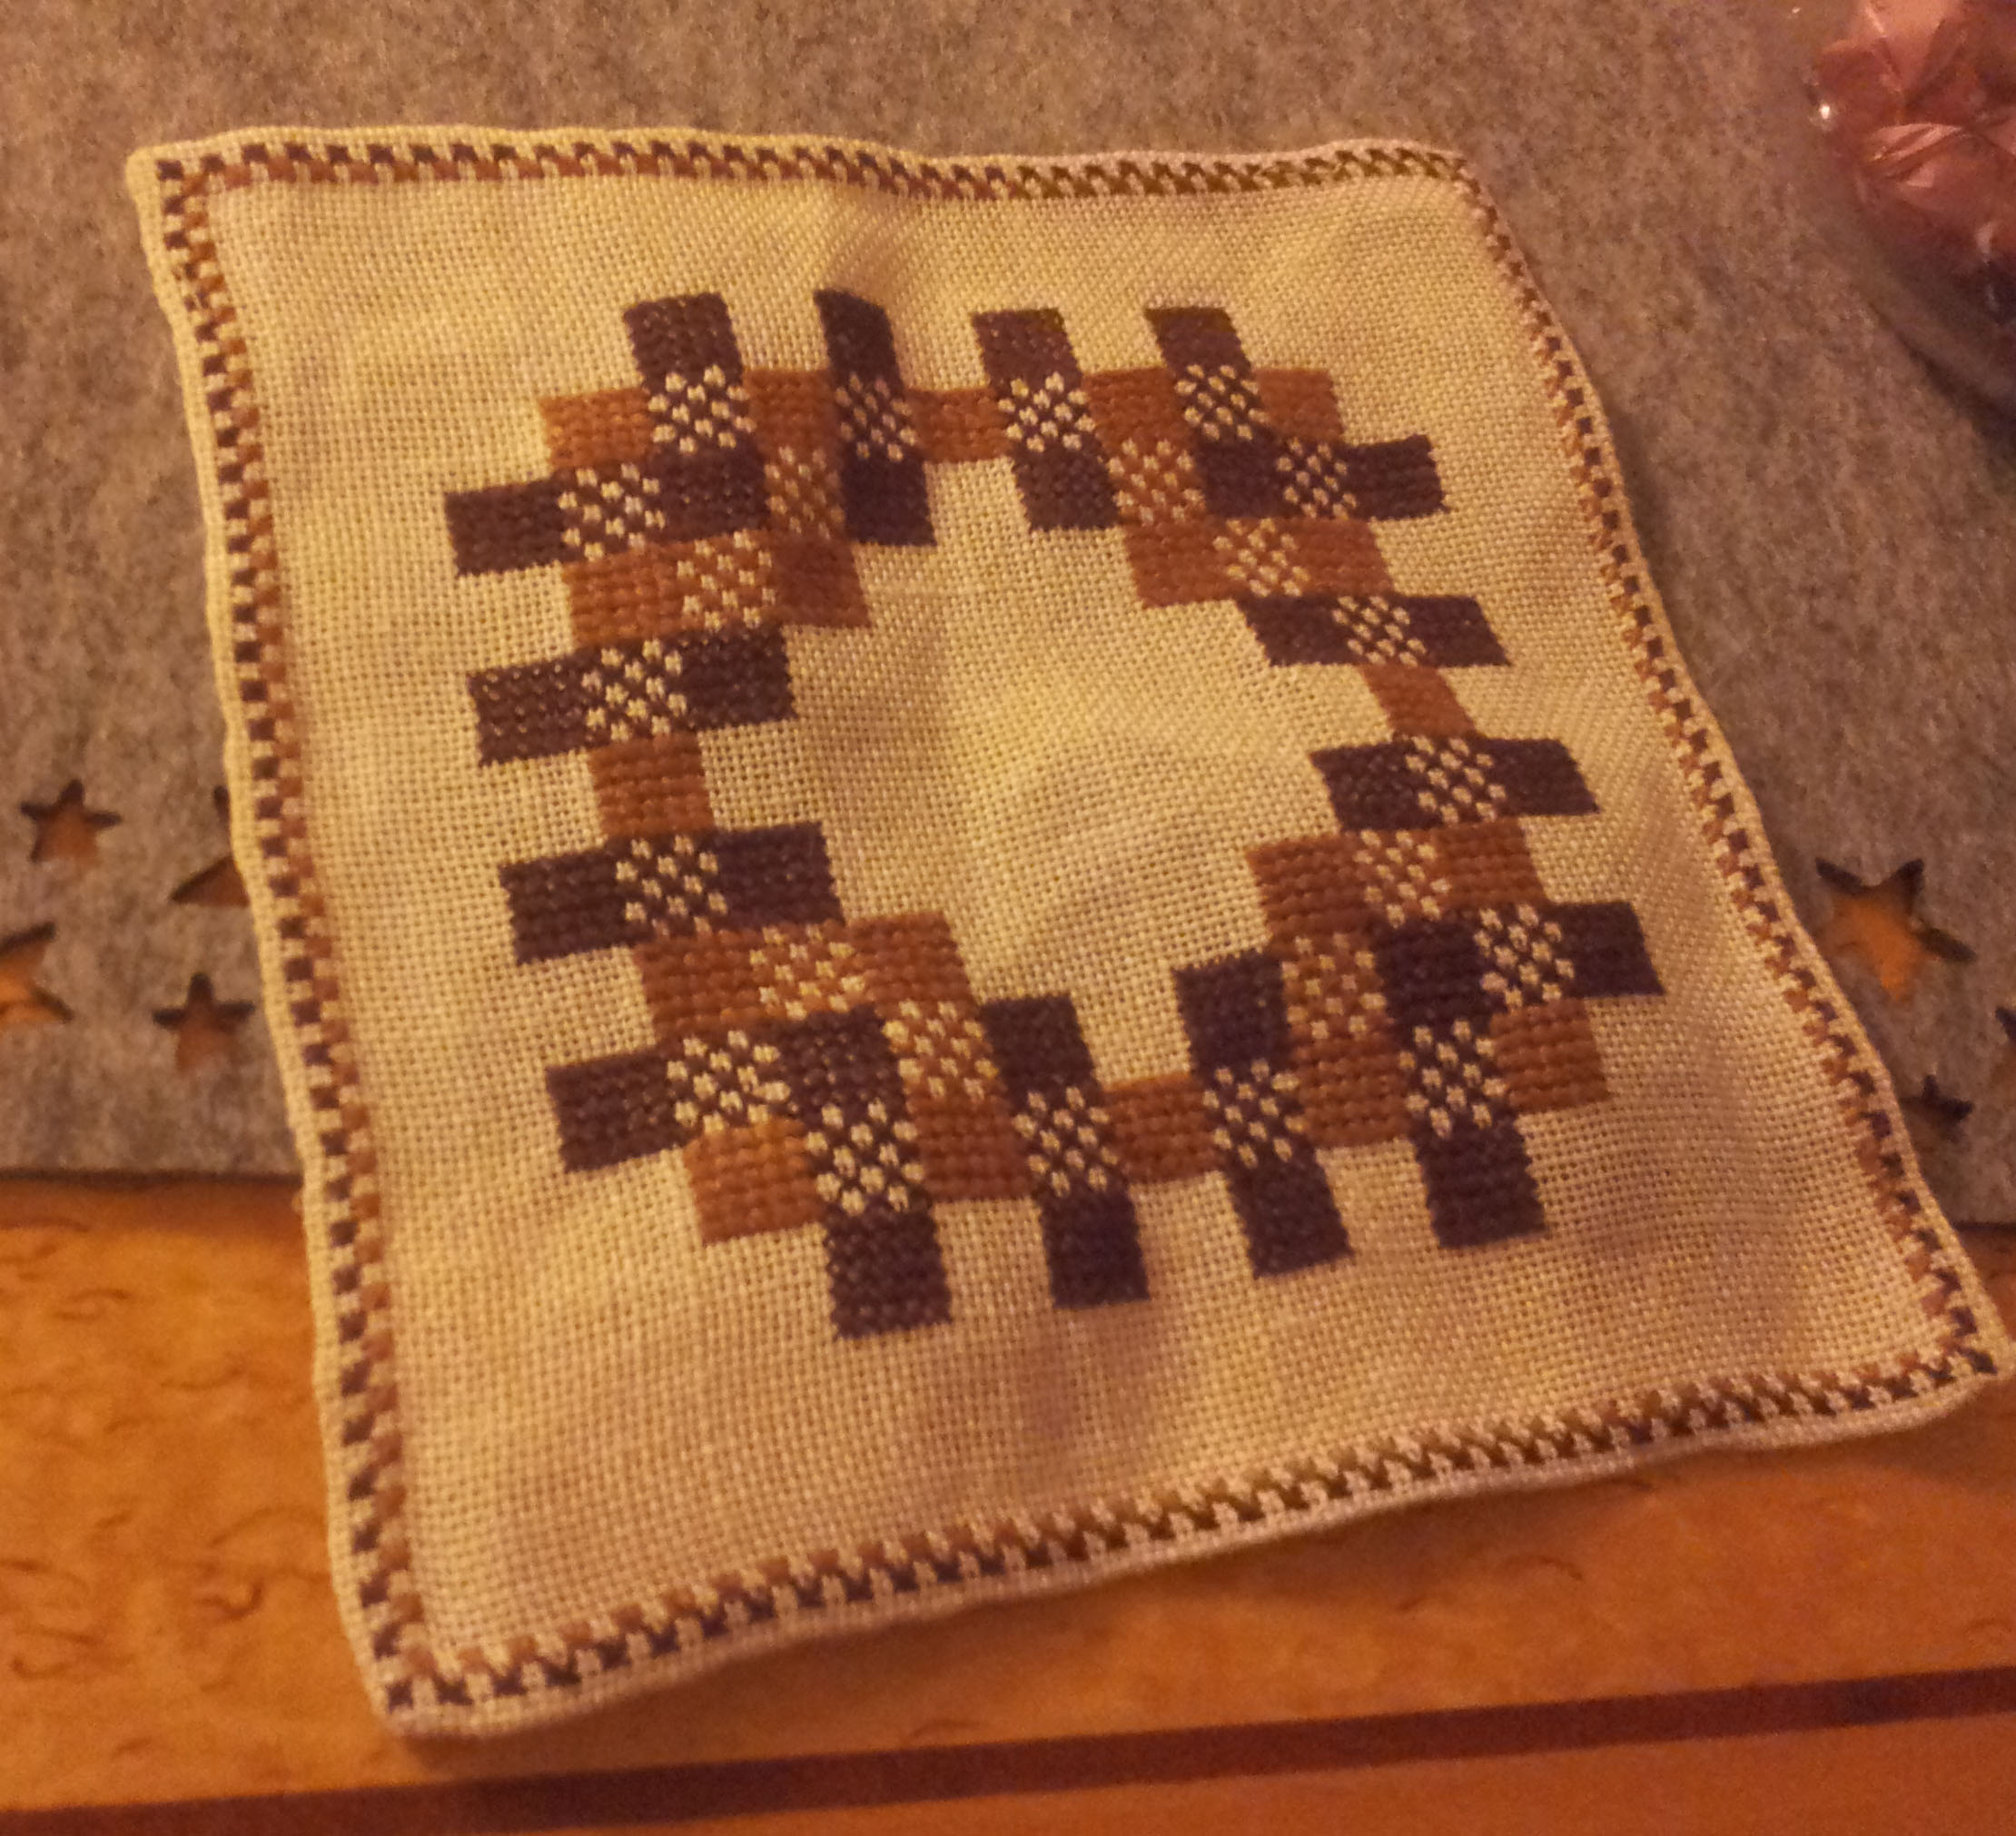
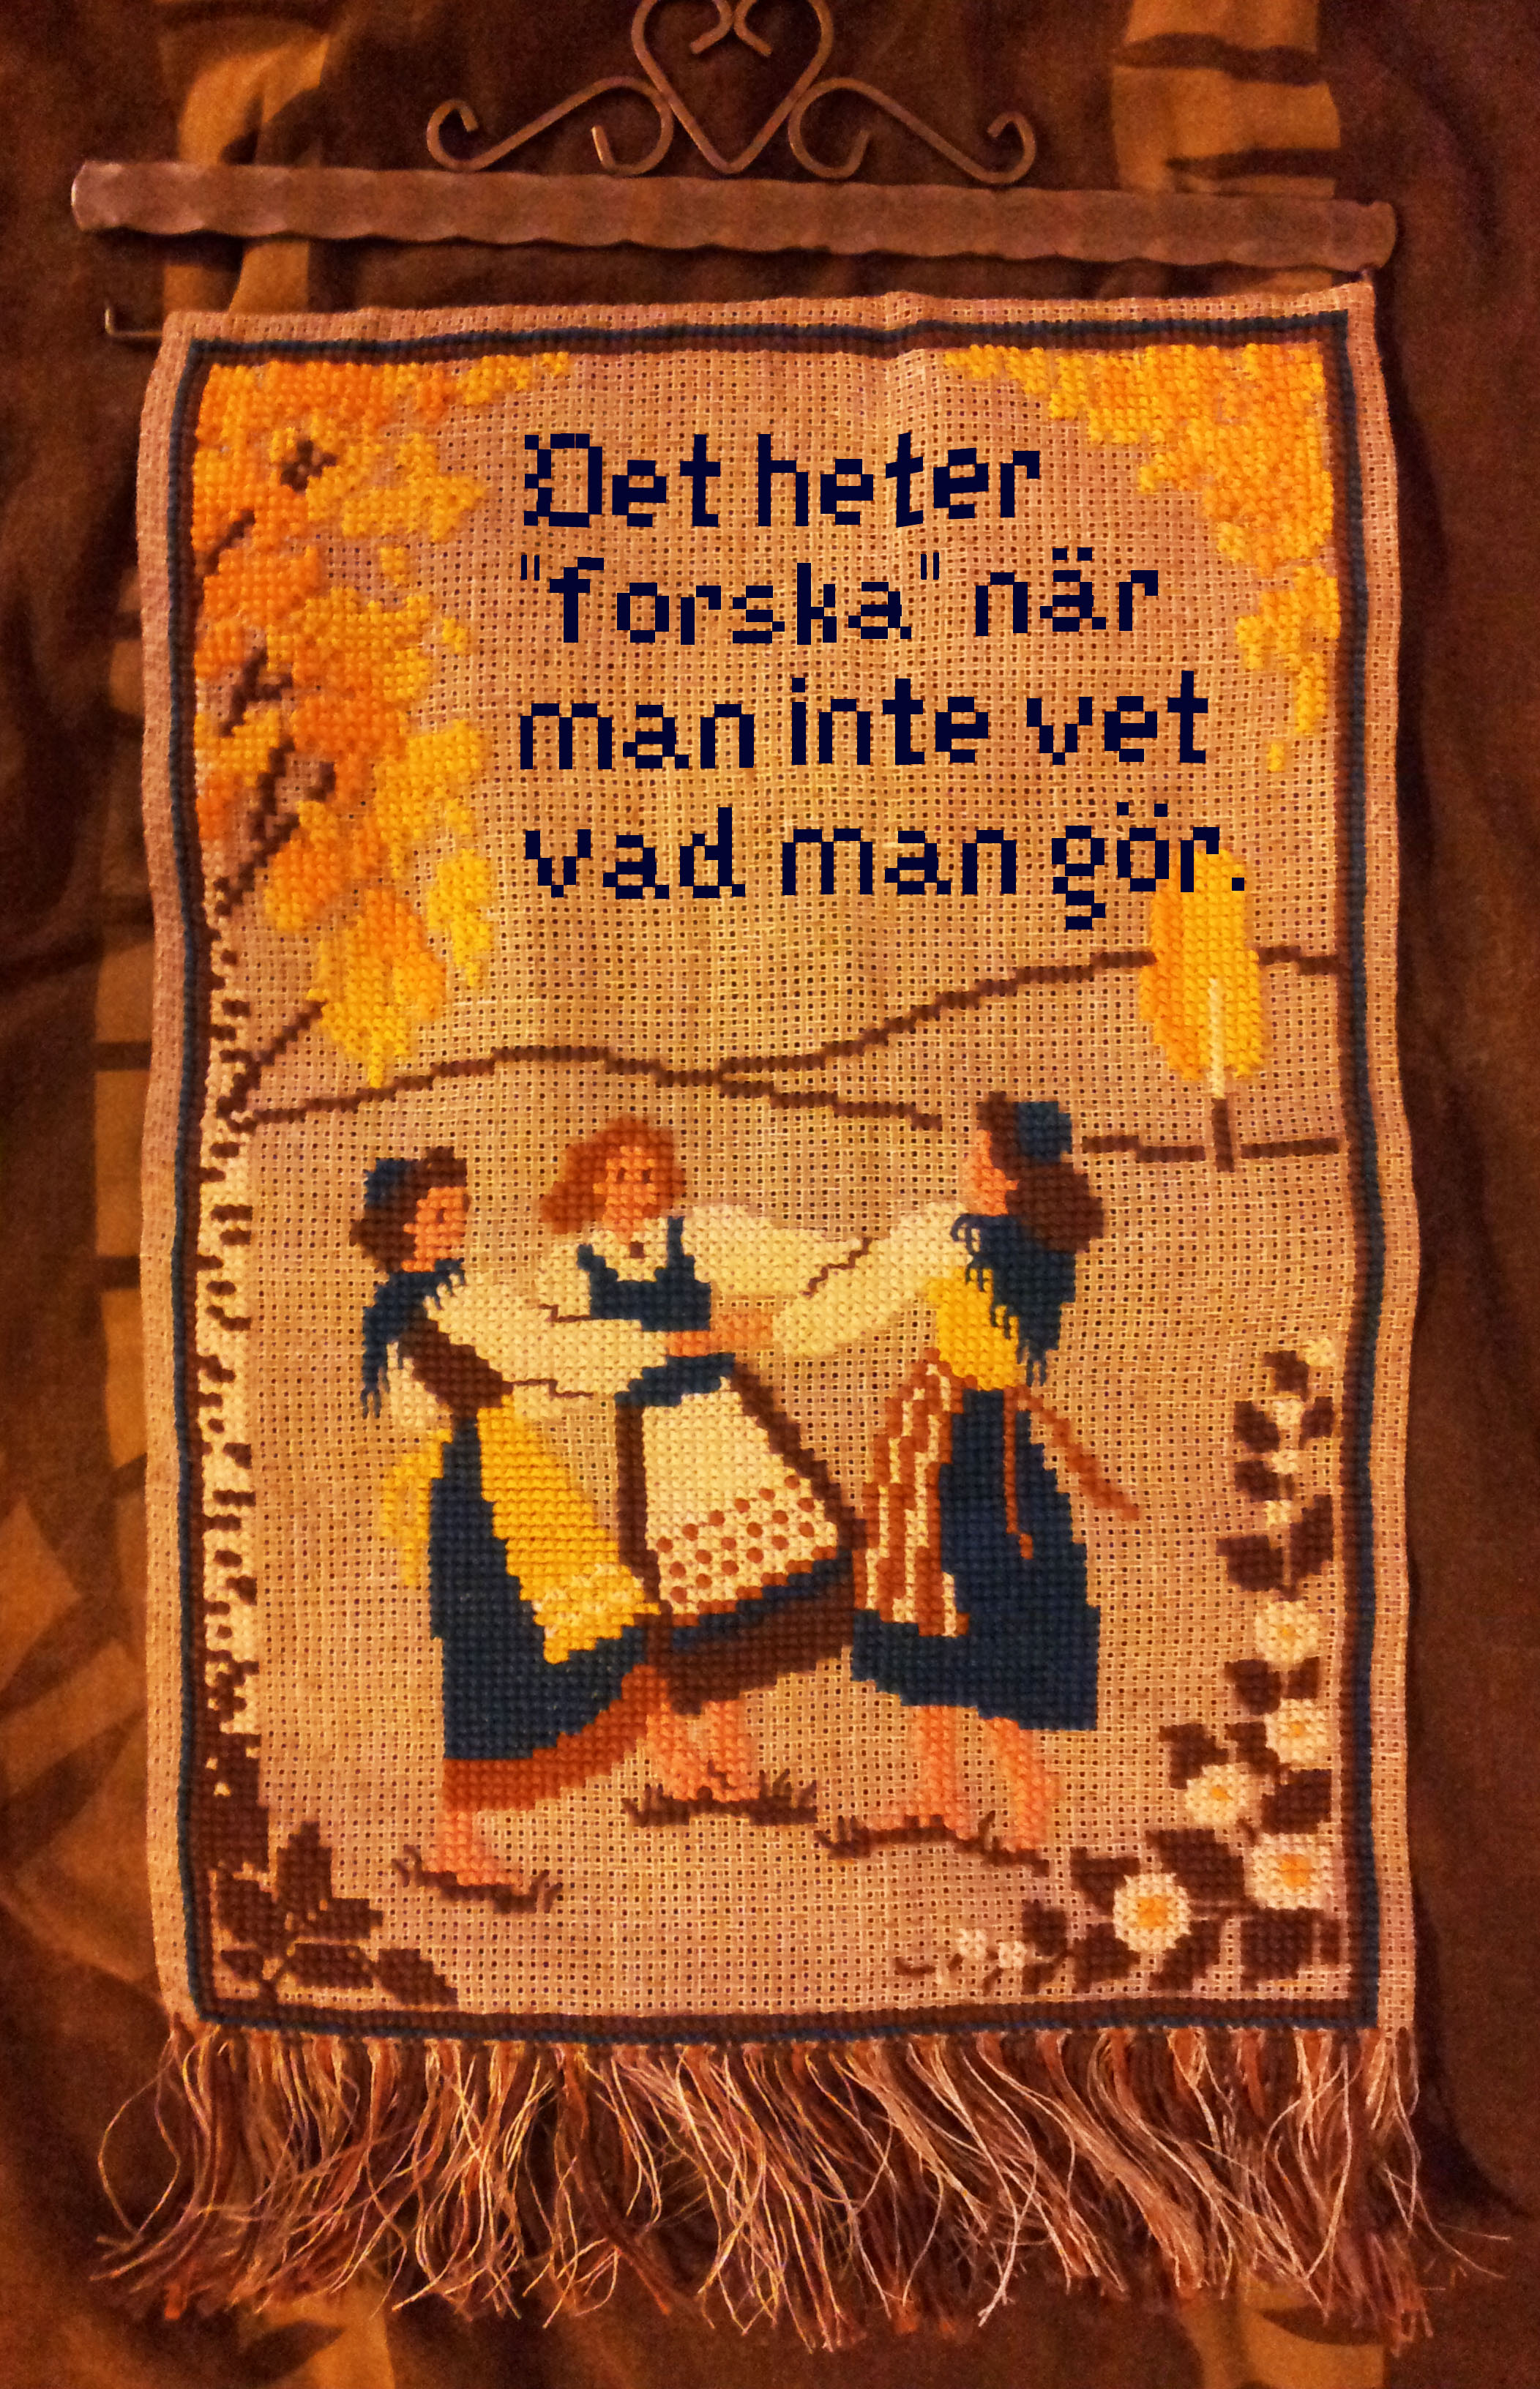
Dad’s 60’th Birthday Wall Hanging Cross Stitch
This wall hanging I bought for $3 at the Red Cross. With my dad’s birthday coming up, I replaced the original text ( ~ “The little girls dance in a ring”), with a quote from the Swedish comedy couple Magnus & Brasse ( ~ “It’s called ‘research’ when you don’t know what you’re doing”).
After buying the thing and removing the original text, I found a font that looked good and small. I photoed the thing and did a mockup in Photoshop on top of it, and synced the image to my phone so I could embroider on the way to my father’s party. Since he is a professor in folk culture, the text and the image fit pretty nicely 🙂
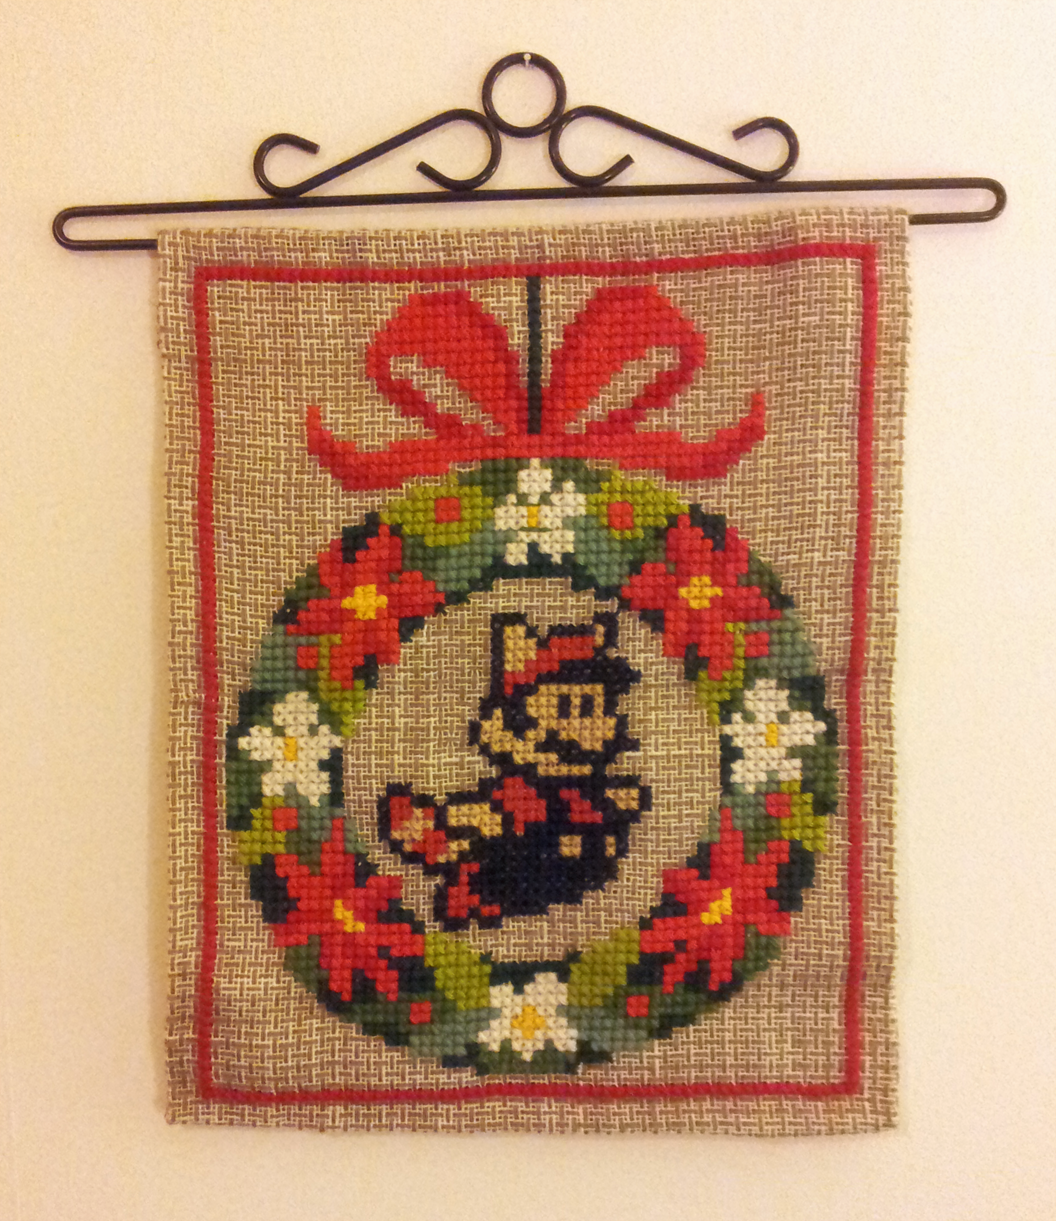
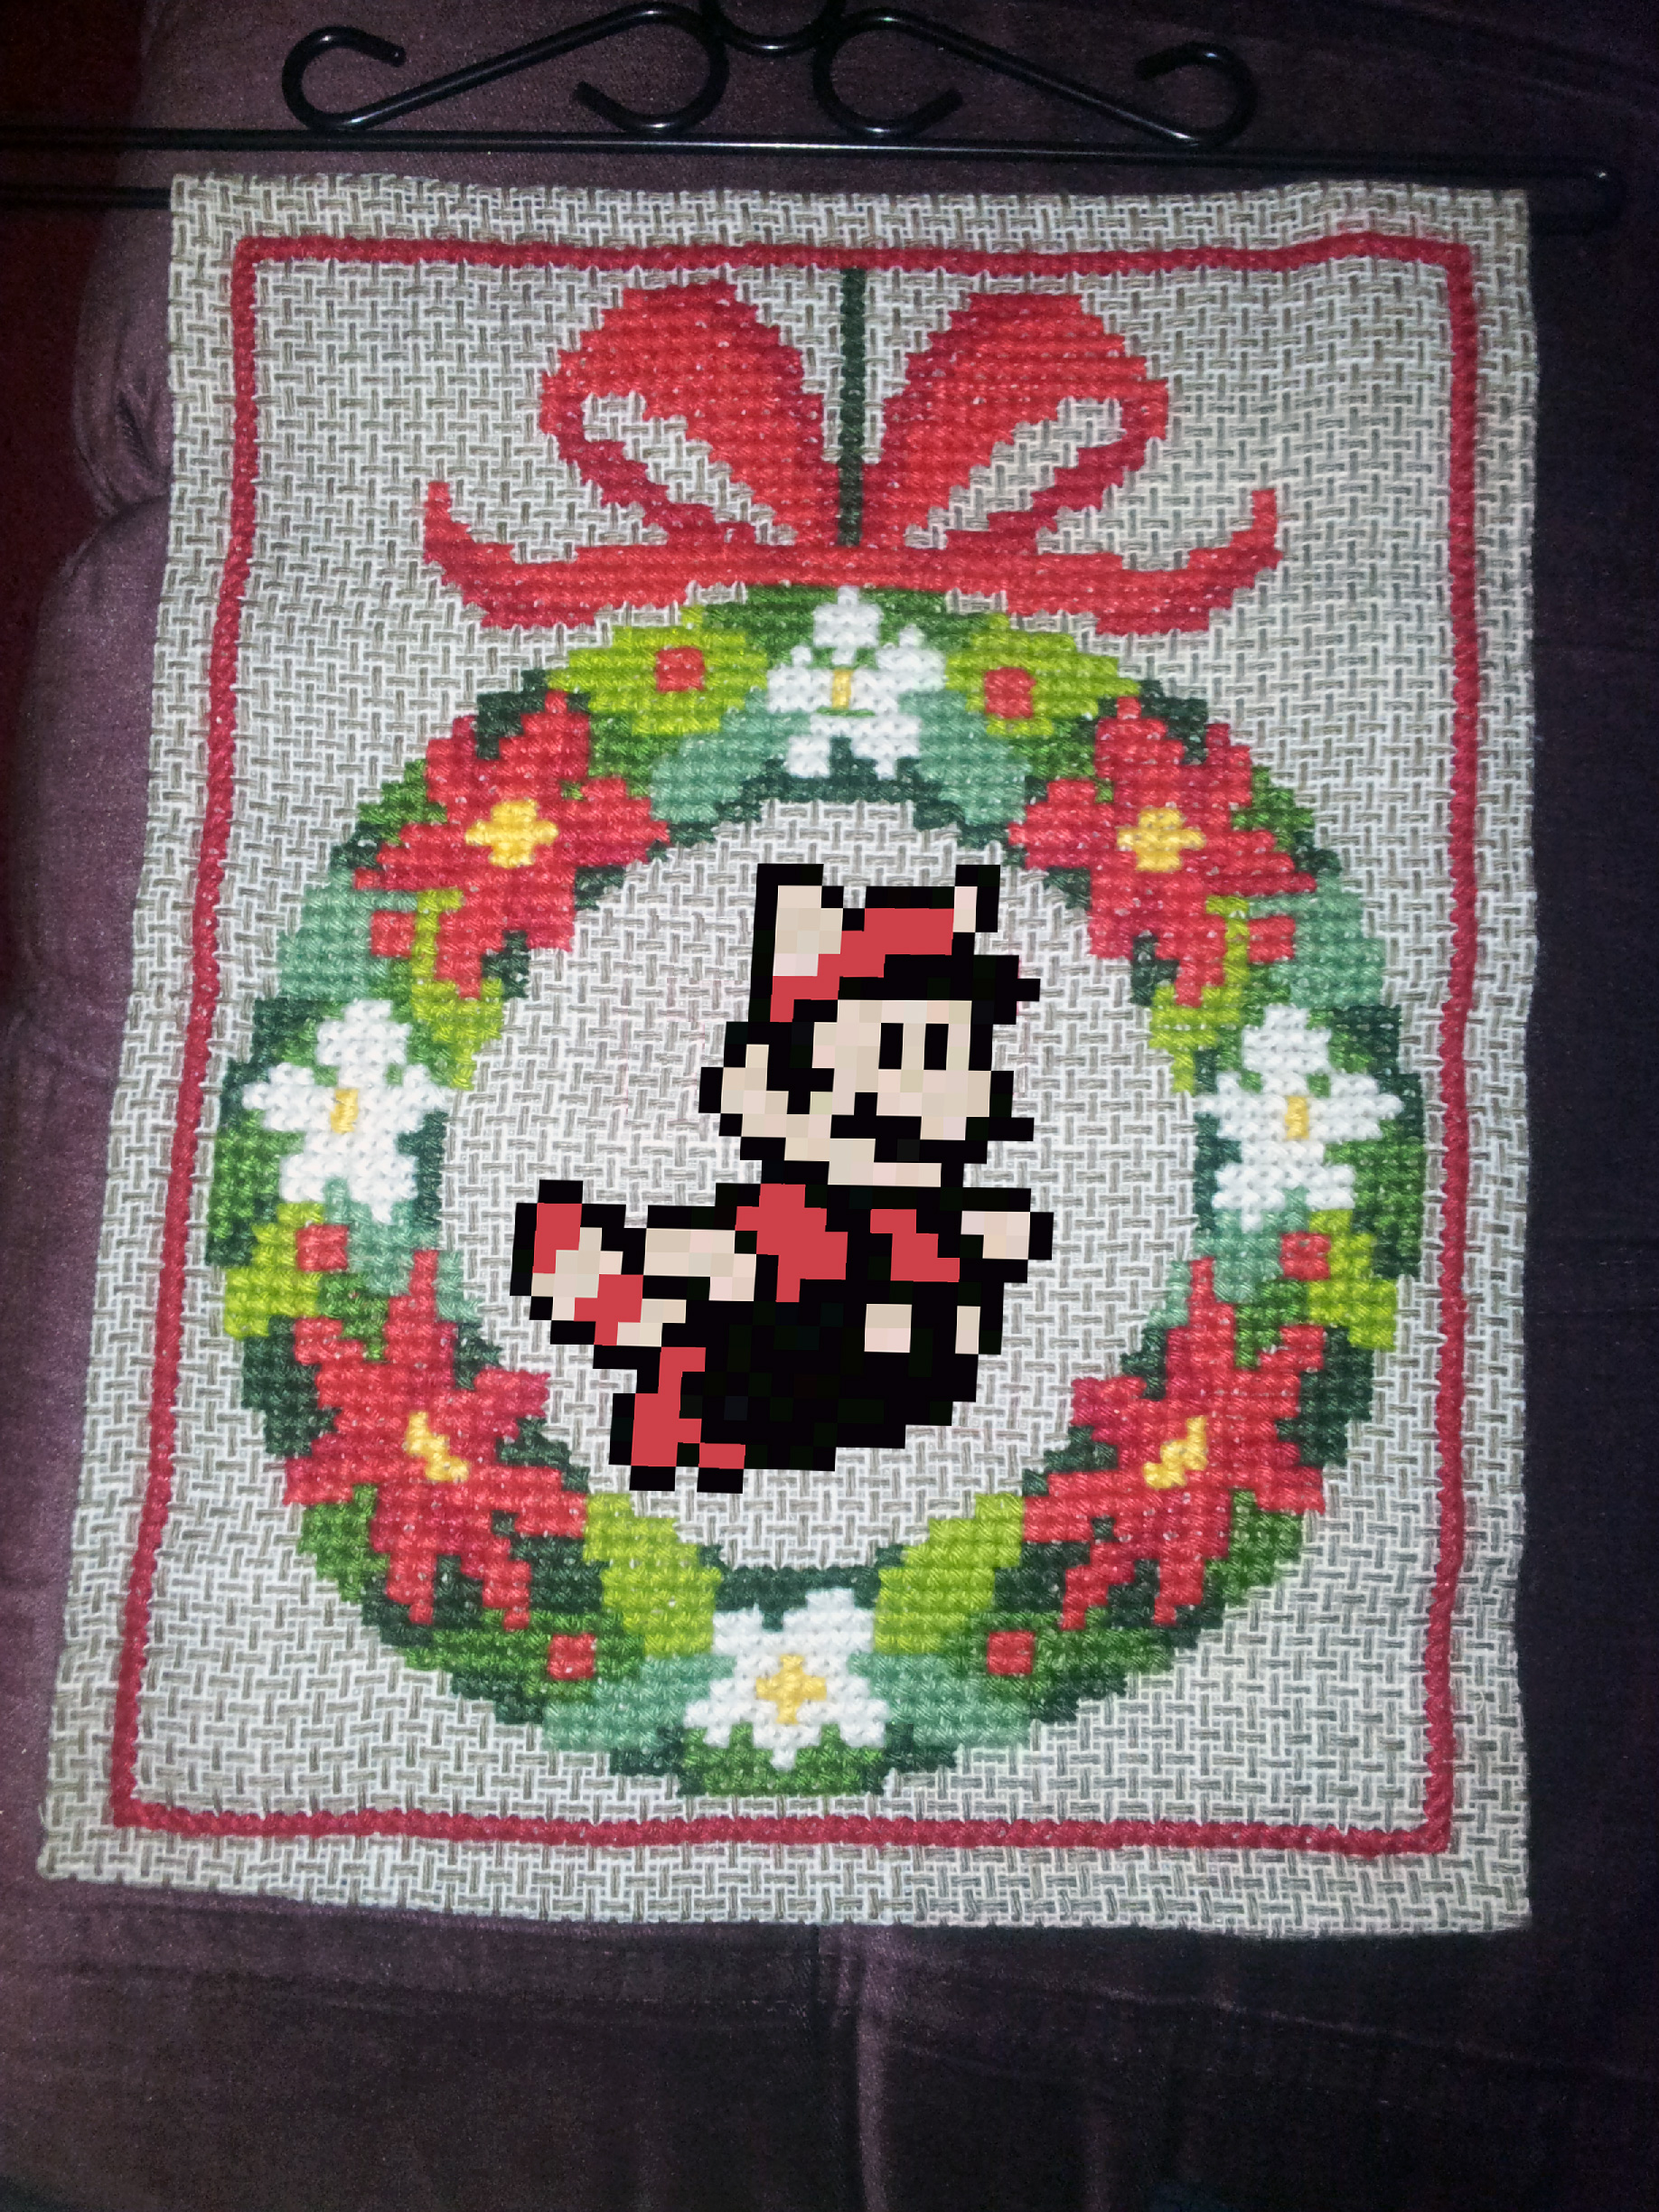
Christmas Mario Wall Hanging Cross Stitch
This was a fairly quick christmas wall hanging. Holidays are prefect for finding abandoned embroidery projects! I Thought of different characters with red in them, but since I had no Mario yet I decided on him. The regular mario seemed a little bit booring, so I choose Raccoon Mario from Super Mario 3. I found the sprite in this sprite sheet (the first hit on google 🙂 ).
The sprite was rather easy to follow, so I just zoomed in in photoshop and took a screenshot. Then I stretched the sprite onto a photo I took of the wall hanging, and counted (and re-counted, and re-re-counted) so that I was certain it would just fit. And it did!

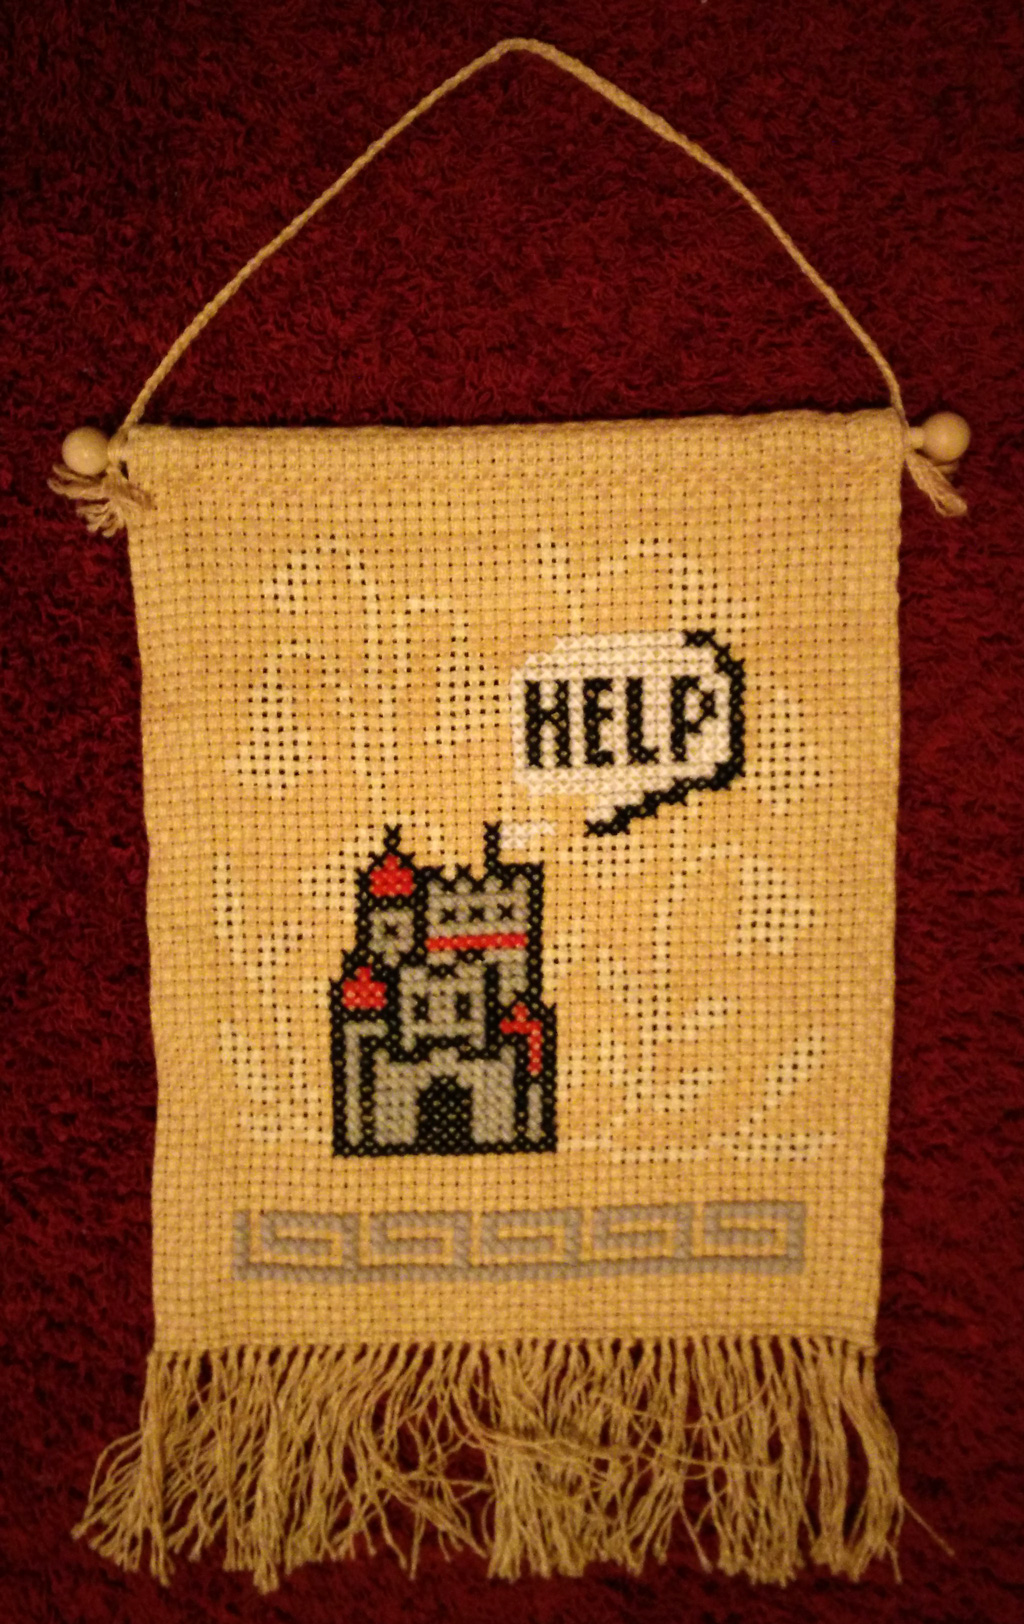
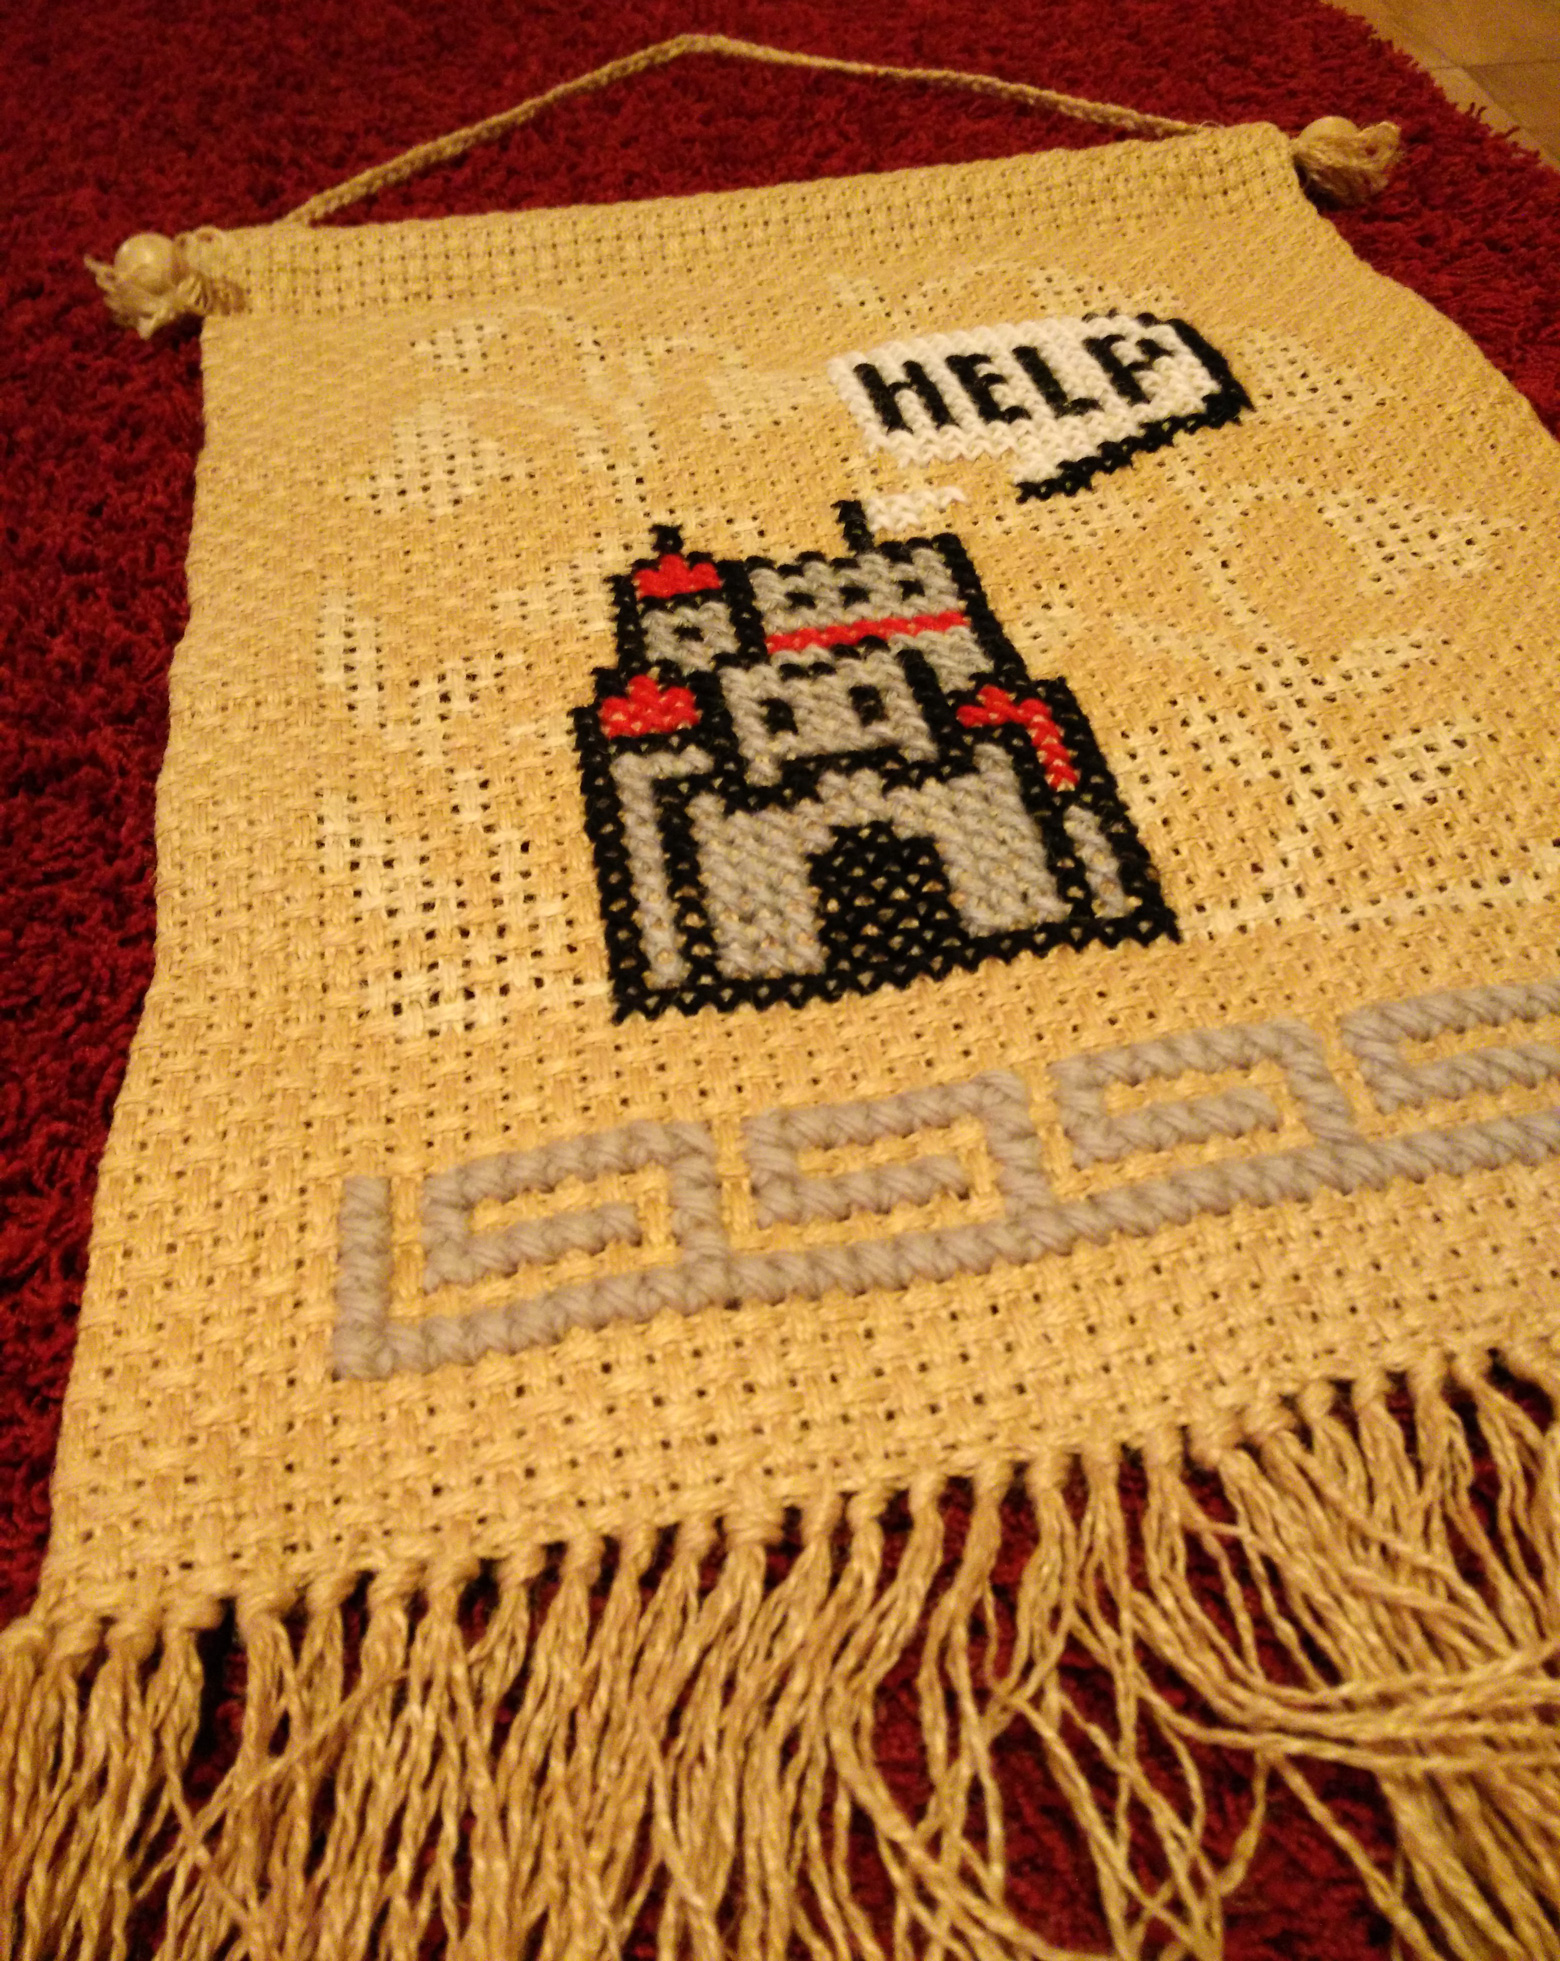
Help – Mario 3 Map Castle Cross Stitch
Here I did a super quick wall hanging of the Castle from the Super Mario 3 maps. I forgot to take a before picture, but you can see the lighter areas of fabric where there used to be flowers. For the pattern, I just followed this.
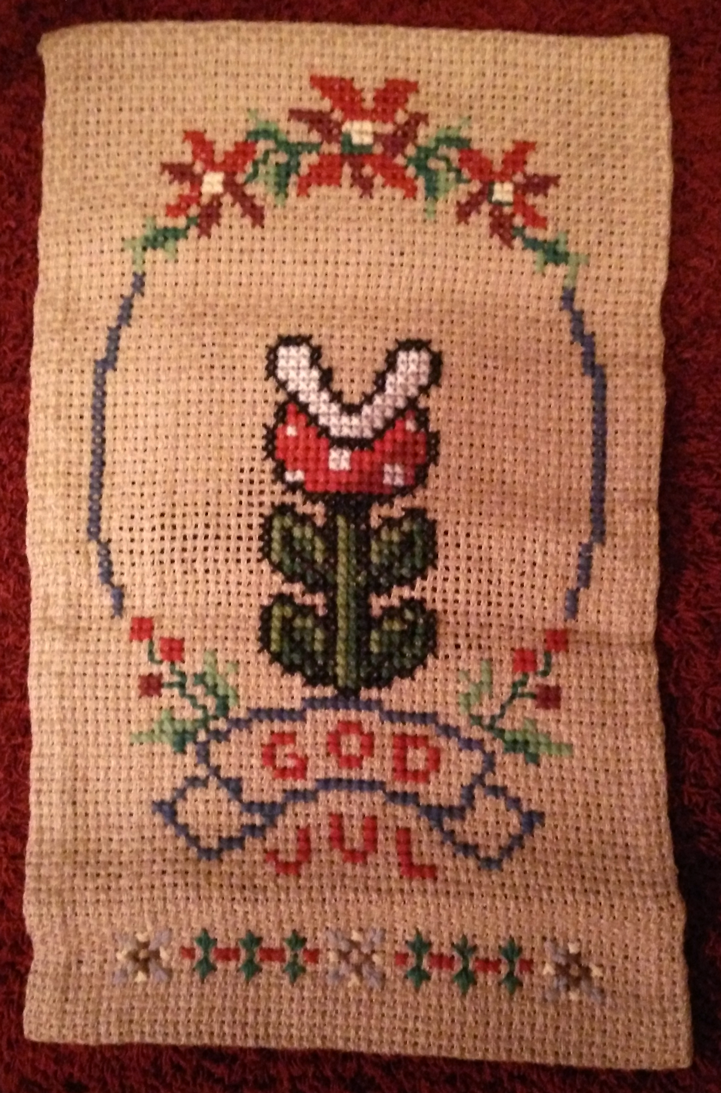
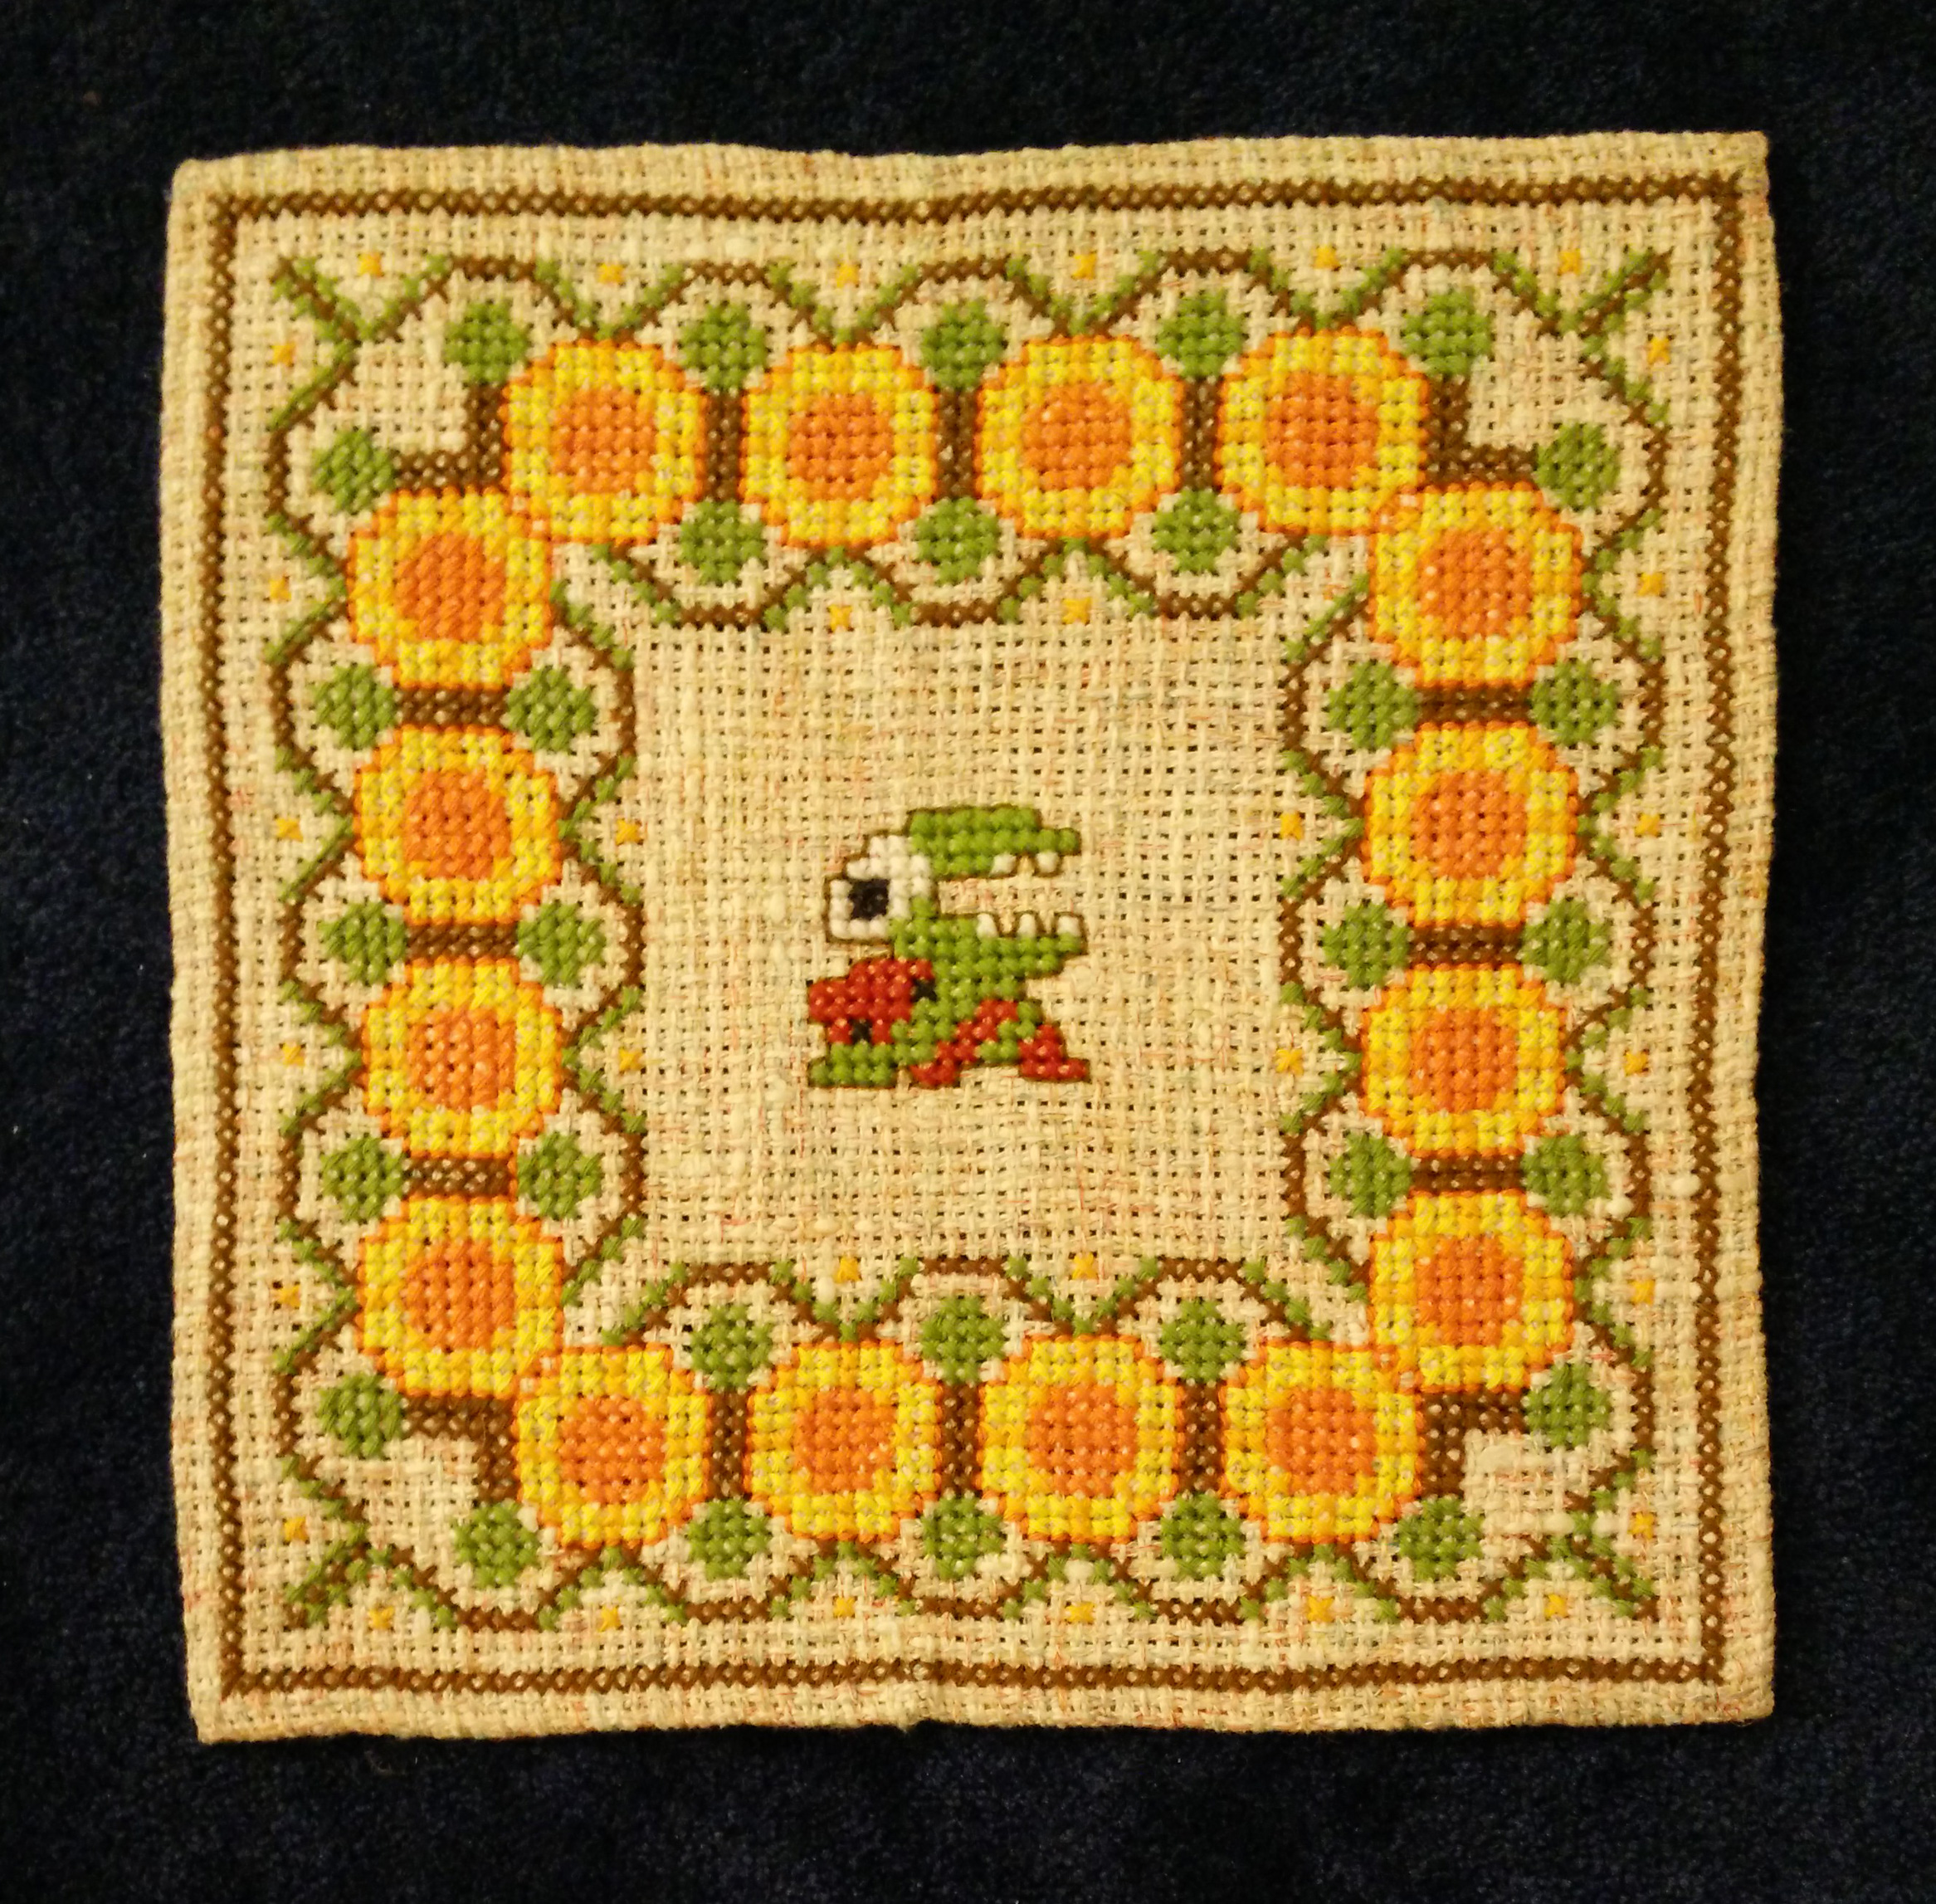
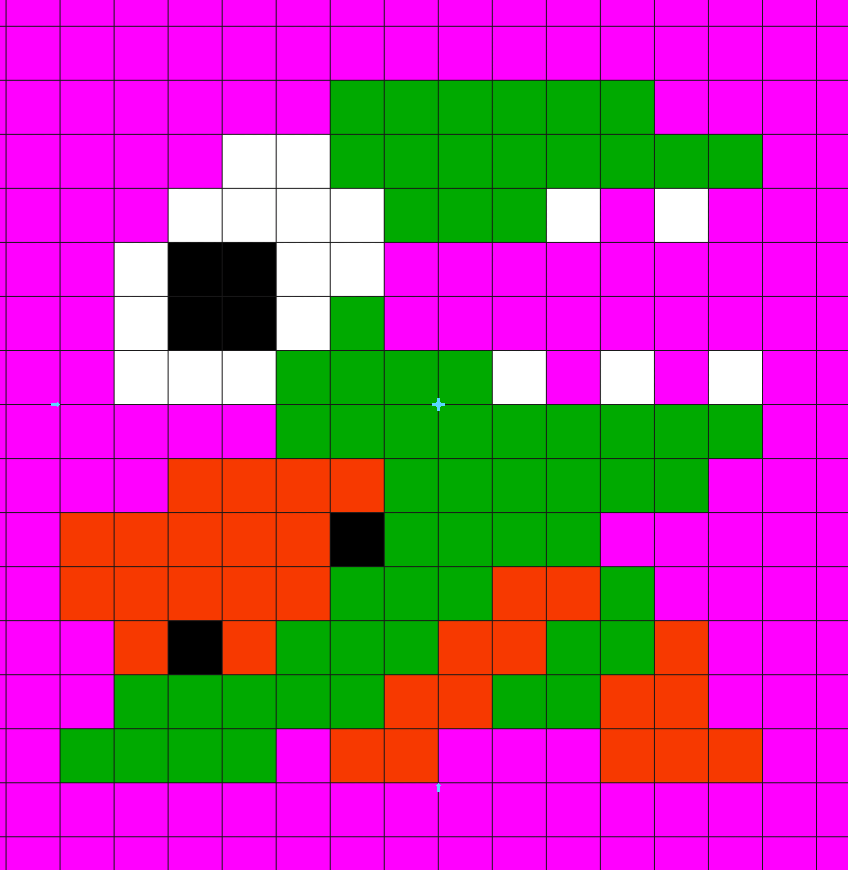
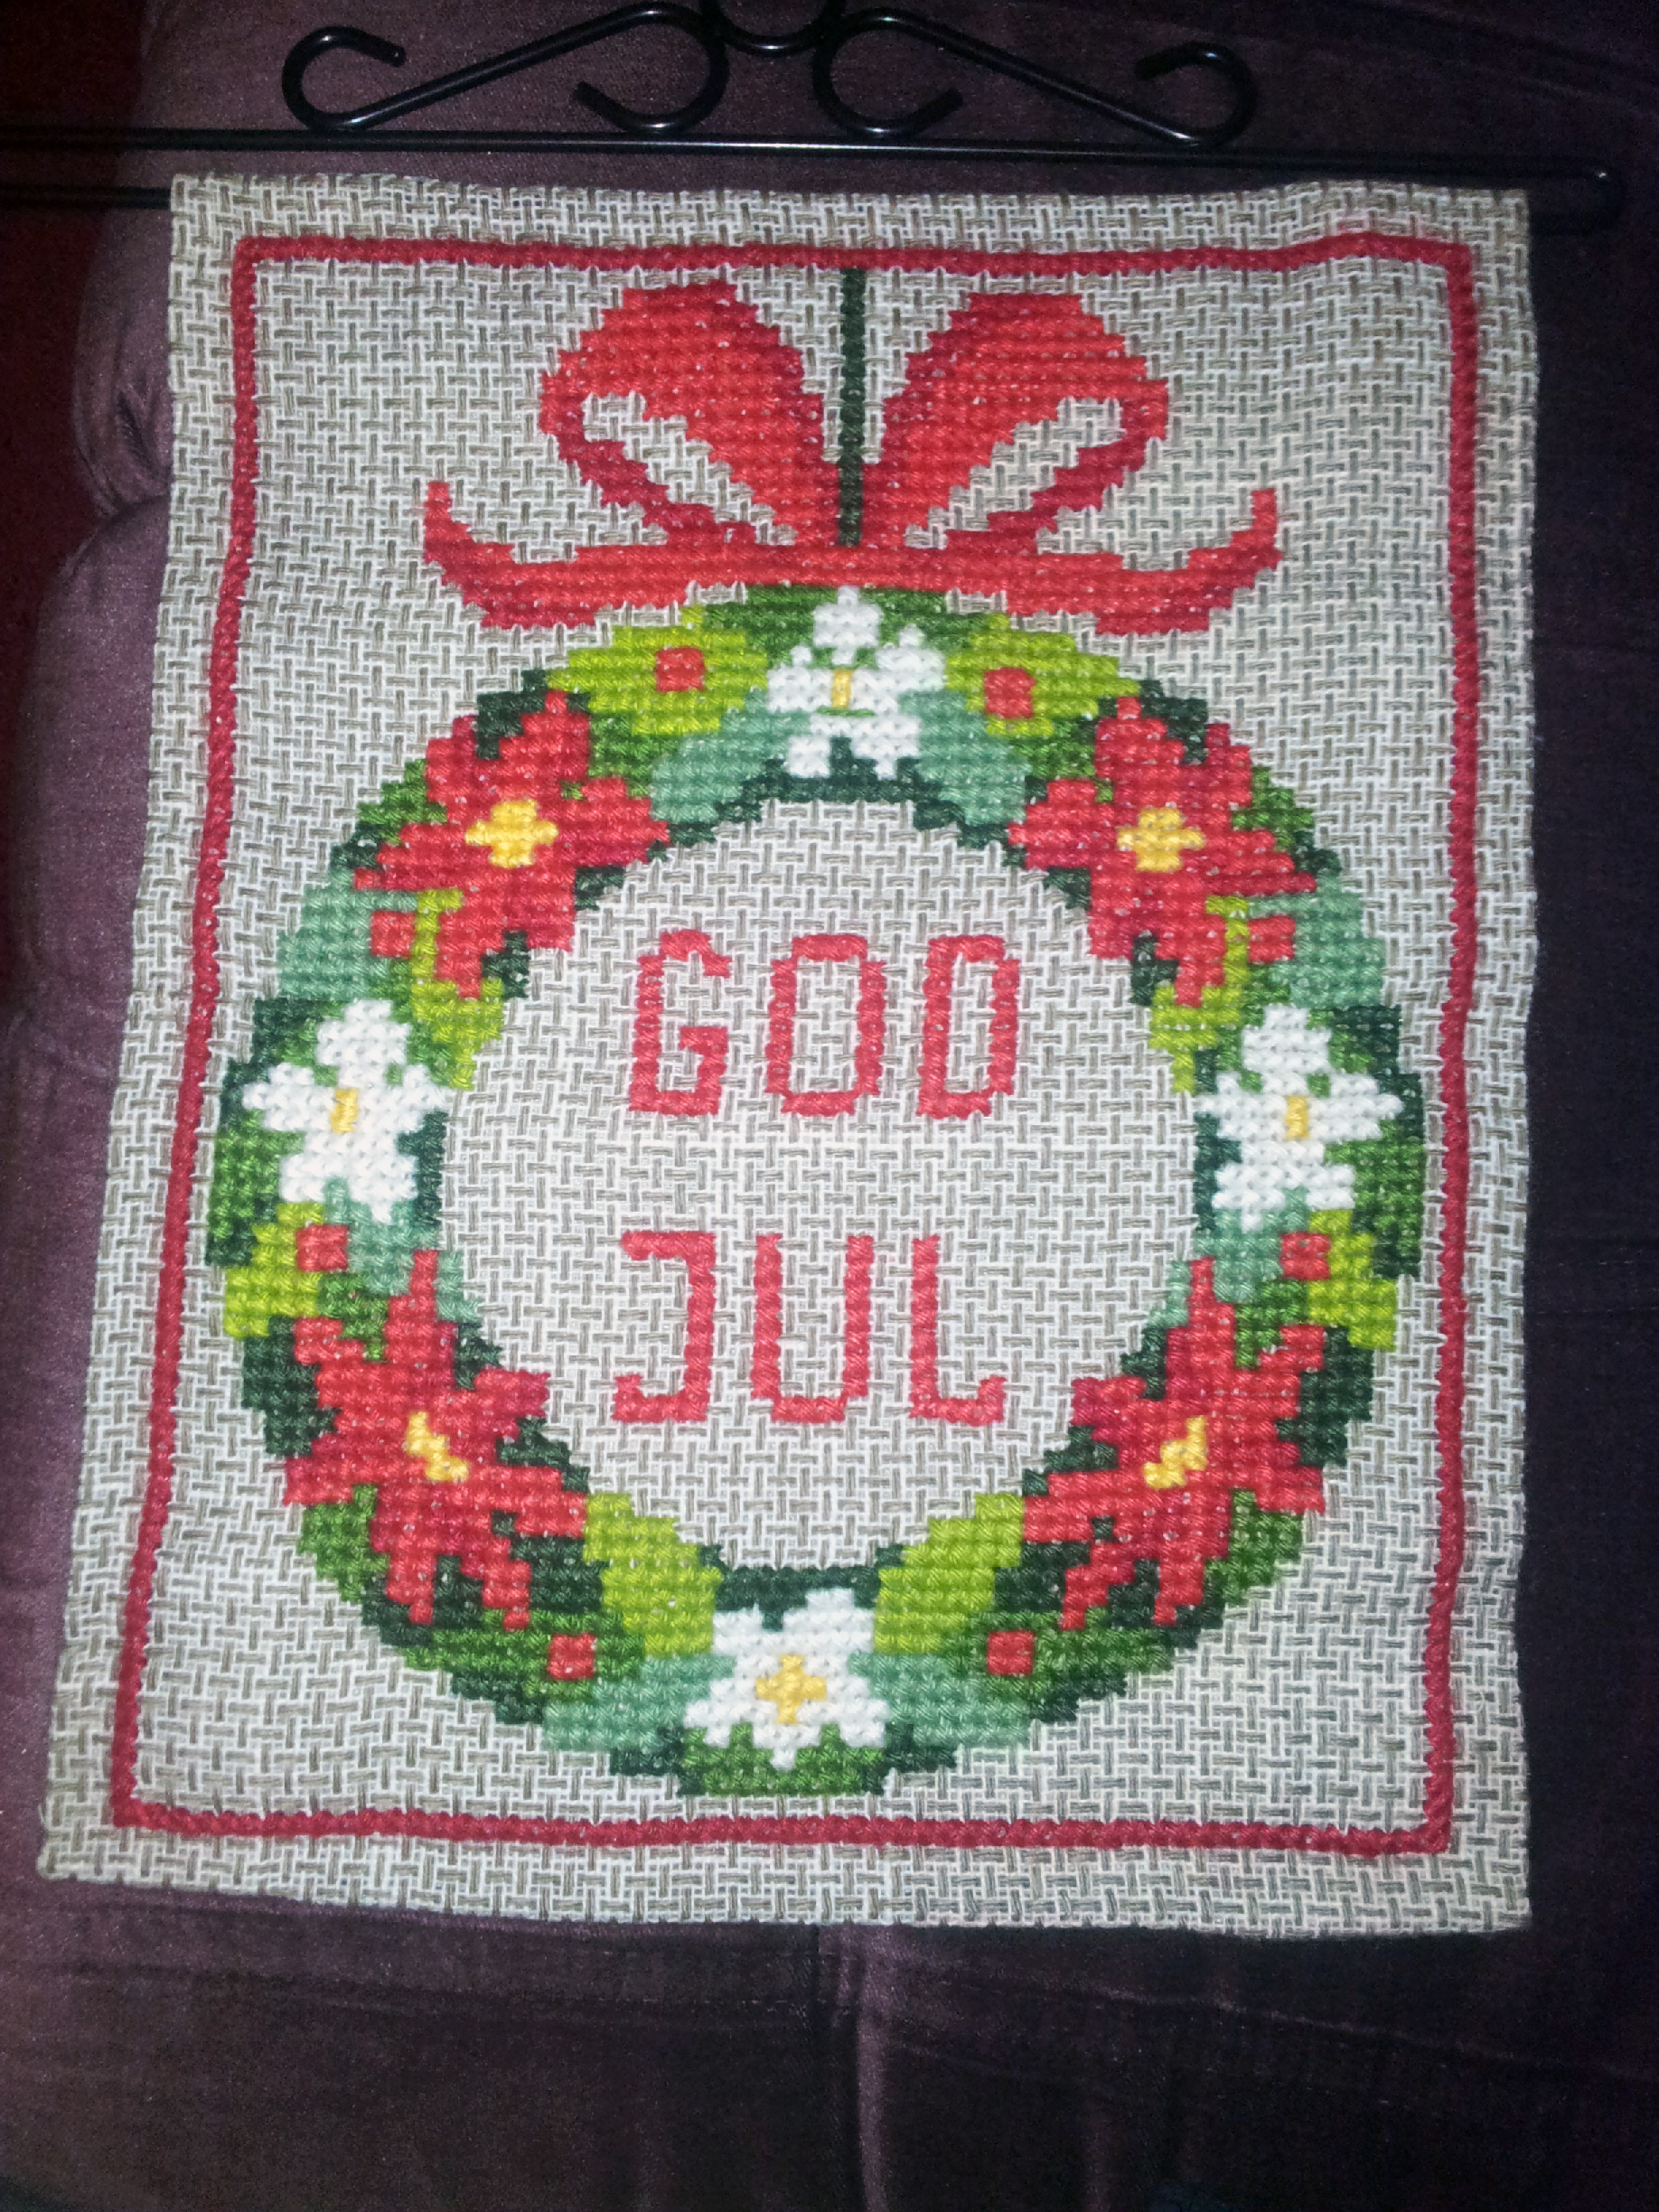
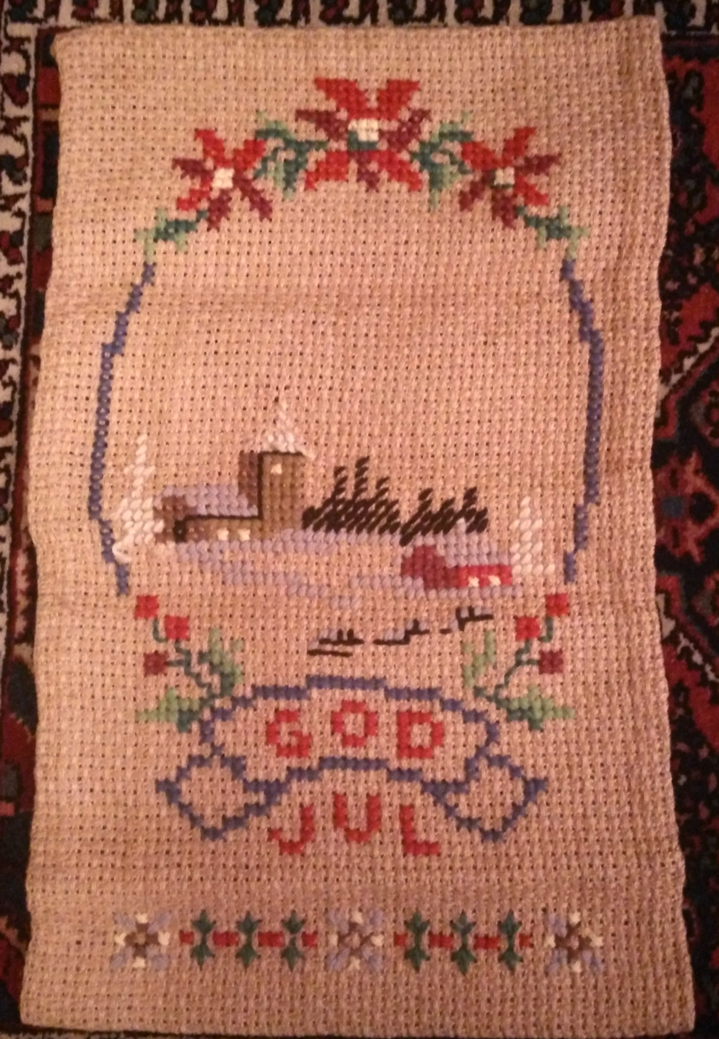
Christmas Piranha Plant Cross Stitch
This was also a very quick project, about 4 hours total work time. It’s a Piranha Plant from Super Mario. I had all the material except the dark red yarn, and the original didn’t have so much that I needed to take out. “God Jul” means Merry Christmas in Swedish 🙂
The pattern was one of the top hits on Google Image Search for “Mario Flower”
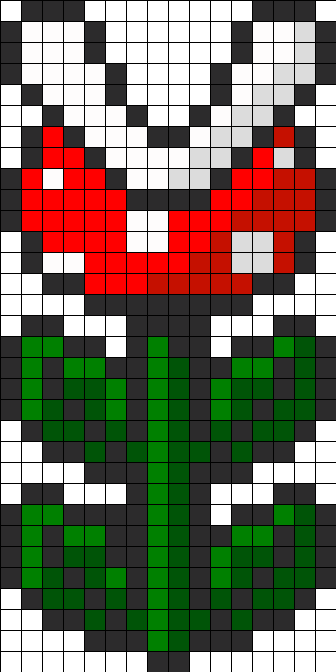
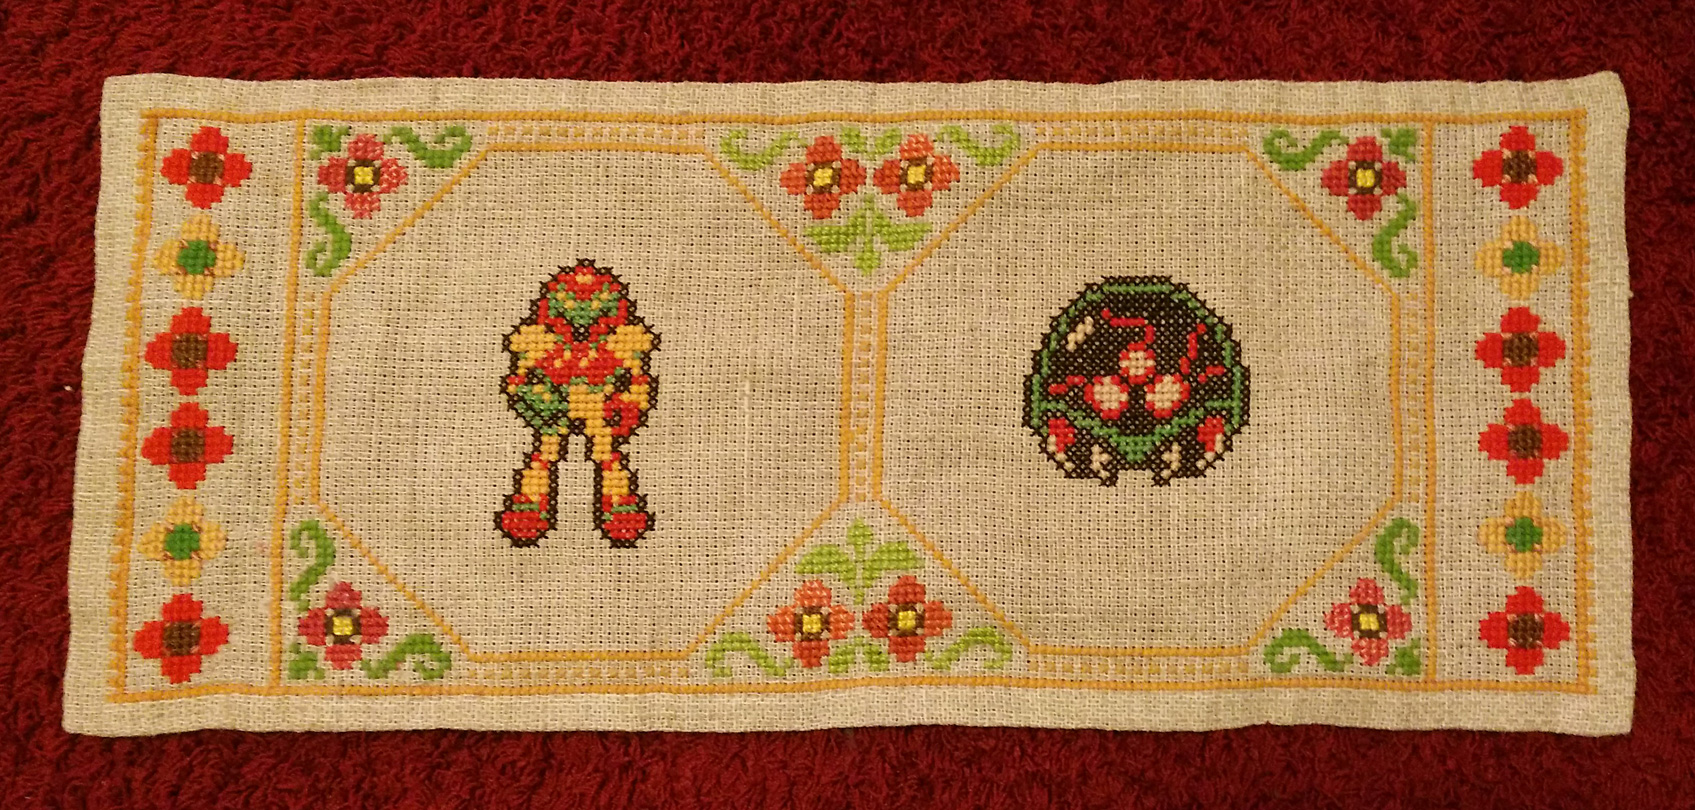
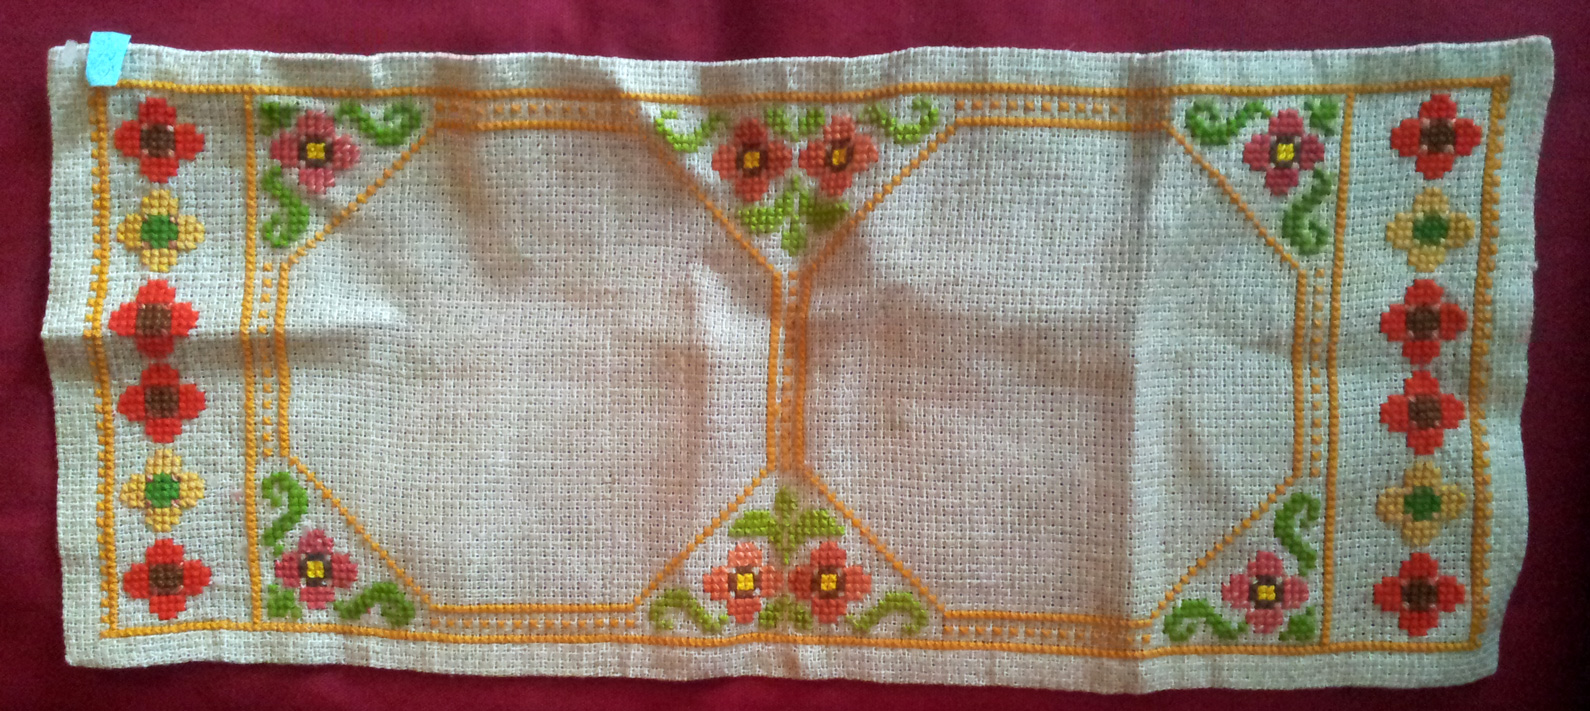
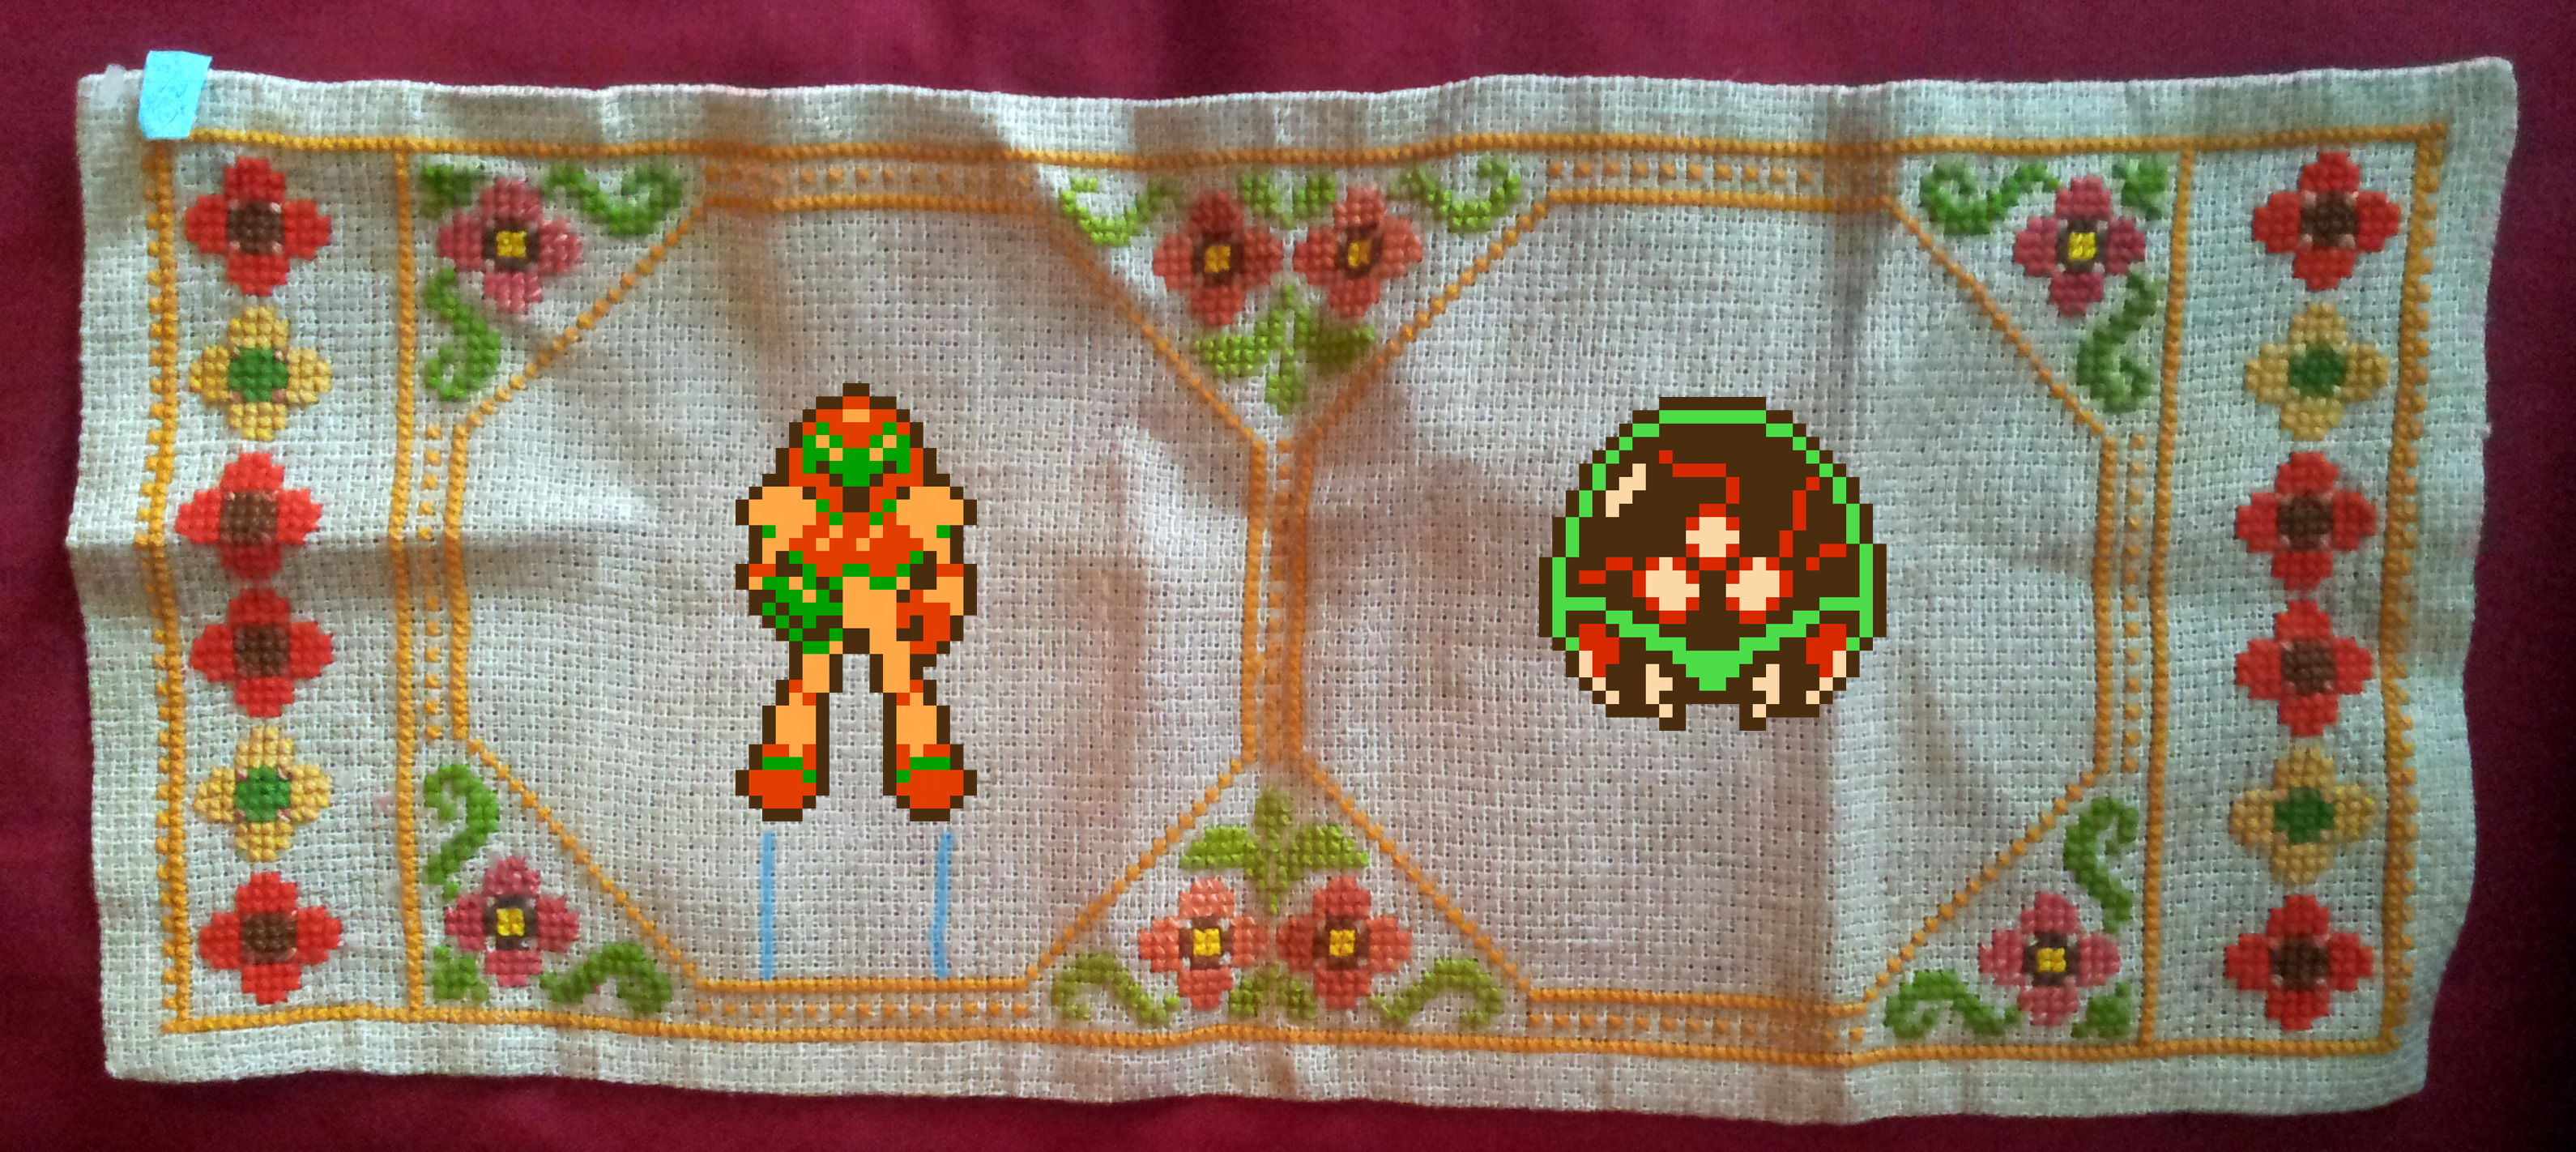
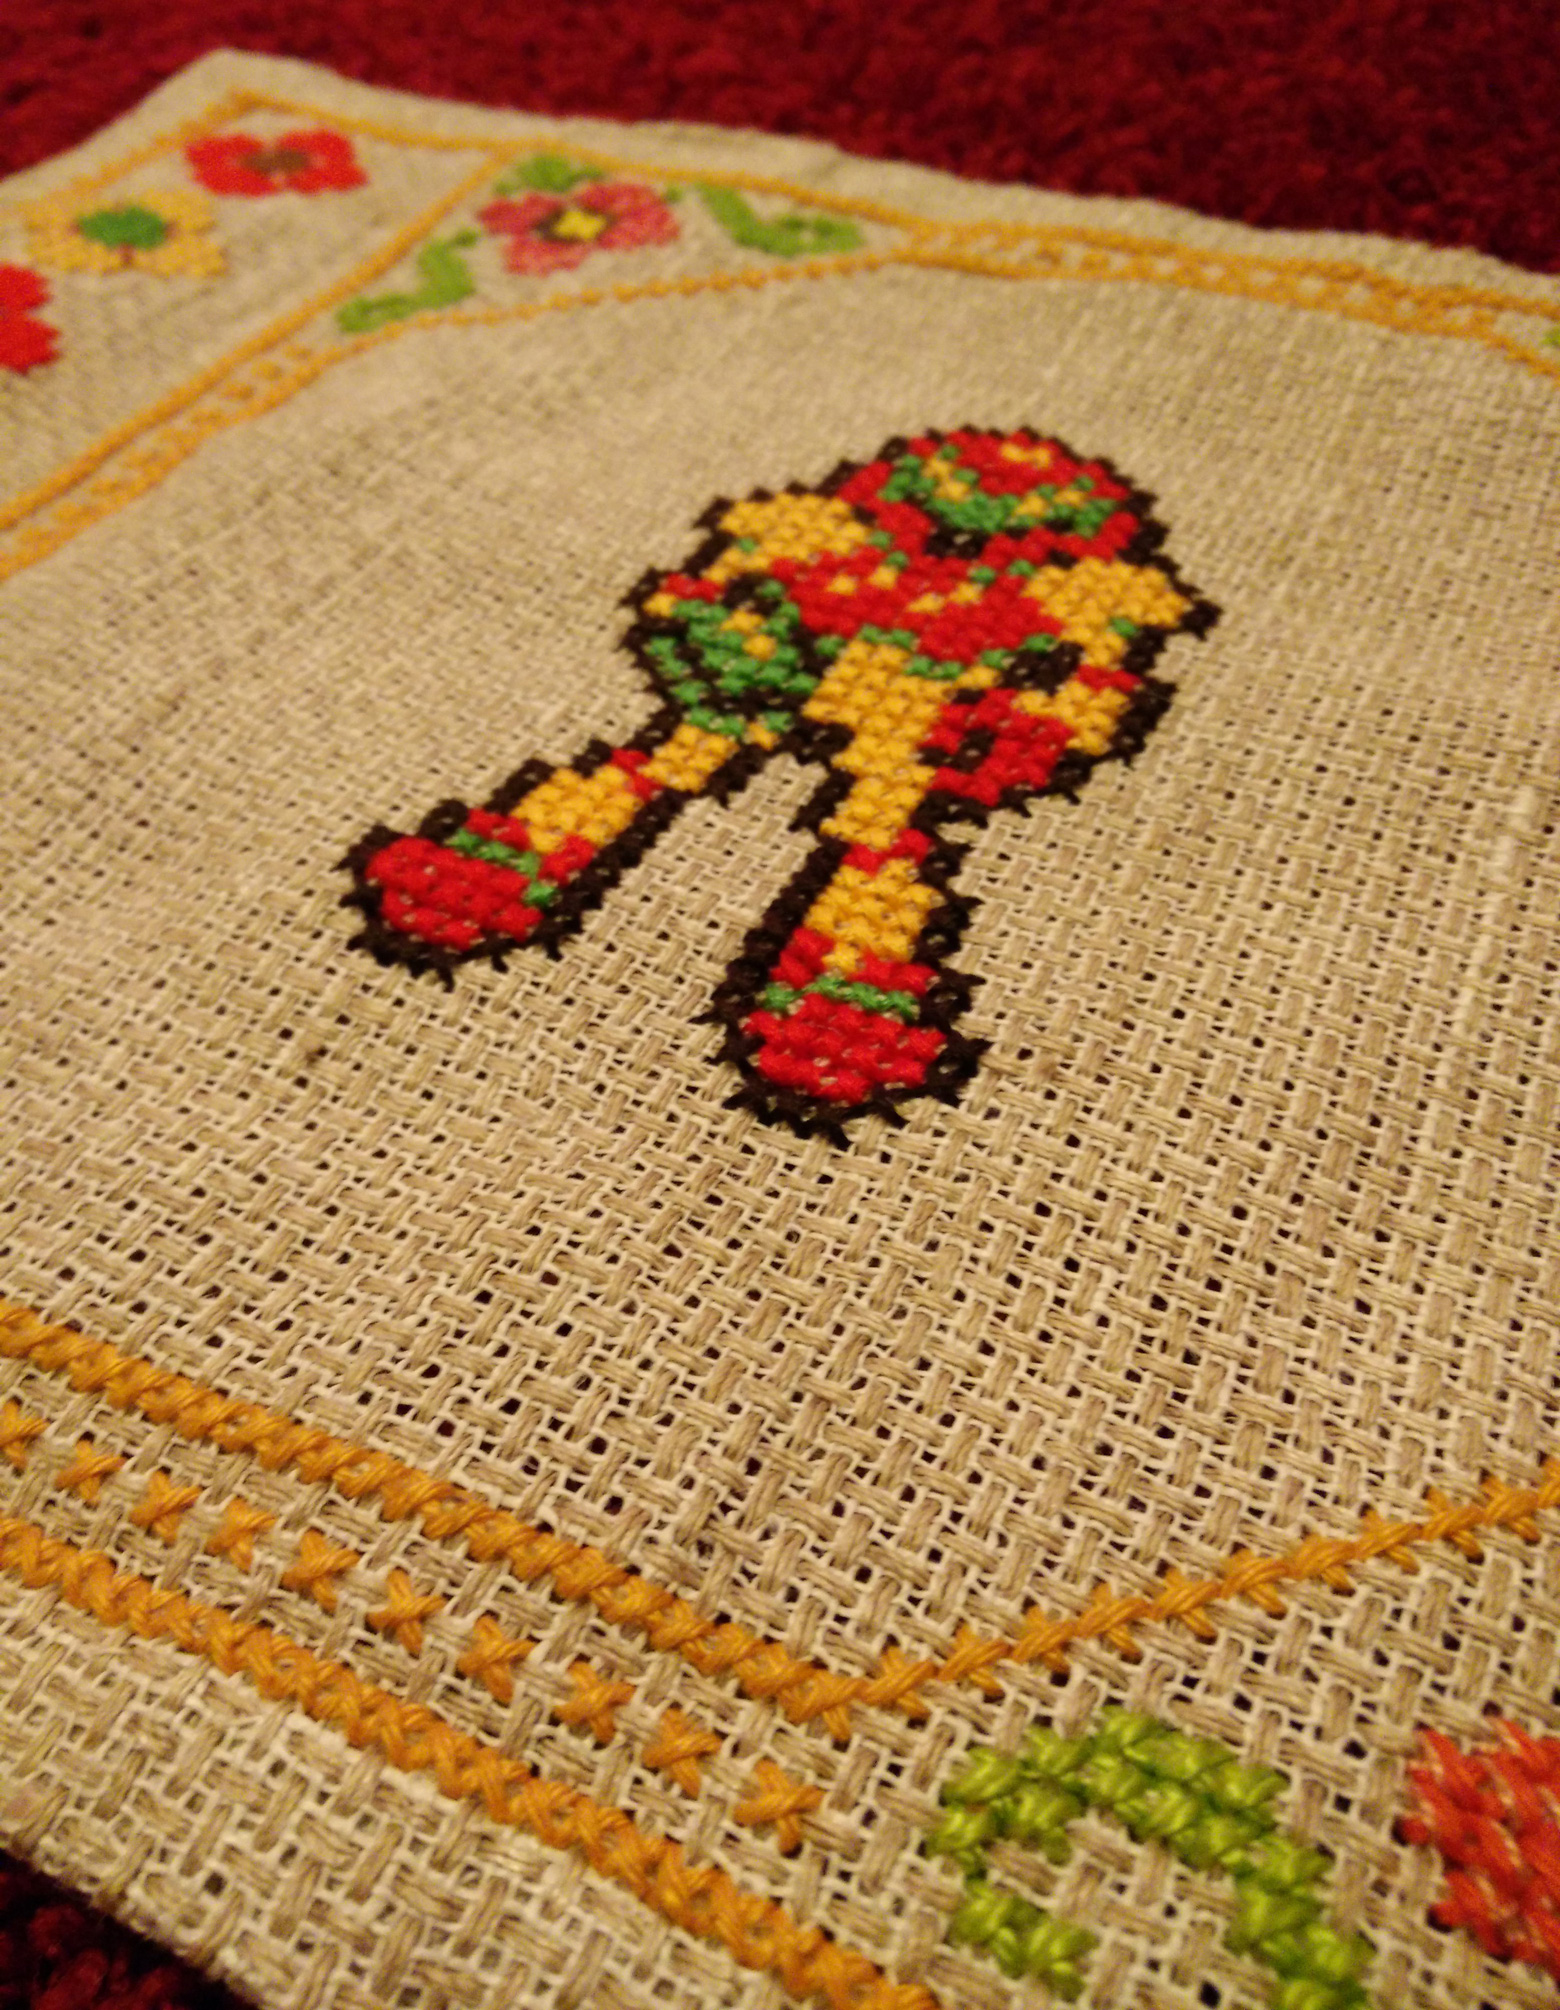
Metroid Cross Stitch
I found this cross stitch at a thrift shop and thought the colors could work well with the colors of Samus’ power suit from Metroid! I’m really pleased with how it matches the original ornaments perfectly!
I placed the sprites rather carefully in photoshop to get the size and centered positions (using the blue help lines), and used this image as a pattern.
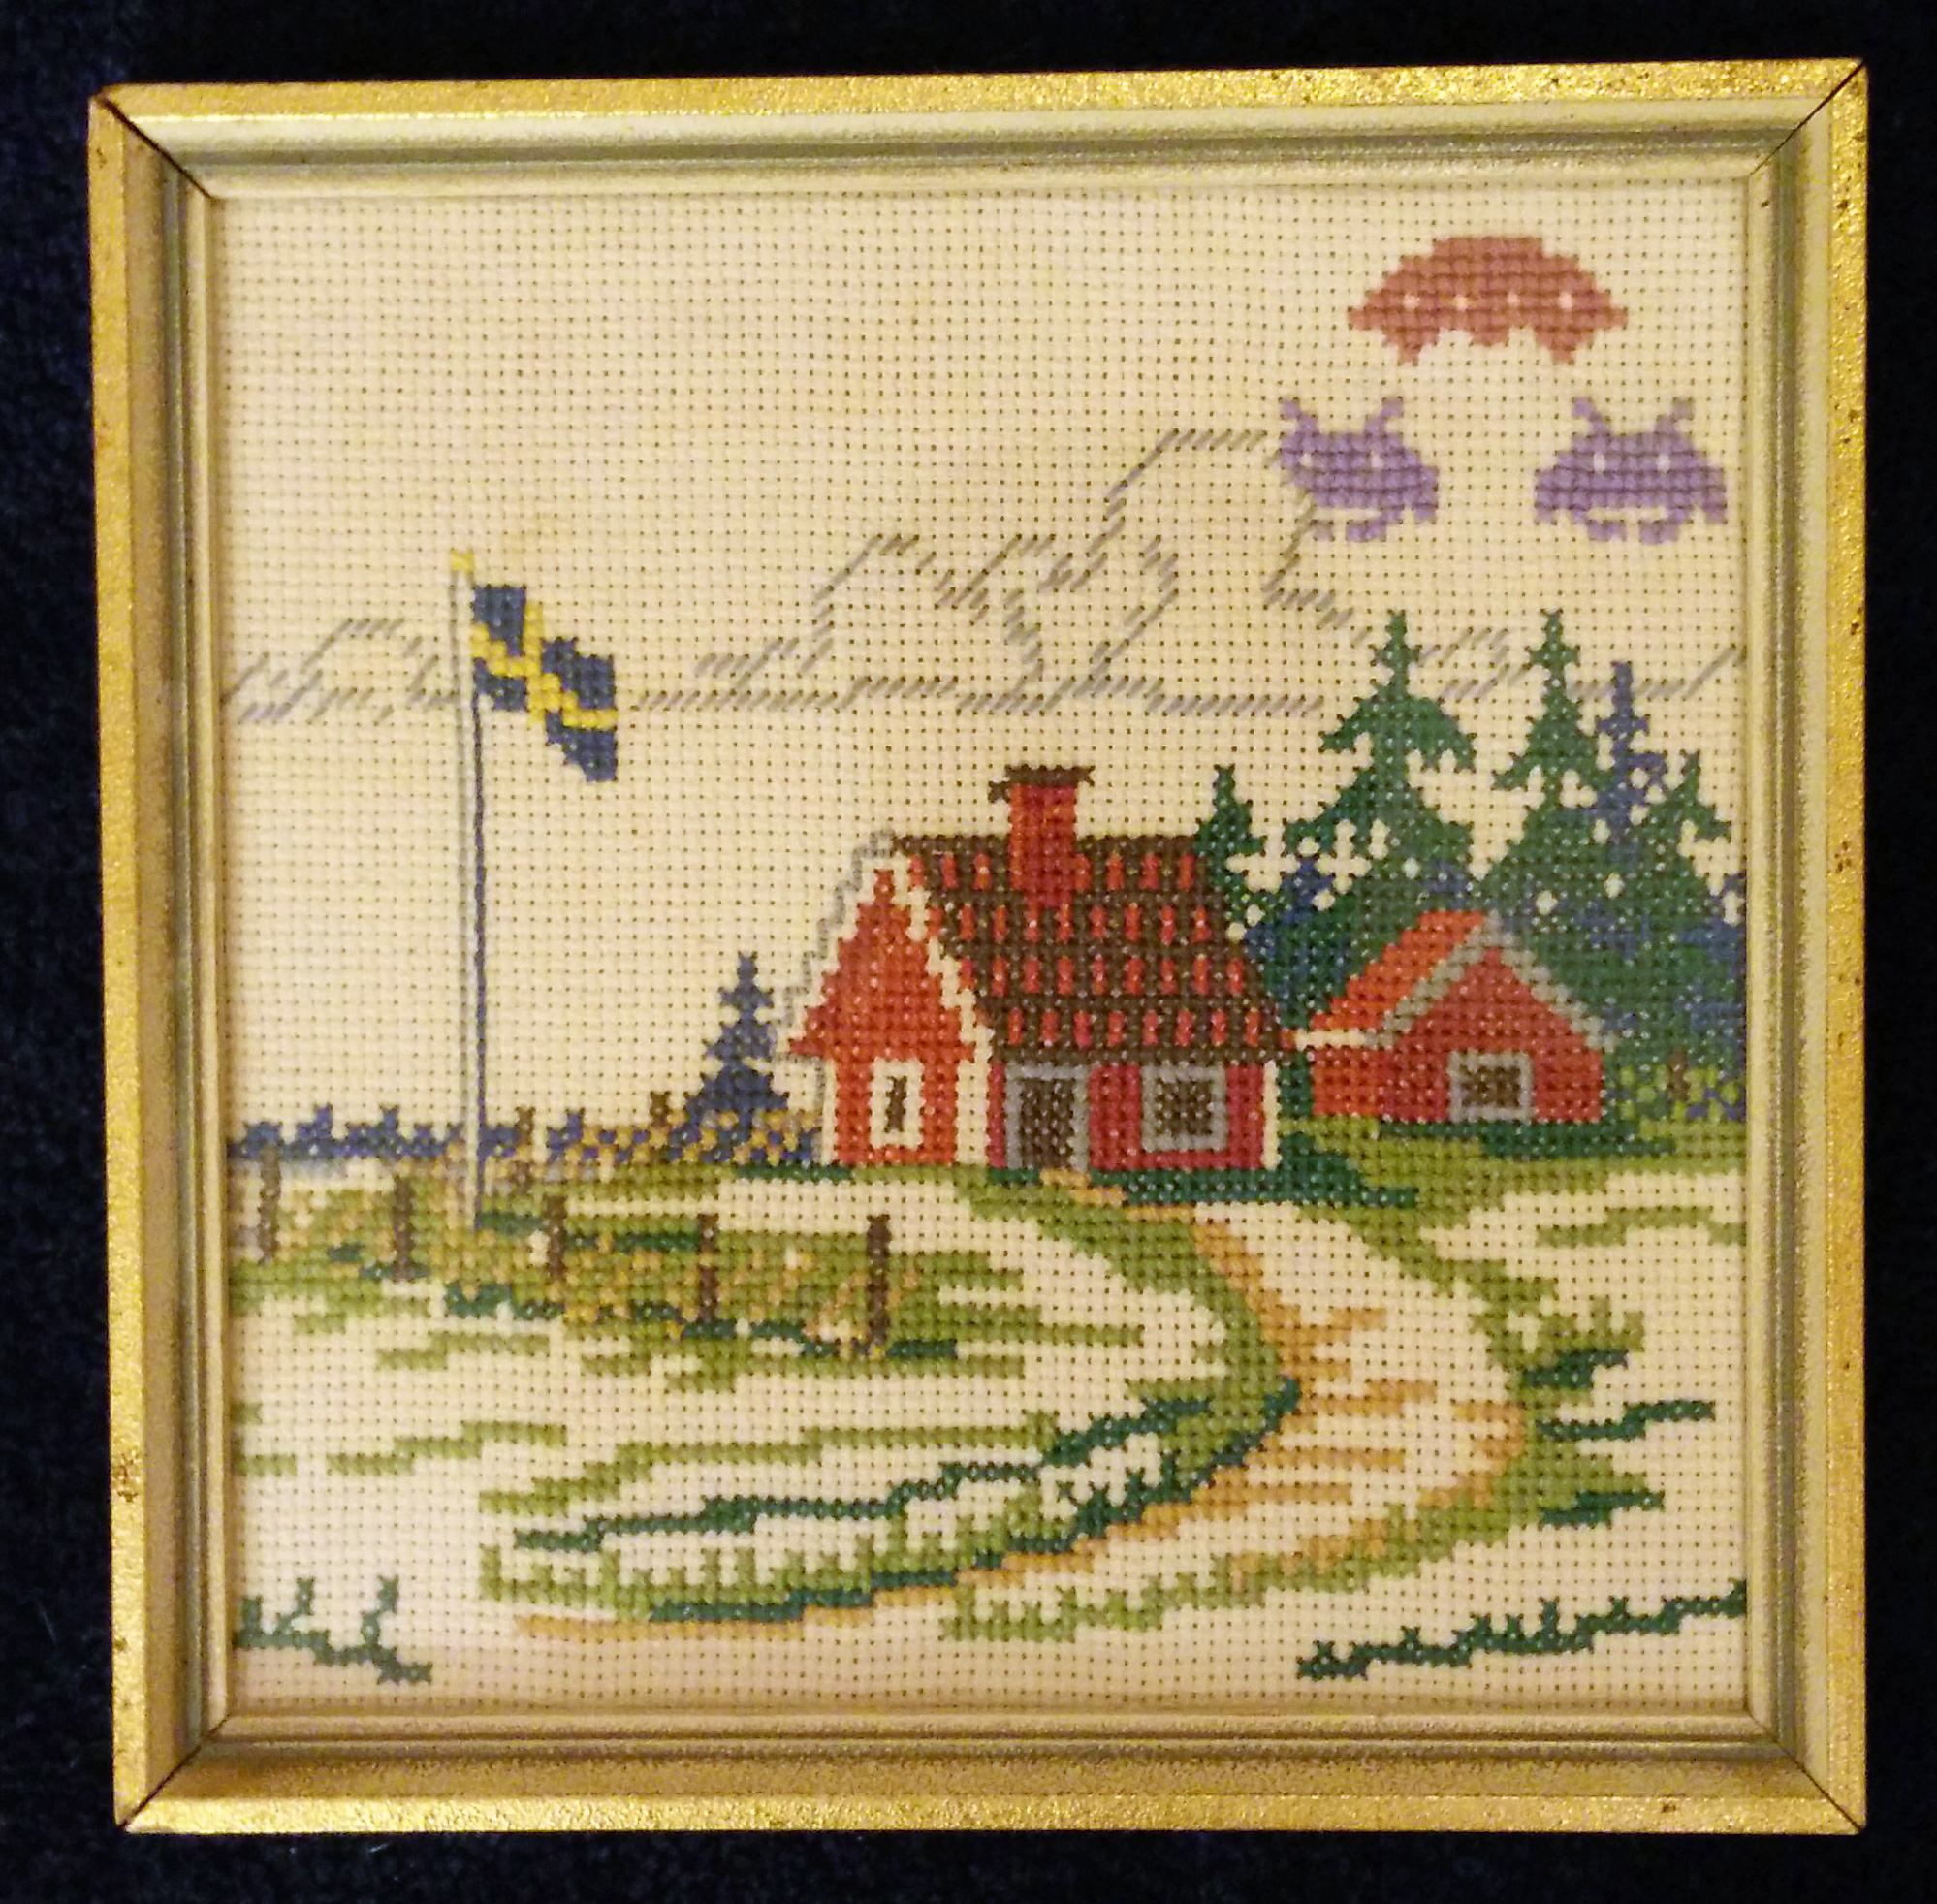
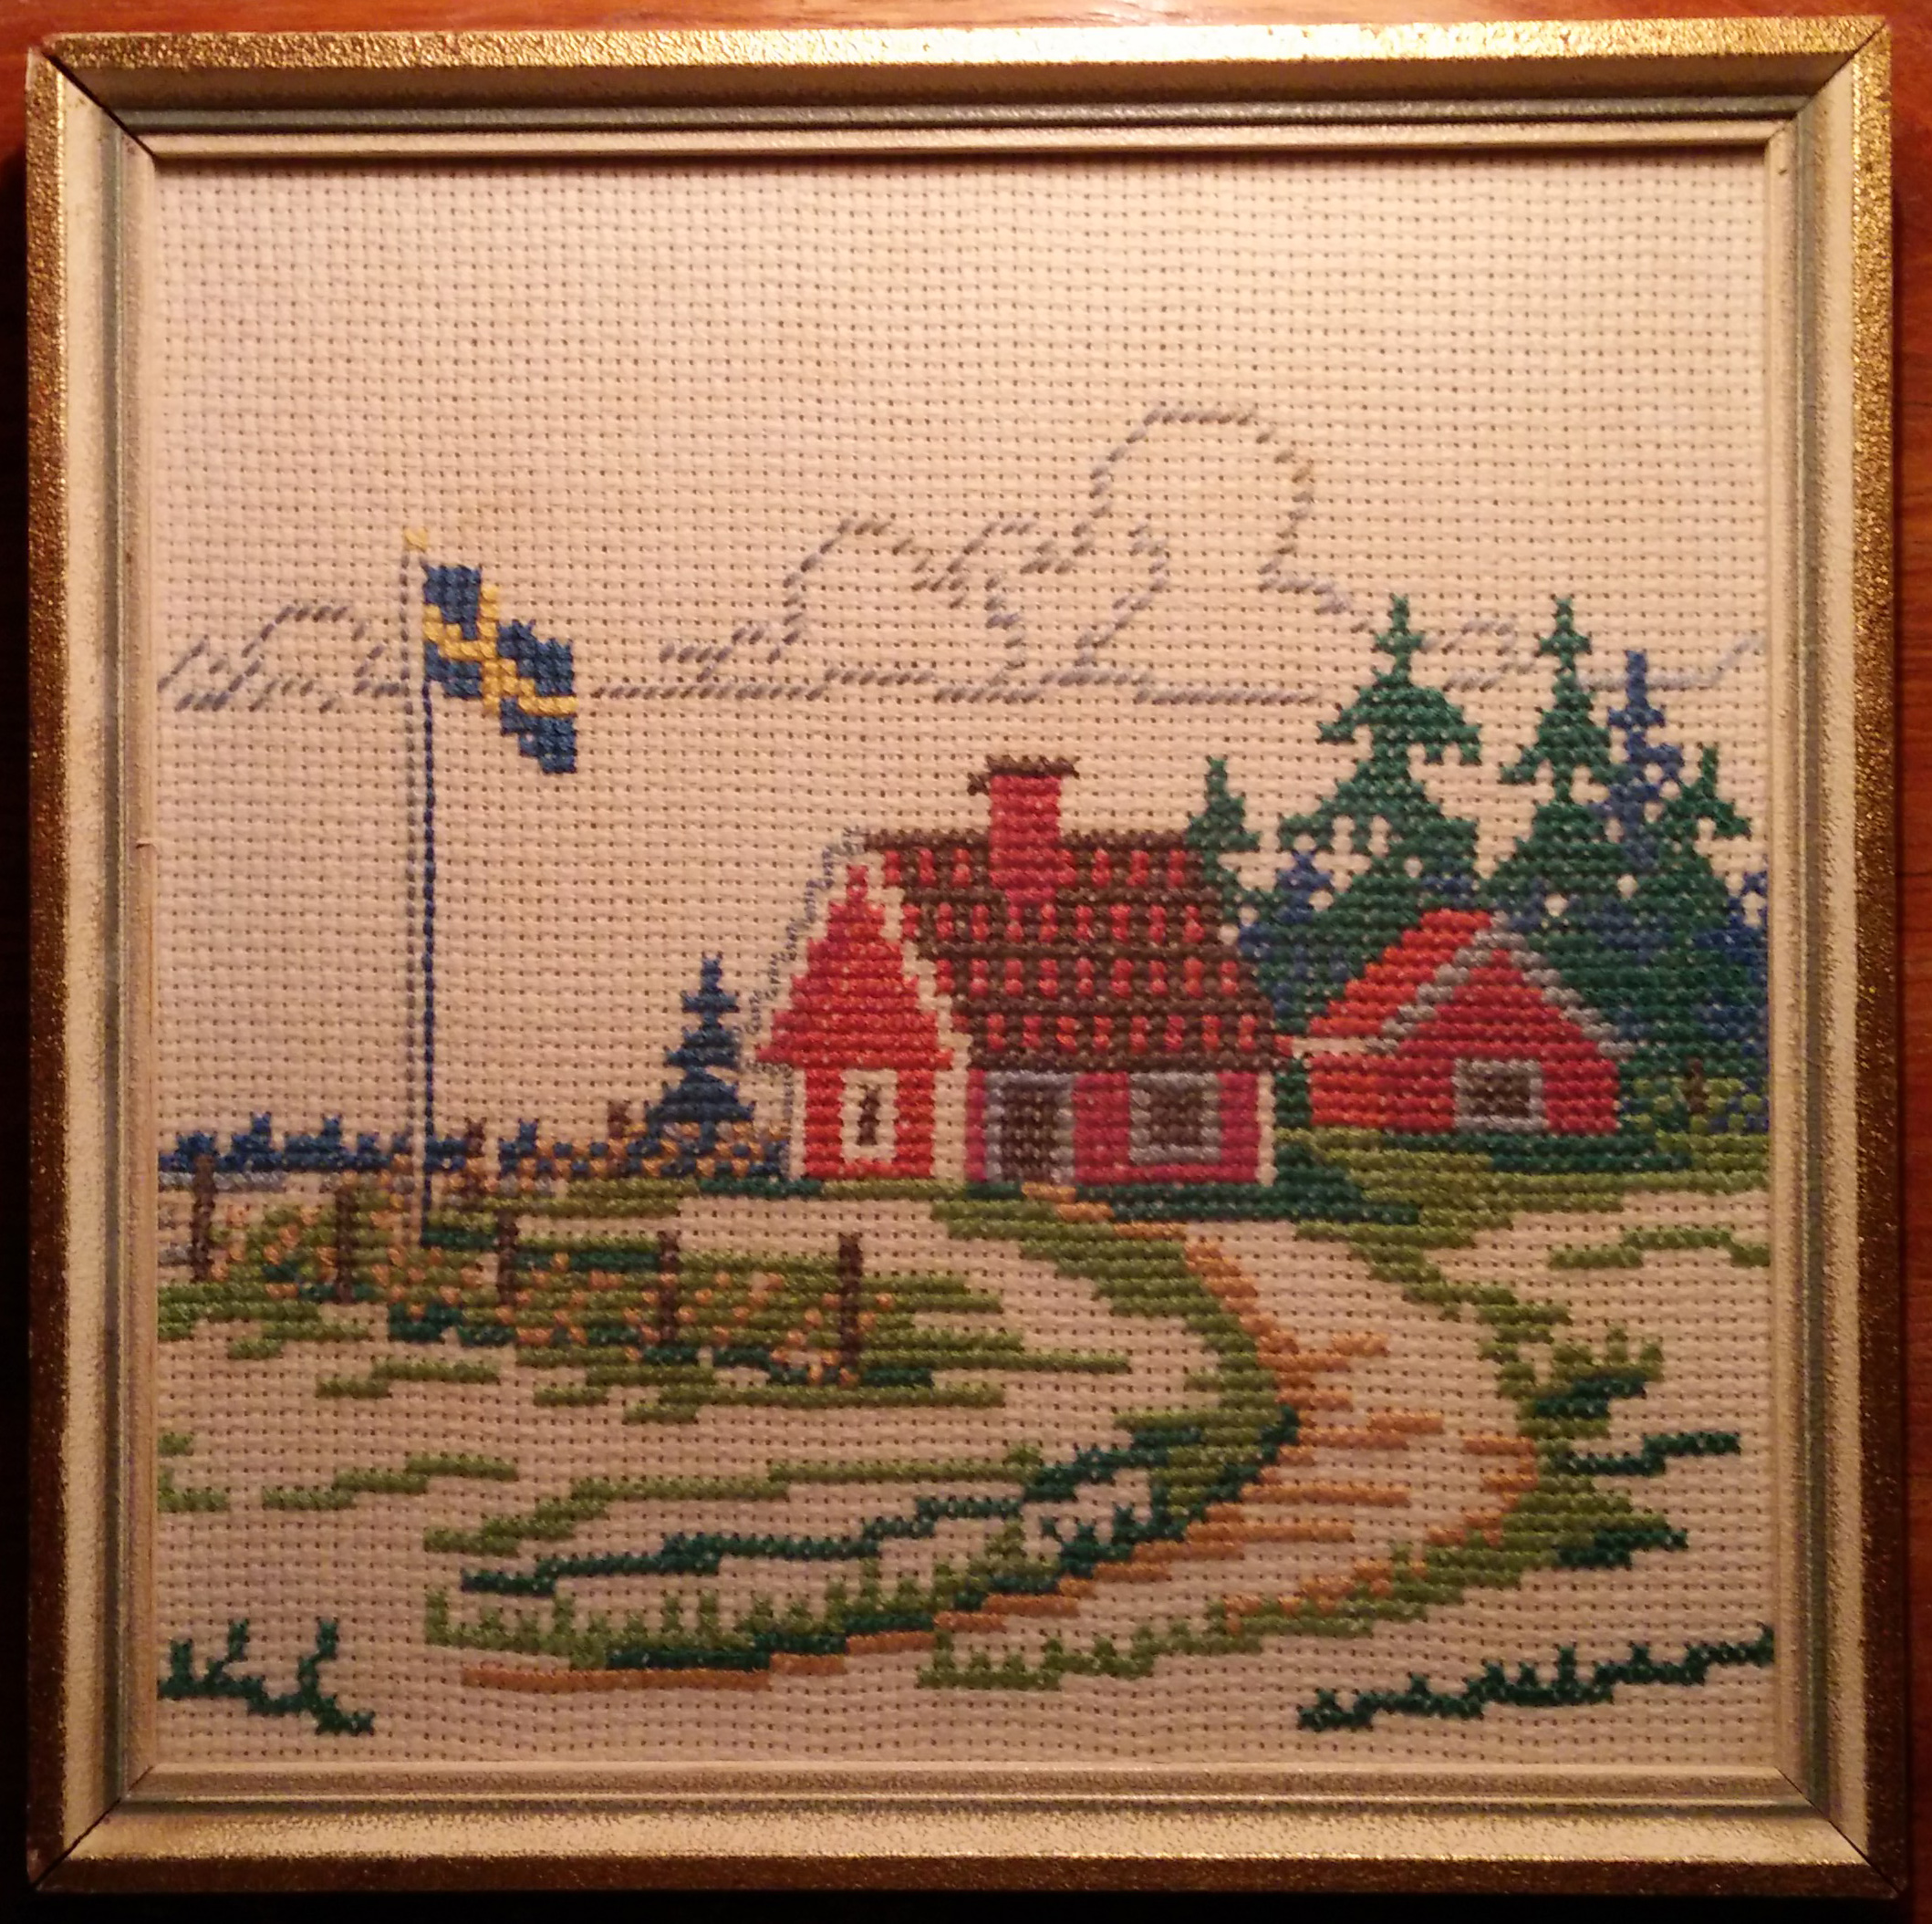
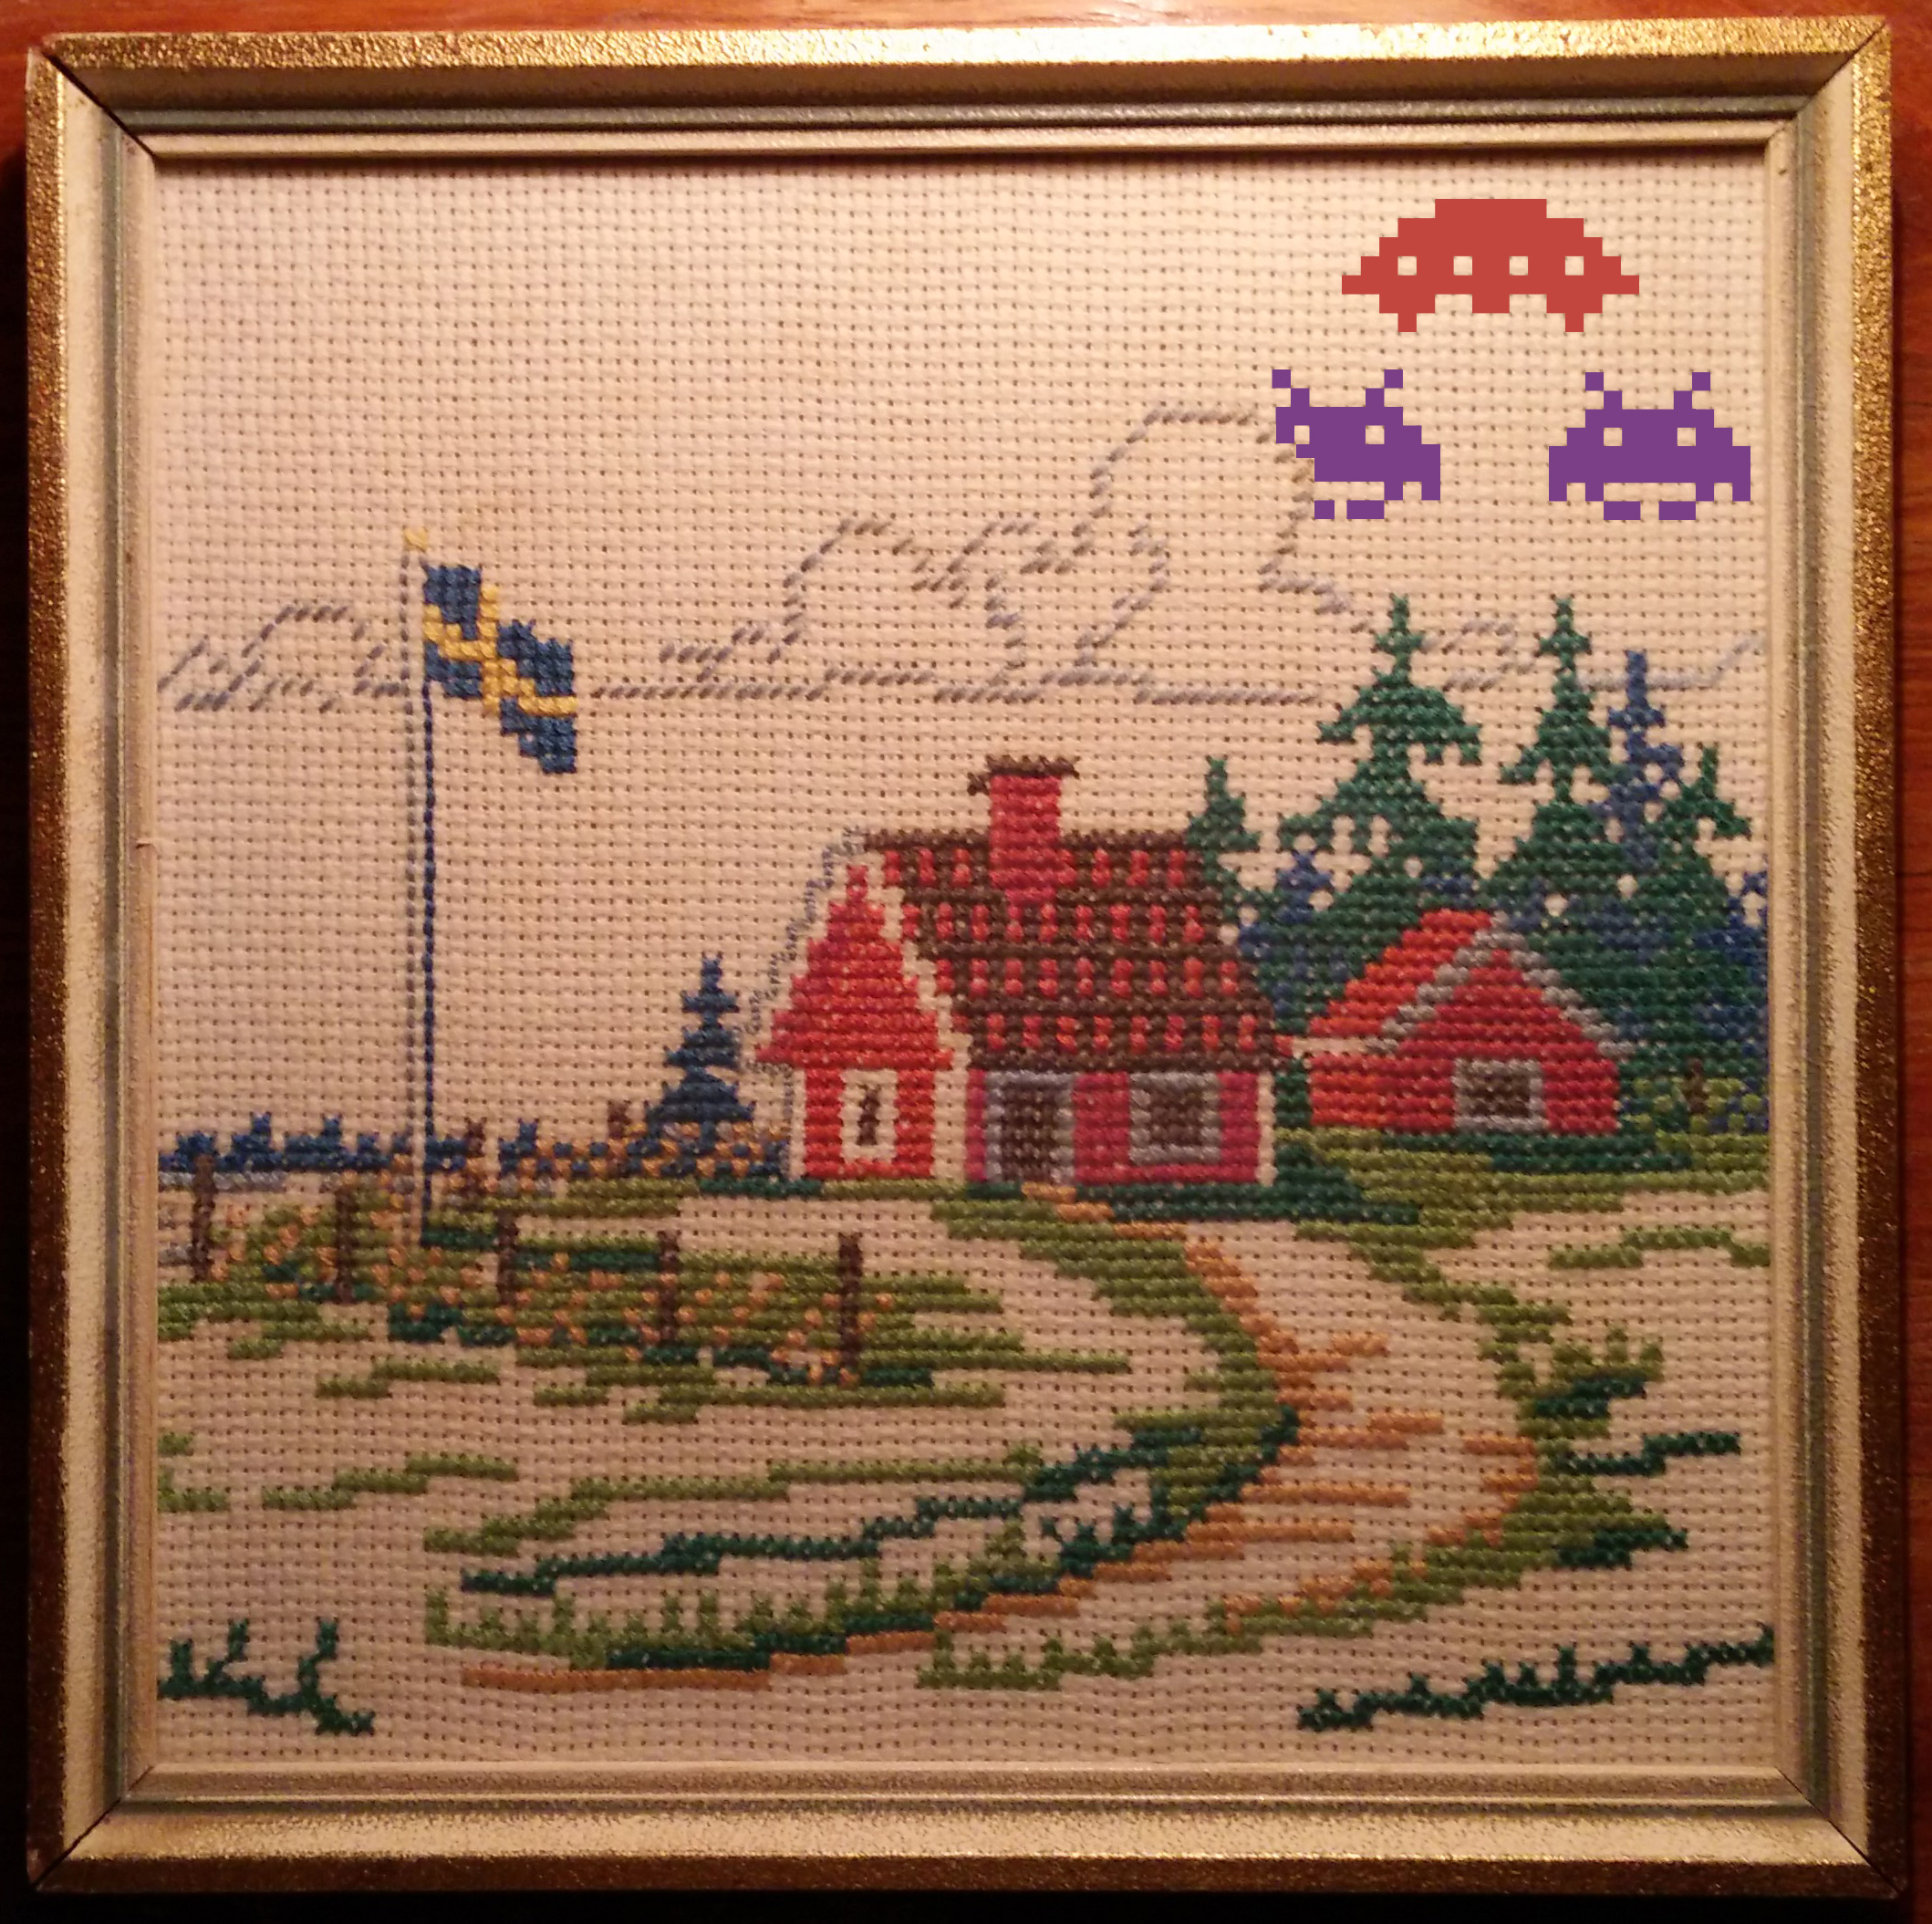
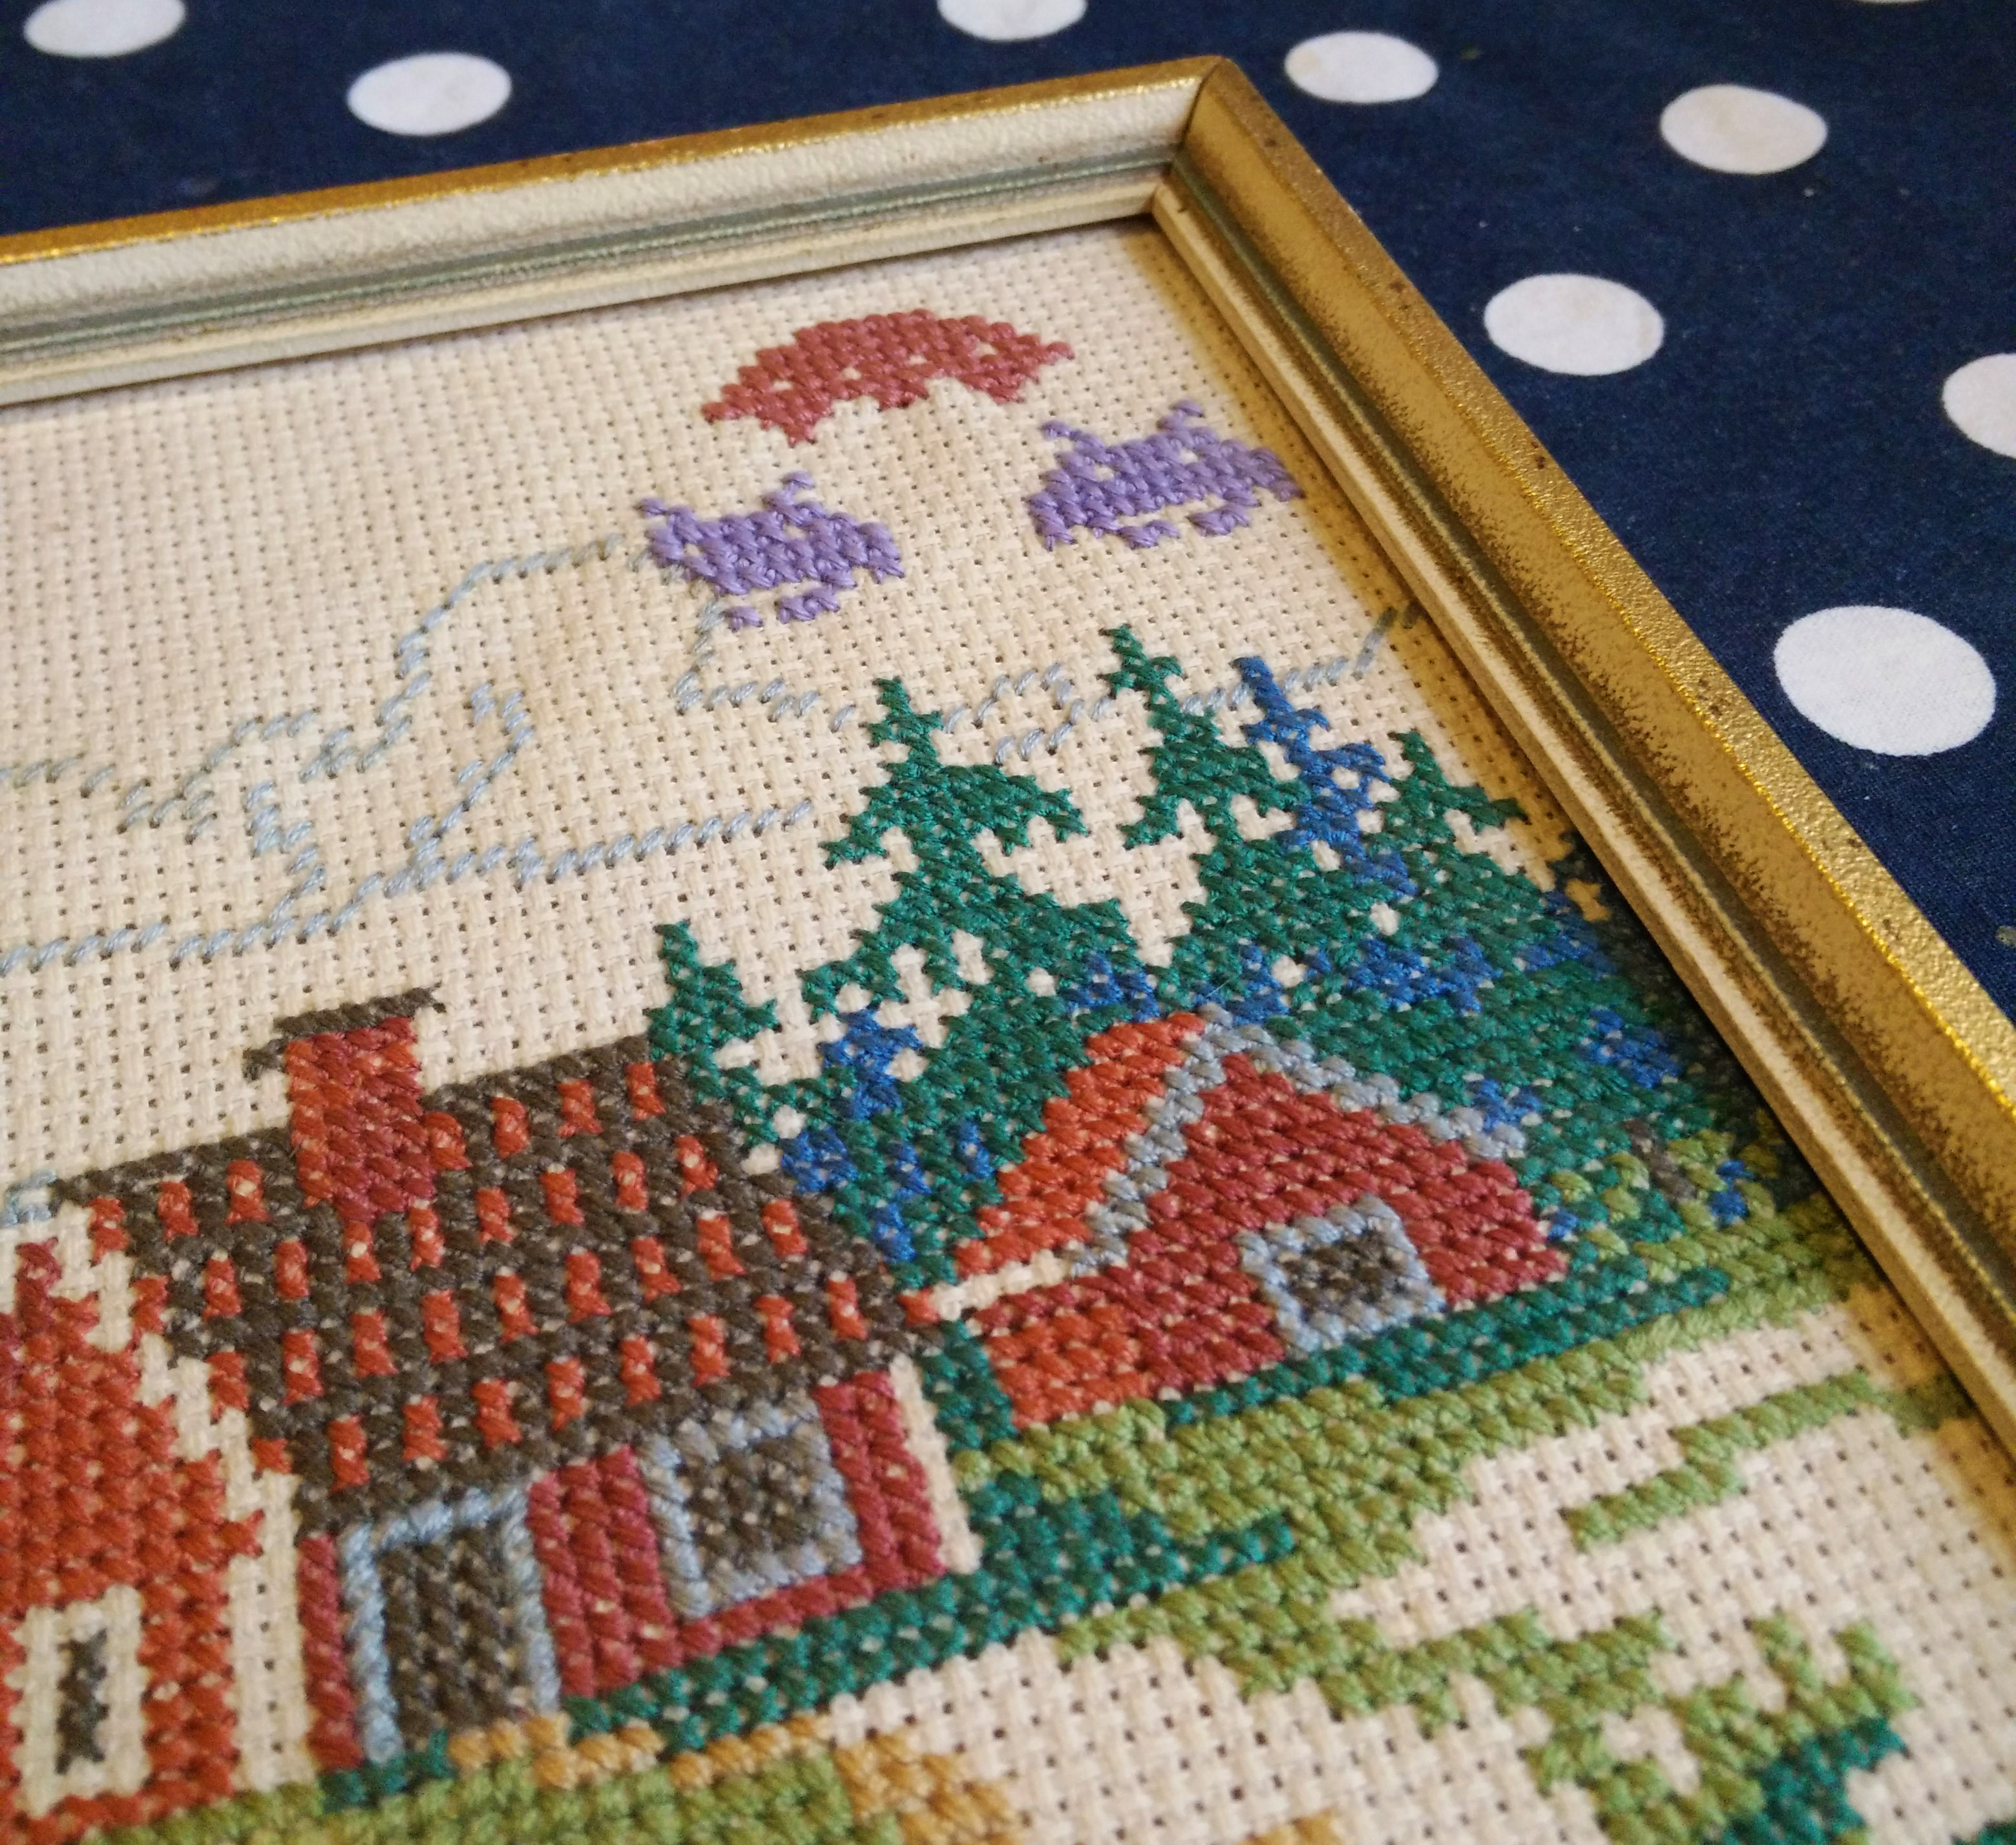
I want to believe – Space Invaders Framed Cross Stitch
I found this framed cross stitch and thought that it was missing something. I tried a few different subjects in photoshop, mechs hiding in the woods, Final Fantasy Airship or Robotnik flying by. But I wanted it to blend in with the style of the original and not stand out too much, so I went with the small monochrome sprites from Space Invaders. I’m really pleased with how one of them’s just hiding a little behind the clouds.
Here’s the original, the photoshopped “pattern” and the re-framed finished work.
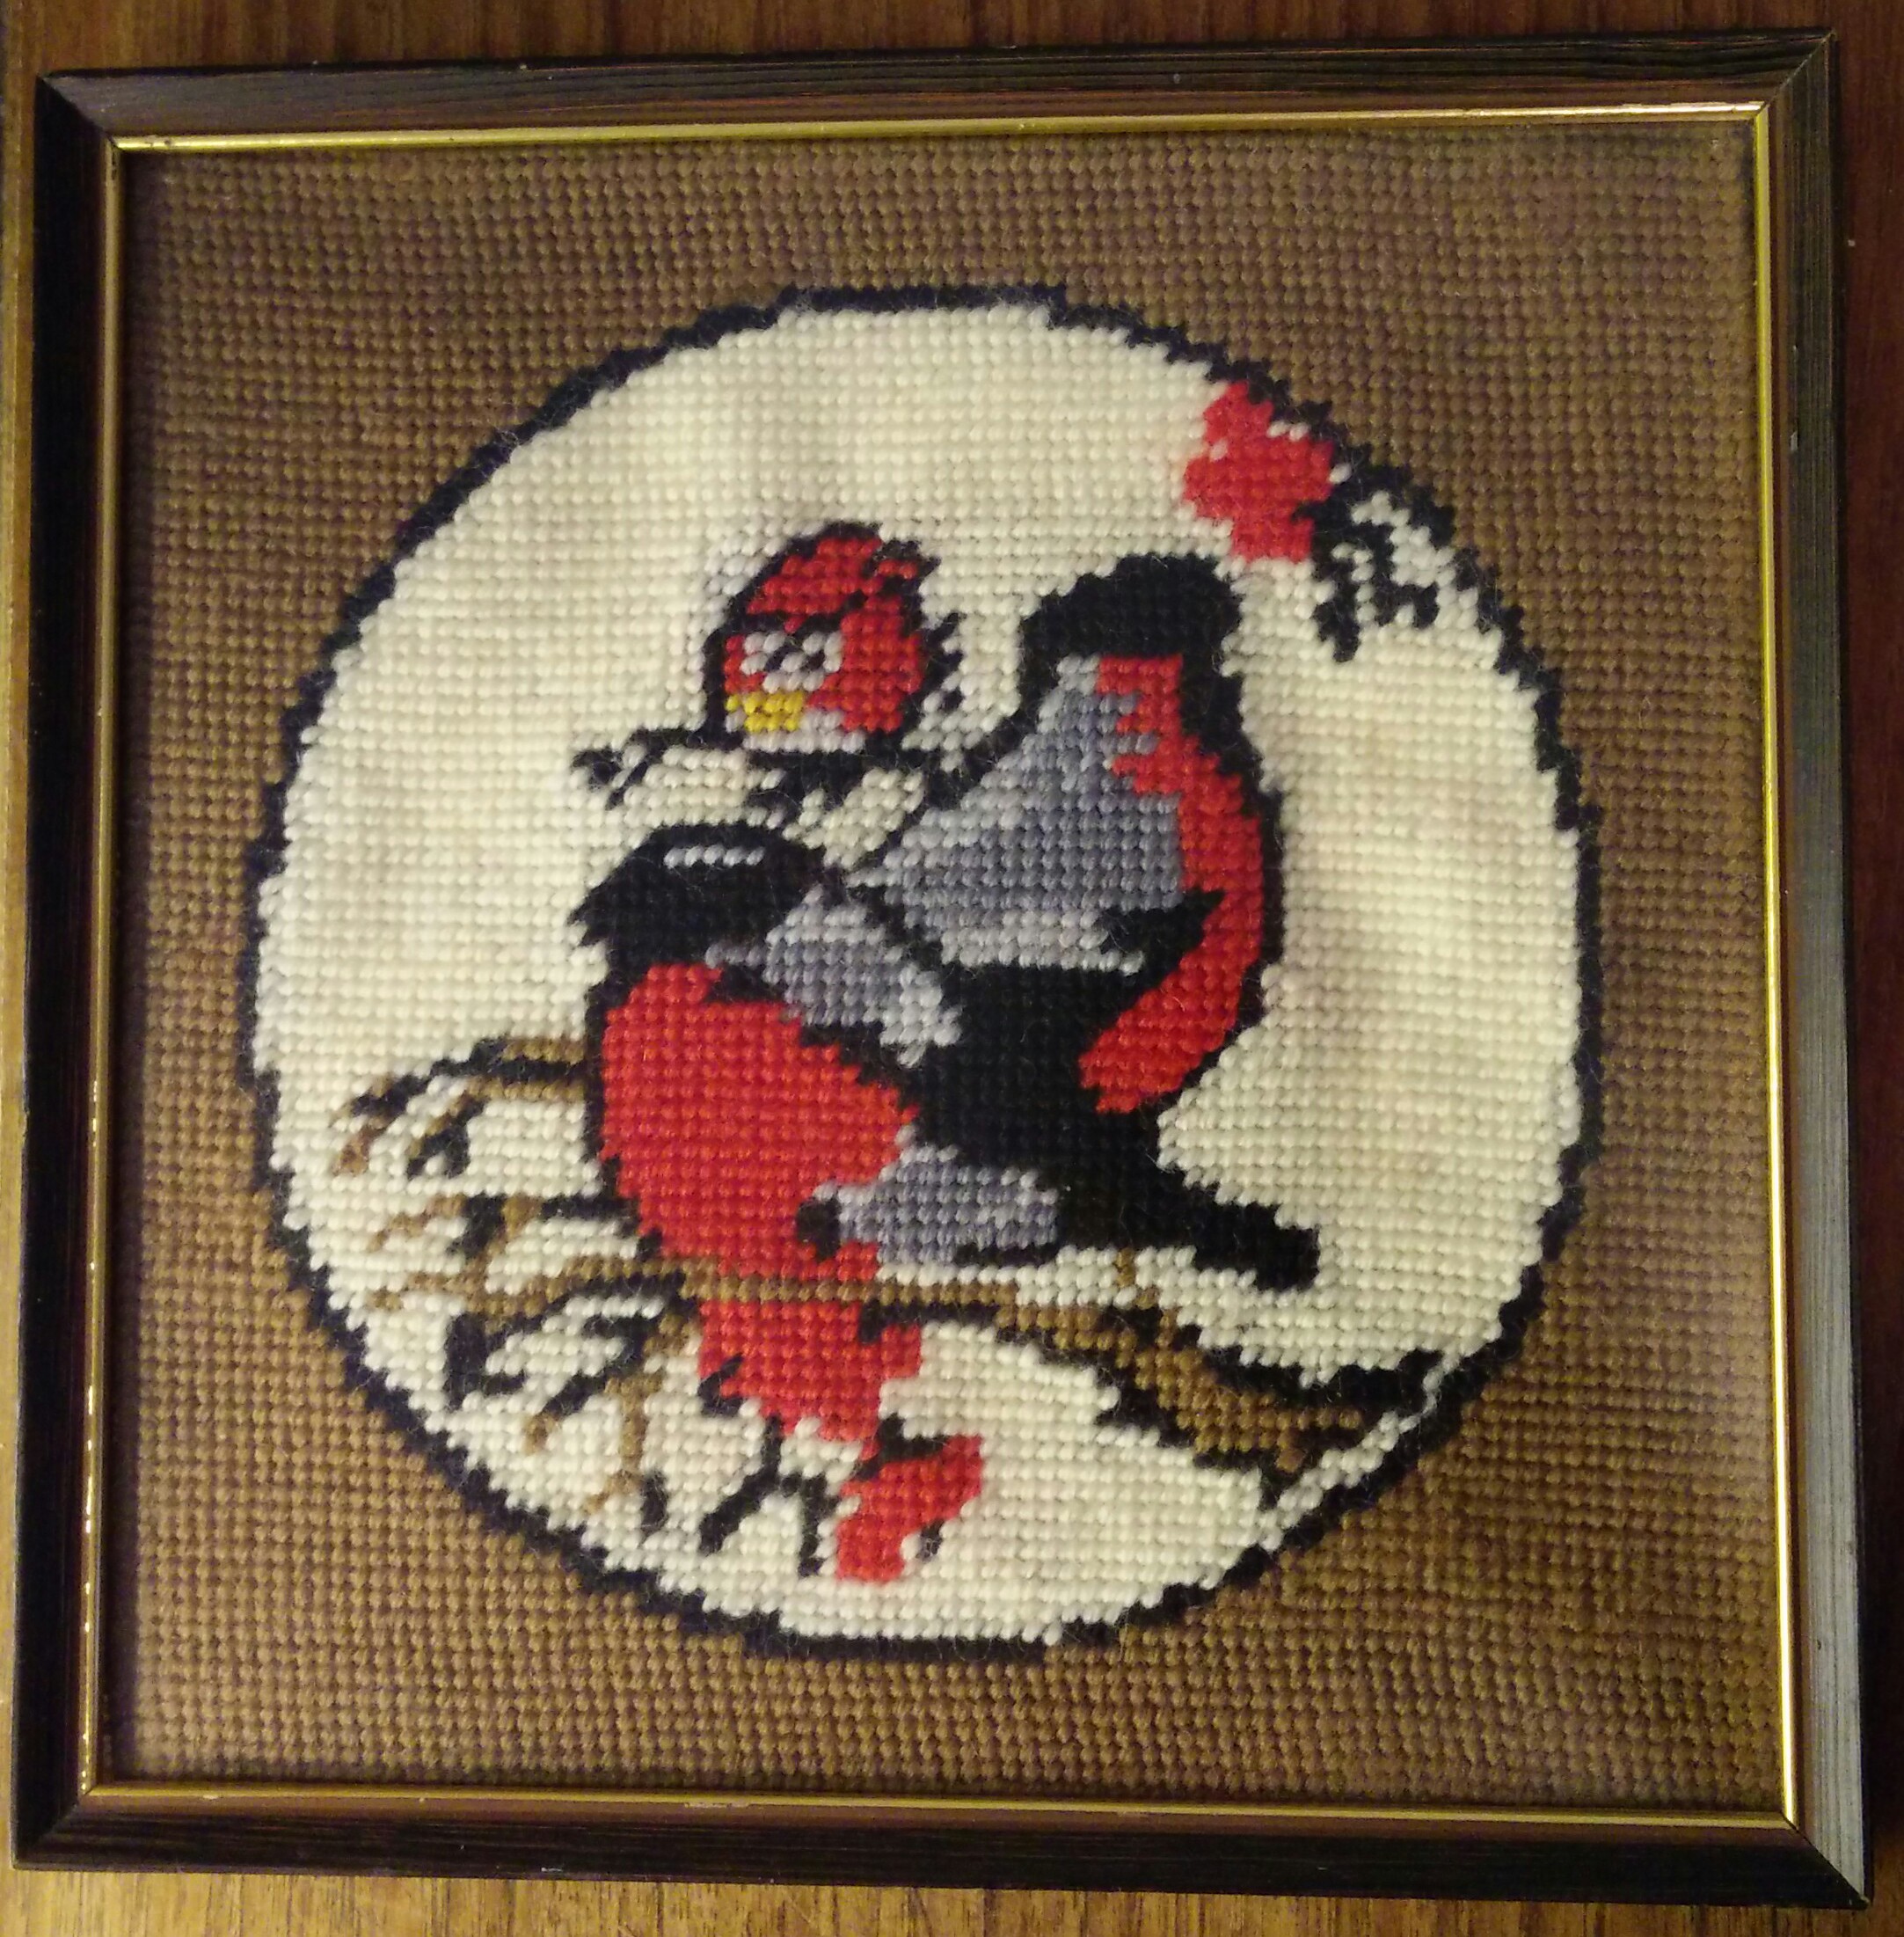
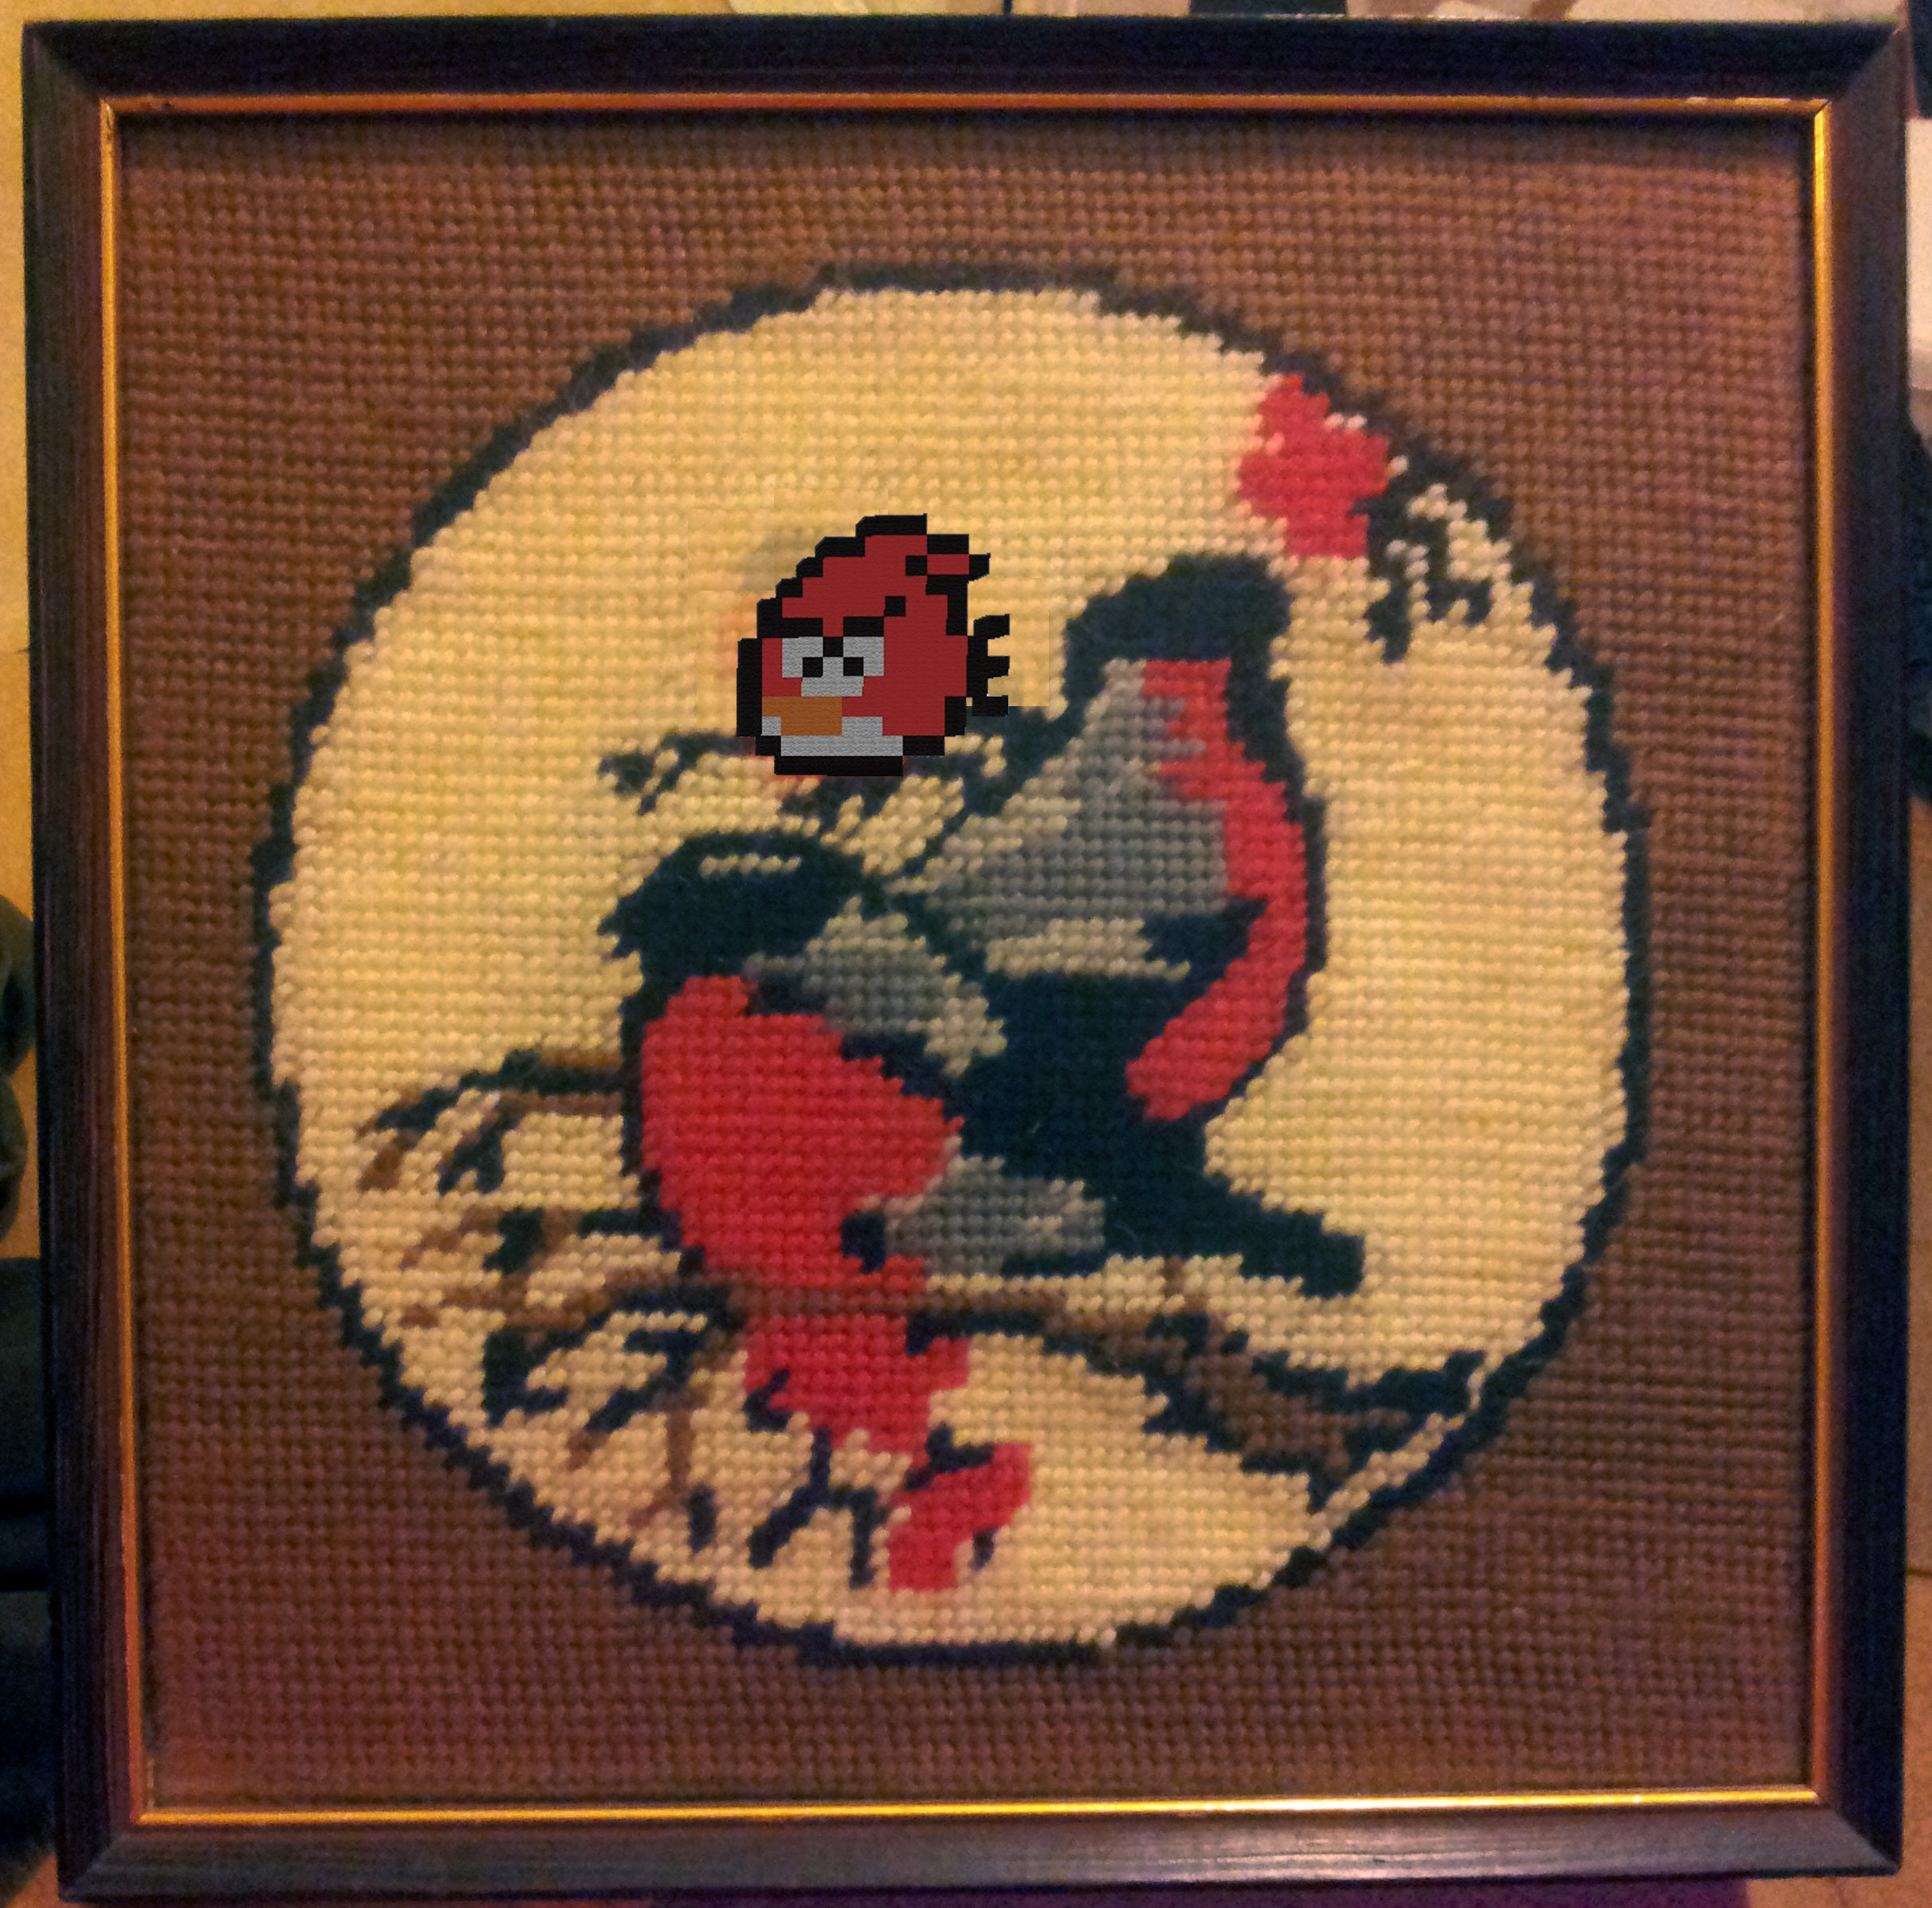
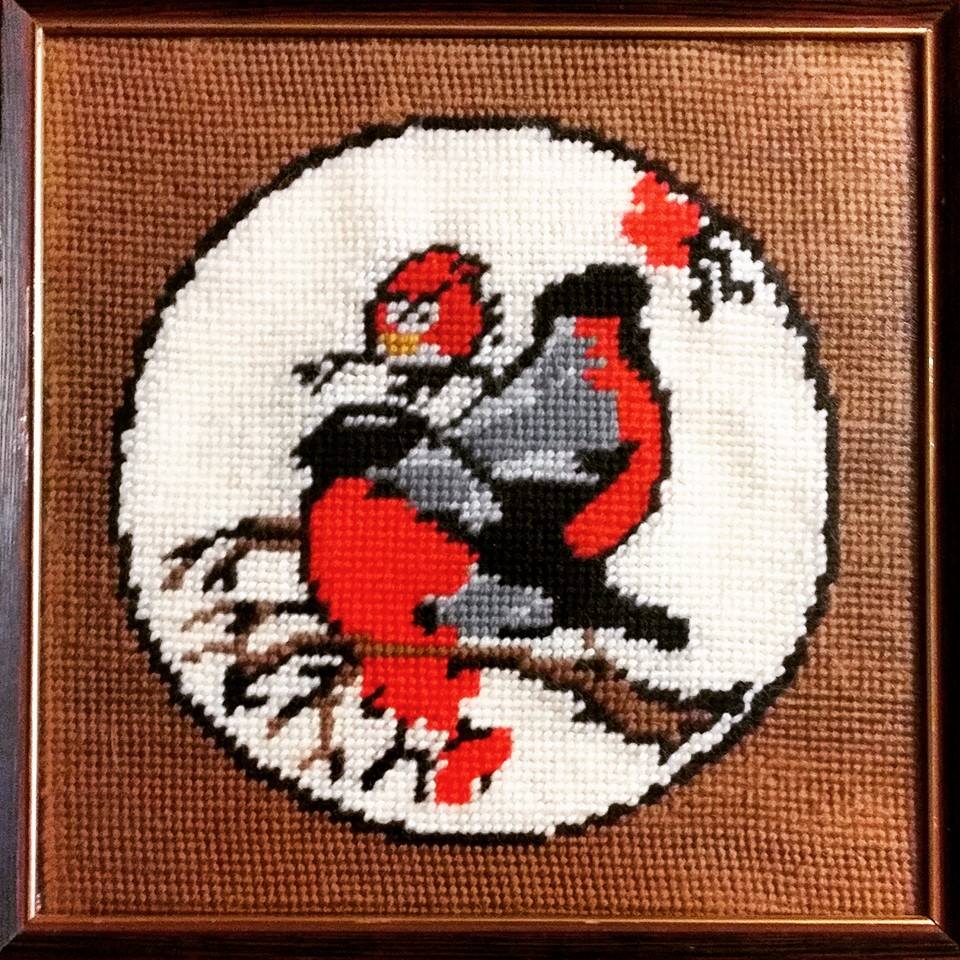
One little bird is angry – Angry Birds Frames Cross Stitch
My brother found this framed cross stitch of three bullfinches in a thrift shop and bought it for me. He thought I could do something with it, so I did!
It was kind of annoying to rip out the original bird, because the background was stitched, and I didn’t want to replace too many white stitches. But with a lot of placing, replacing, and counting, I managed to rip out only enough to fit the angry bird sprite.
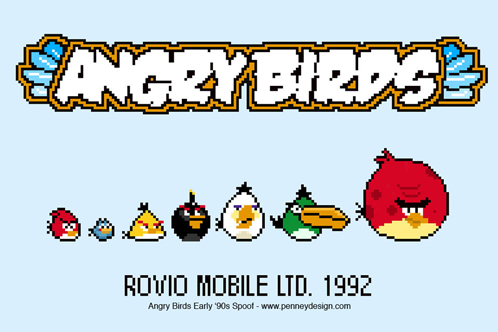
The Red Angry Bird sprite is not in the actual game, but from this retro spoof version of the game that had a better size for this project. I then placed it on top of the original in Photoshop.

Jag blir så glad, Johan! För att du återvinner nedlagt arbete på ett väldigt uppiggande sätt.
Väldigt inspirerande arbete!
Har länge funderat på att börja korsstygna pixelart själv (gjort ett antal pärlplattor från mina favoritspel, men de är tyvärr inte lika beständiga som broderier), men att ge gammalt handarbete som det här ny tappning är faktiskt ännu häftigare. Stort tack för tipset!
Hej,
Riktigt fina grejer du har gjort! Jag gick genast ut och inhandlade 8 gamla dukar som ska bli 8 nya dukar!
/Emelie